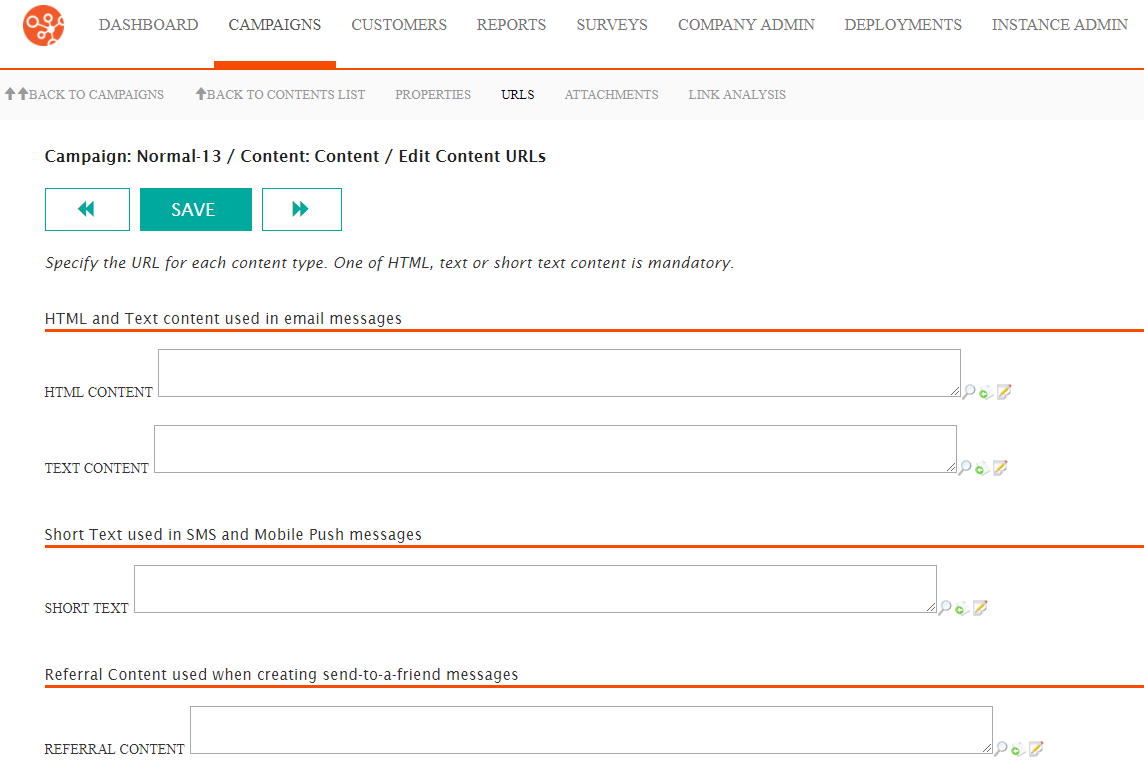
The URLs screen for content allows you to manage the URLs that point to the location of the content that will be displayed in the message to the customer. The content files are able to be created separately from Connect itself in order to allow independent creation from users. This allows marketing and creative departments to create targeted and brand-specific content without users needing to create messaging.
In either case, Connect provides the ability to create HTML or text content using the HTML editor in Connect. SMS and referral content is also able to be managed. All content pages are linked to using URLs in Connect.
Pointing Connect to Existing Content URLs
If content has already been created and placed on the content server, Connect is able to point to the specific content using the URL directing Connect to the specific content. Determine the URL for the content on the content server by talking with your creative or technical staff.
- HTML Content: Content that renders for the user in HTML format assuming the customer's email client accepts HTML messages
- Text Content: Text-only based messaging with no graphics or images
- Short Text: Used for SMS or mobile push messages
- Referral Content: Content that is used when a customer refers a friend to the conversation
You are able to create content directly inside of the Connect application. To learn more about creating content in Connect, please see Creating New Content in Connect. For more information on editing existing content, please see Editing Content in Connect.
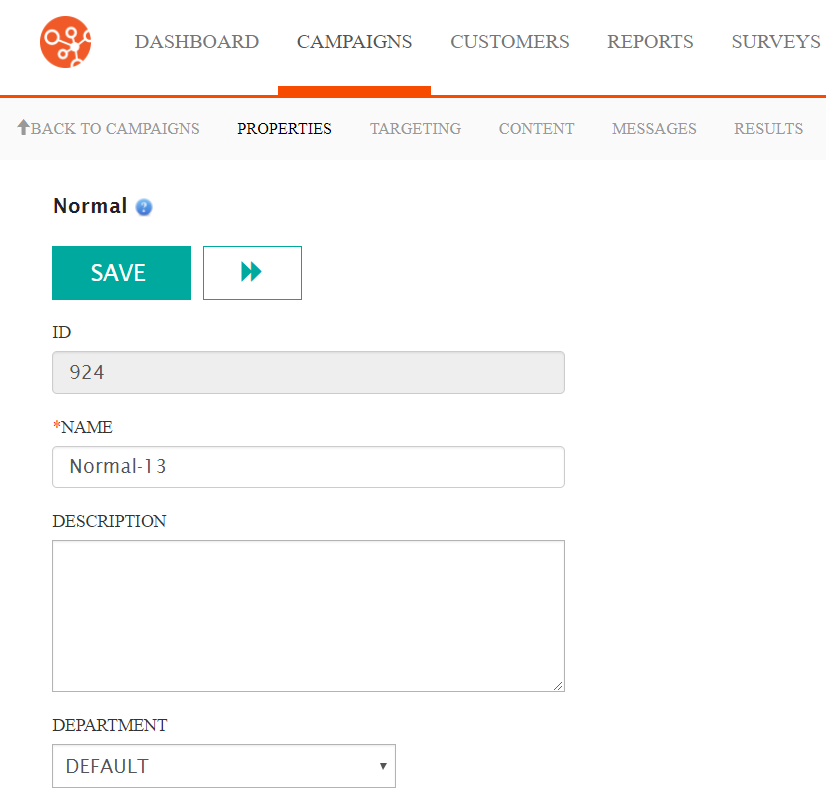
To enter existing content URLs in Connect:- In the Campaigns screen, select the desired campaign. The Campaign
Properties page displays.
- Click the Content sub-tab. The Campaign Content screen
appears.
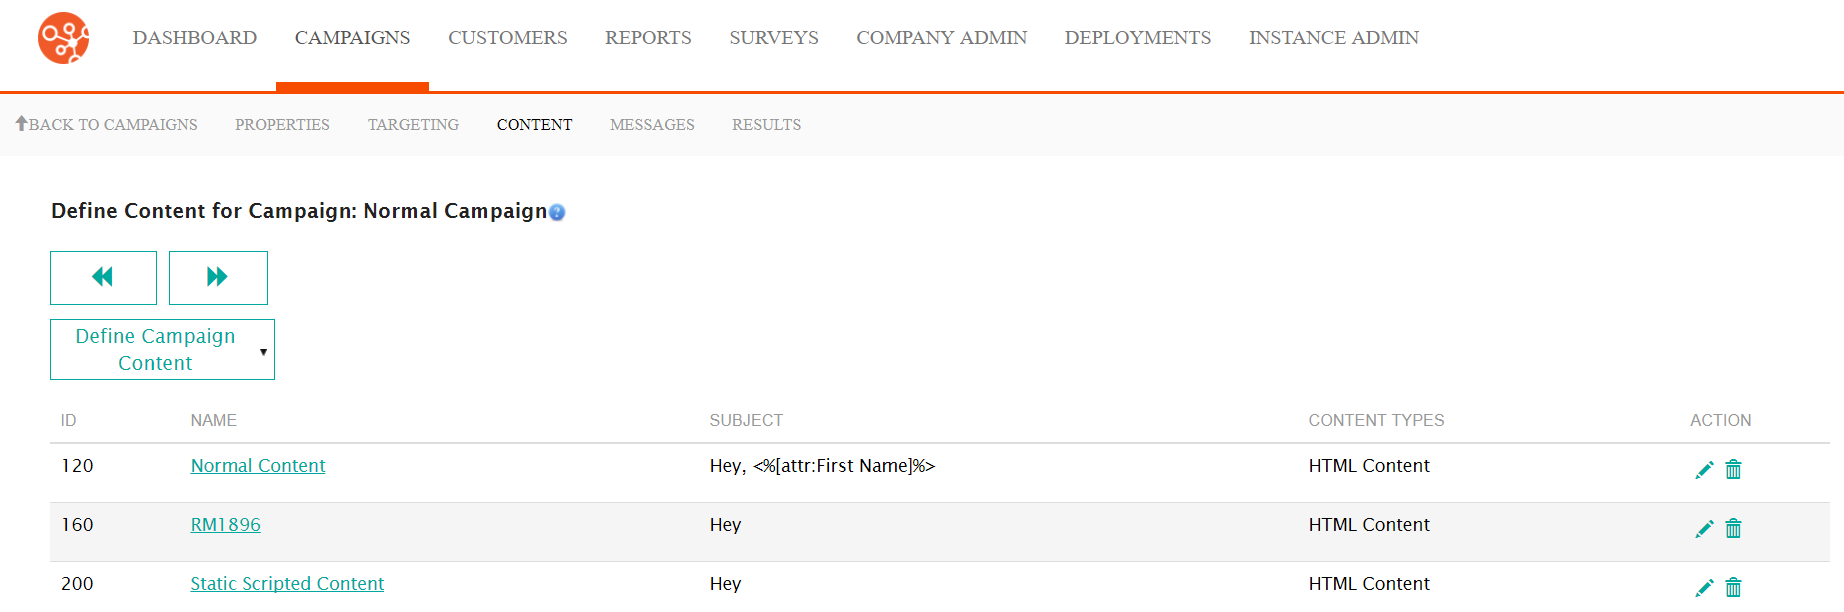
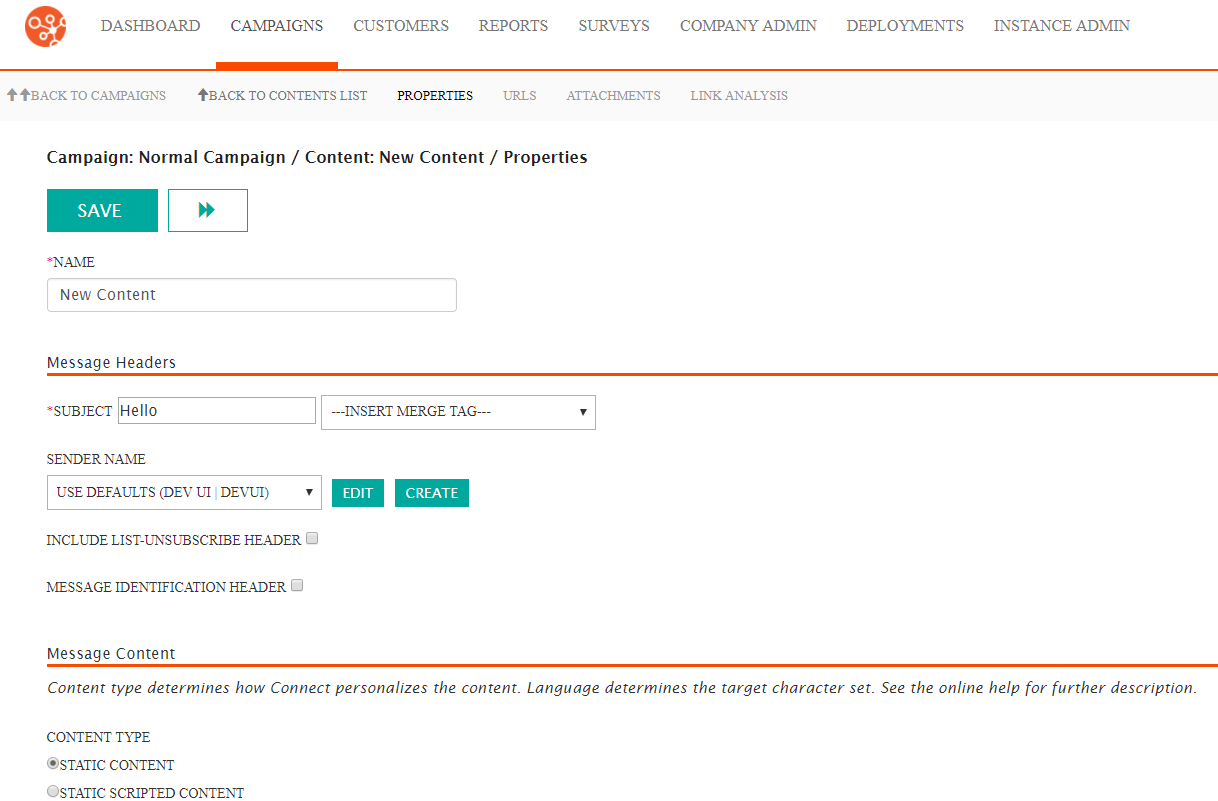
- Click on the desired content. The Content Properties screen
appears.
 Note: To learn more about creating content instead of using existing content, please see Creating and Managing Content
 - Click the URLs sub-tab. The Edit Content URLs screen appears.
- In the desired content box, enter the URL of the content as found on the content server.
- Click the Save button. The content is parsed and saved.Note: If there is an error found (i.e. the URL is incorrect) an error message displays (e.g. "URL does not exist"). Correct the URL link and re-save the content.
