Connect allows you to send your customers dynamic content based on specifcic attributes
driven by the customer and their activity. As well, Connect permits content to be sent
using XSL templates using the same attribute values to determine the specific content
that a customer will see. Dynamic content and XSL content are able to be tailored
using:
- Customer Attributes: Attributes found on the customer record itself (e.g. first name, city)
- Recency Statistics: Attributes or counts based on the customer's engagement with previously sent messages
- Frequency Statistics: Statistics and figures on the customer's interactions with previous messages over specifically set periods of time
- Monetary Value Statistics: Statistics and figures on the customer's monetary engagement as a result of messaging
Once the parameters are associated with the content, Connect is able to use the
information drawn from external systems into the parameters and tailor the content for
the customer. For example, customers with large number of purchases could have a special
discount for specific similar items they have purchased displayed in the message, with a
smaller discount and generic product offering for customers with fewer purchases in
their history.
Note: You are able to use a third-party content generator with Connect to
produce conditional content or dynamic content. By passing parameters from Connect
to your content generator, you can create personal messages to individual customers
based on gender, age, inferred interests, or any attribute you define.
Creating Dynamic or XSL Content
To create dynamic content or XSL content:- In the Campaigns list screen, select the appropriate campaign. The campaign's Properties screen appears, displaying the campaign information.
- Click the Content sub-tab for the campaign. The Define Content for
Campaign screen appears.
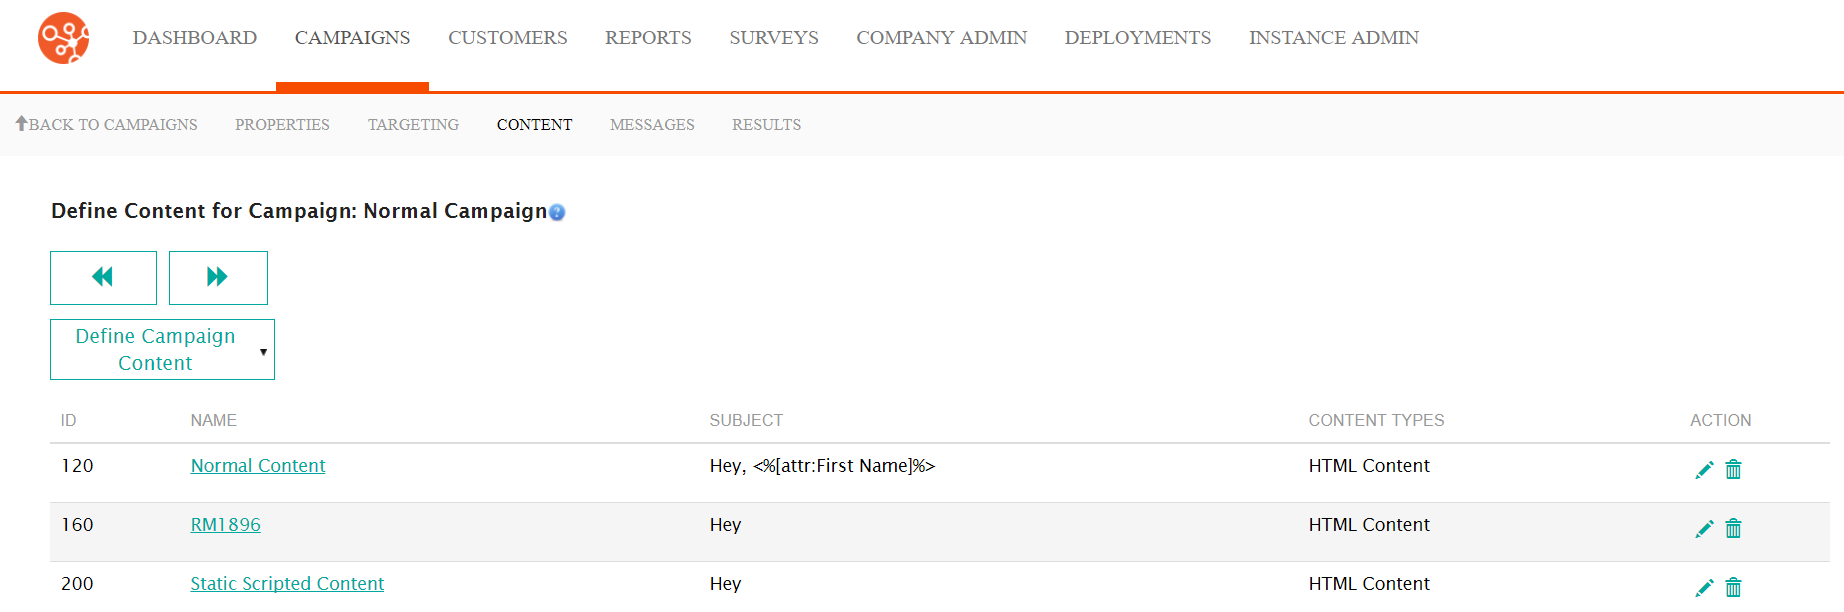
- From the Define Campaign Content dropdown, select New Content. The
New Content screen appears.
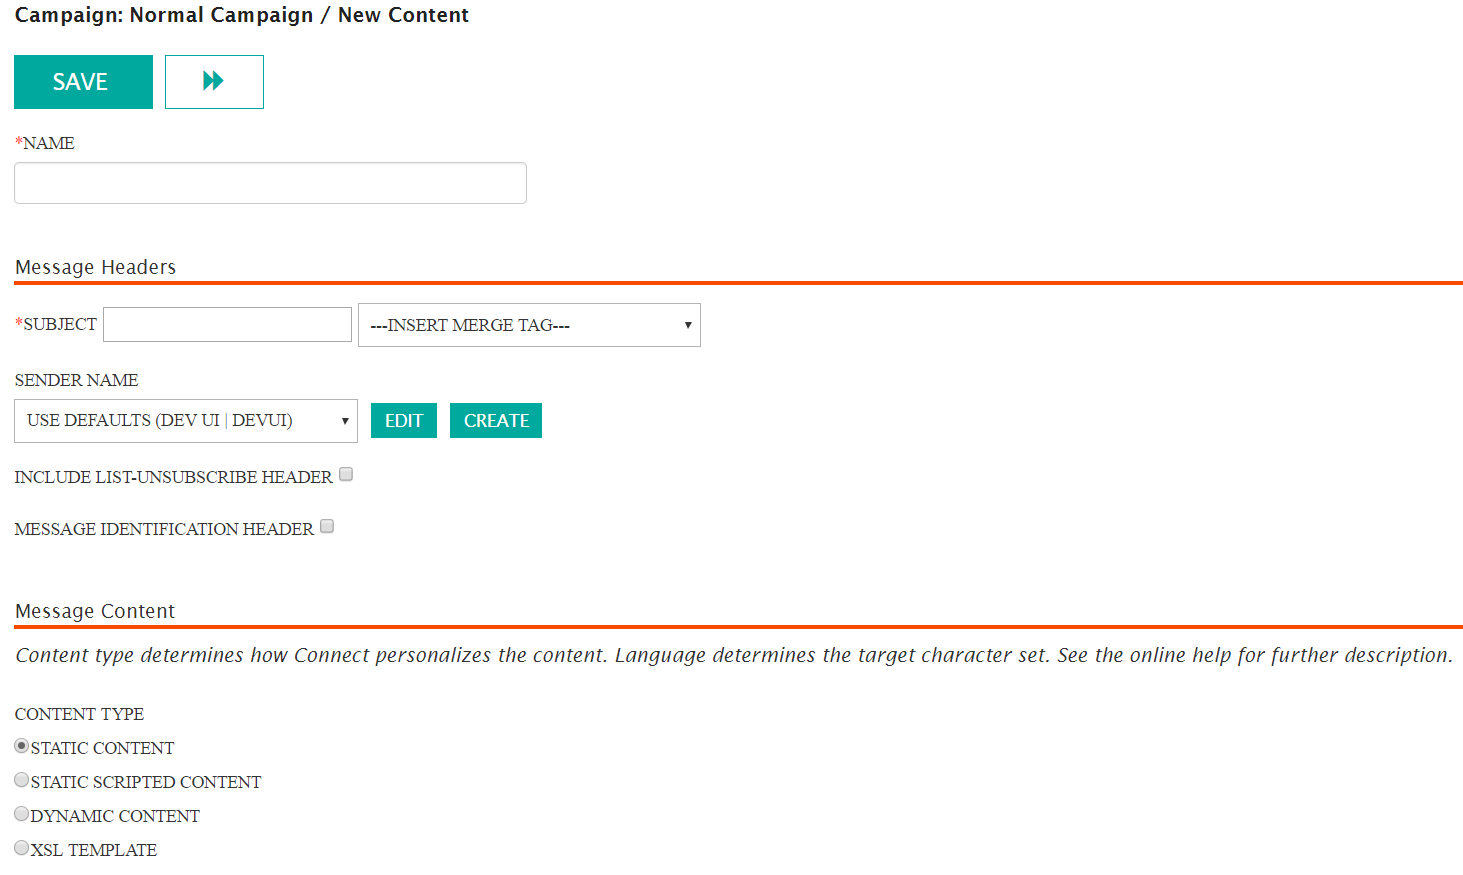
- Enter a name for the content in the Name: field. This is an internal name used to describe the content and is not seen by the customer.
- Enter the message header information in the Message Headers section:
- Subject: The subject line of the message that will be sent to the customer. The customer will read this as the subject line of the message (e.g. "Happy Holidays from MyCompany!")
- --Insert Merge Tag--: Allows you to insert a merge tag to personalize the message's subject line to the customer using customer attributes (e.g. "Happy Holidays, <%[attr:First Name]%>" which would display the customer's first name)
- Sender Name: The sender that will appear in the name and email
address from your organization (e.g. "MyCompany" as the name,
"[email protected]")Note: You are able to create a new sender if the one that you wish to use is not displayed in the Sender Name dropdown. To do so, click the Create button. For more information, see Creating Sender Names.Note: You are able to edit the sender name if the one that you wish to use in the Sender Name dropdown is not configured as you prefer. To do so, click the Edit button. For more information, see Editing Sender Names.
- Include List-Unsubscribe Header: Checkbox that when selected will include the unsubscribe header into the message
- Message Identification Header: Checkbox that when selected will include the message identification header to help identify the campaign in the message
- In the Message Content section:
- In the Content Type section, select either the Dynamic
Content or XSL Template. The Create Parameter
button appears.
To create a parameter:
- Click the Create Parameter button. The Create
Parameter section appears.
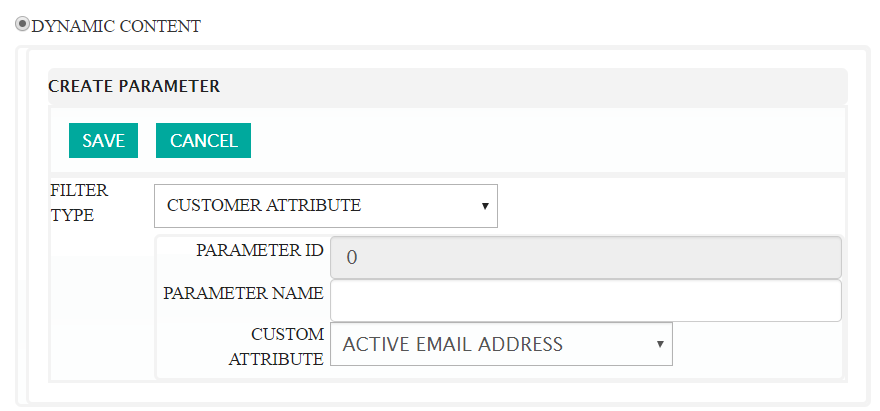
- Enter the details of the parameter:
- Filter Type: The type of customer attribute or behaviour filter that you wish to use: Customer Attribute, Recency Statistics, Frequency Statistic or Monetary Value Statistics.
- Parameter Name: The name for the attribute
- Attribute: The attribute that will be used to
populate the content specific to the attribute value for
the customerNote: For the four filter types, the attribute values available will change based on the type selected. For more information on the possible values for each filter type, please see dynamic_content_parameters.html#reports_samples
- To cancel the saving of the parameter without saving, click the Cancel button. The Create Parameter section disappears.
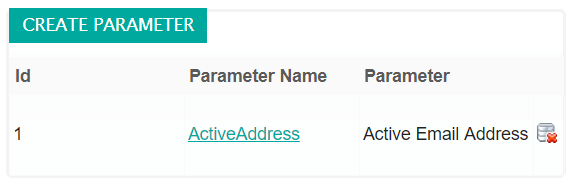
- Click the Save button. The parameter is saved.
- Click the Create Parameter button. The Create
Parameter section appears.
- To delete an existing parameter created erroneously:
- Click the delete parameter icon (
 ) beside the desired parameter.
Connect displays a warning message.
) beside the desired parameter.
Connect displays a warning message.
- To cancel without deleting the parameter, click the Cancel button. The warning message disappears with the parameter not having been deleted.
- Click the OK button. The parameter is deleted.
- Click the delete parameter icon (
- Select the desired language for the email in the Language dropdown.
- Check the Archive Message checkbox if you wish to archive the message
- In the Content Type section, select either the Dynamic
Content or XSL Template. The Create Parameter
button appears.
- In the Secure Message Transmission section:
- Select the desired level of encryption in the Send Using Secure
Channel dropdown:
- No Encryption: No encryption will be used
- Force TLS: Transport Layer Security (TLS) is forced to ensure privacy between your organization and the customer. If the recipient is not configured or able to accept TLS, the message will fail.
- Opportunistic TLS: If a TLS connection cannot be established, Connect will send the message using SMTP
- Select the desired send mode override in the Send Mode Override
dropdown:
- Default: The default override defined for the instance of Connect
- Use DMS: Use Defence Message System (DMS) protocols
- User Mail Farm: Use the associated mail farm. For more information, consult your Connect system administrator.
- Select the desired level of encryption in the Send Using Secure
Channel dropdown:
- Return to the top of the screen and click the Save button. The New
Content/Edit Content URLs screen appears.
For more information, please see Managing Content URLs
