Once the Twitter application is created, you configure the Twitter delivery channel. For more information on adding delivery channels, please see Creating Delivery Channels.
Configuring a Twitter Delivery Channel
To configure a Twitter delivery channel:
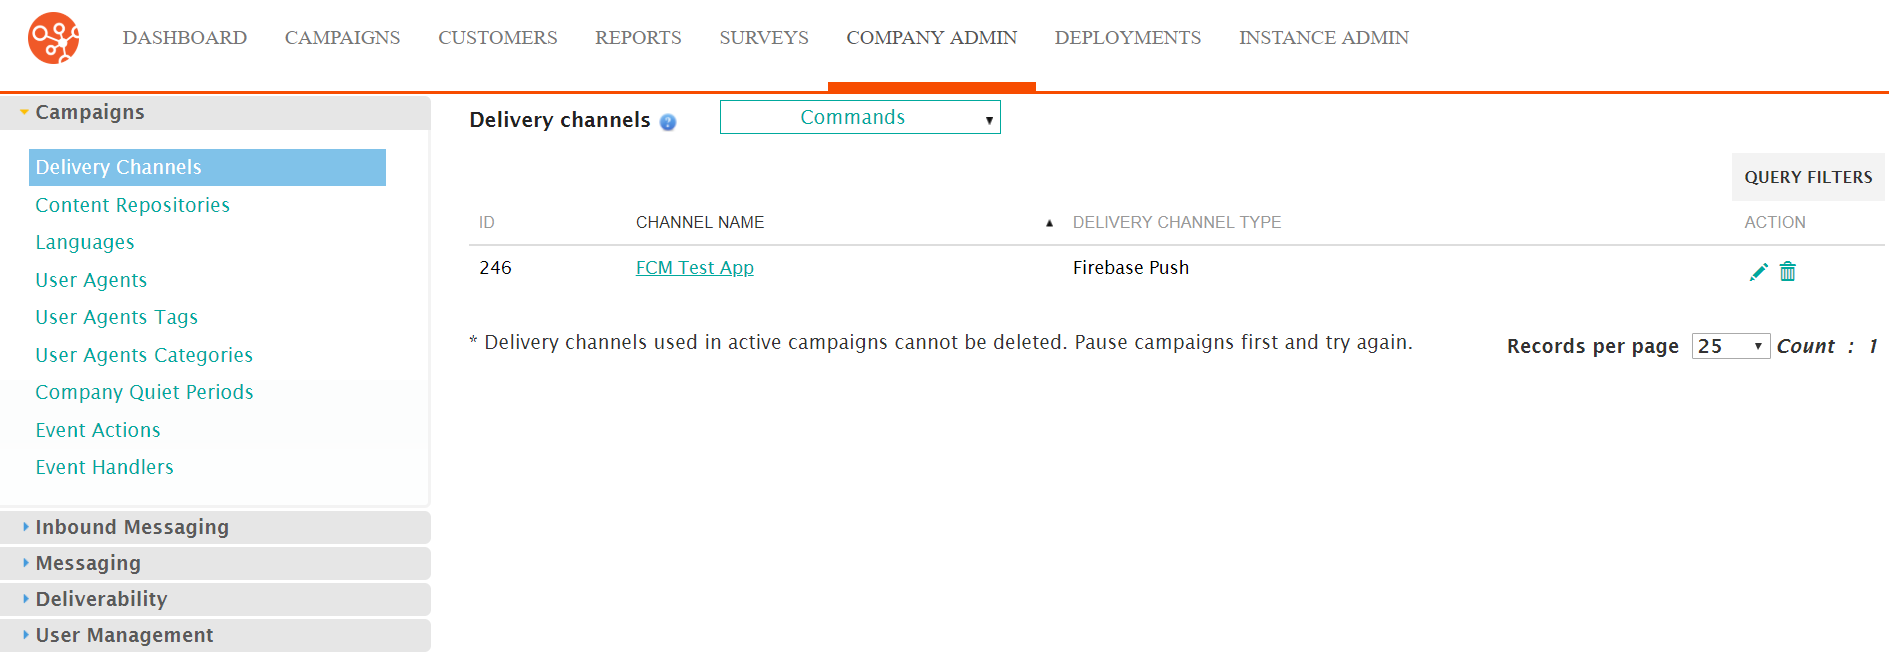
- Navigate to the Company Admin screen.
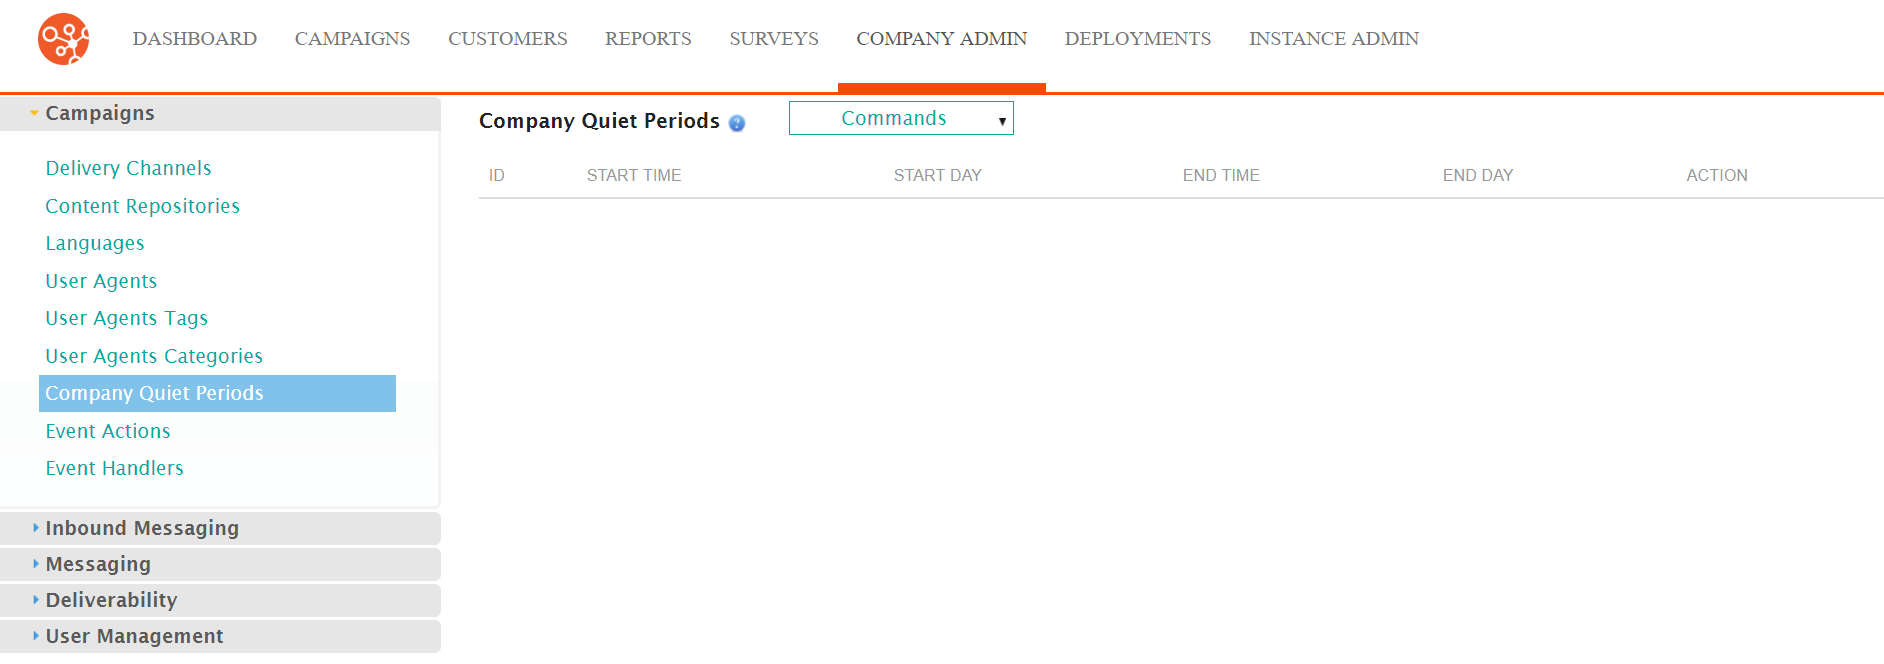
- Under the Campaigns sub-menu in the menu bar on the left, click on
the Delivery Channels menu item. The Delivery Channels screen
appears.
- From the Commands dropdown, select New Delivery
Channel.
The Configure Delivery Channel screen appears.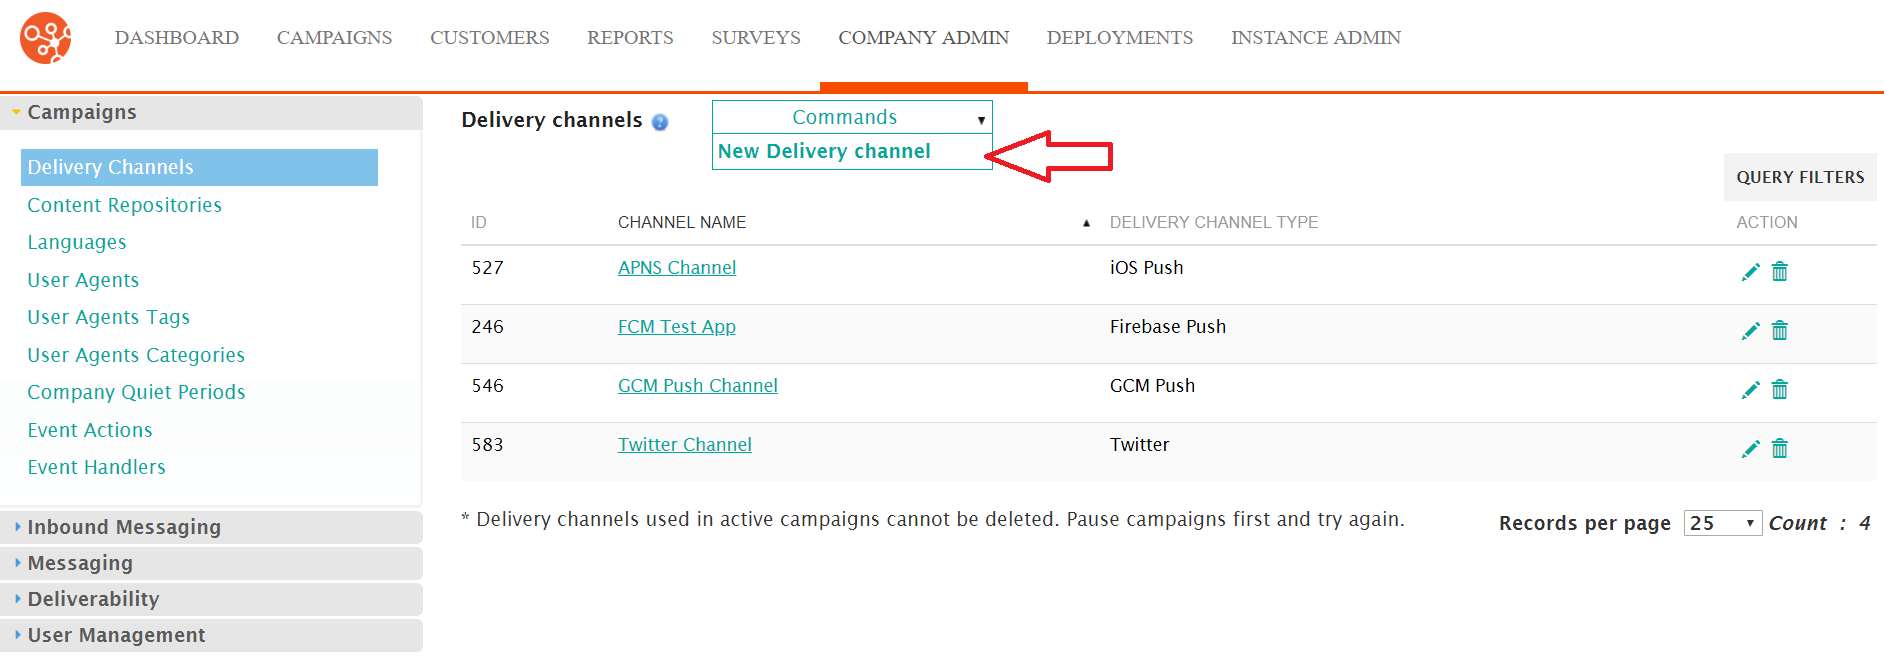
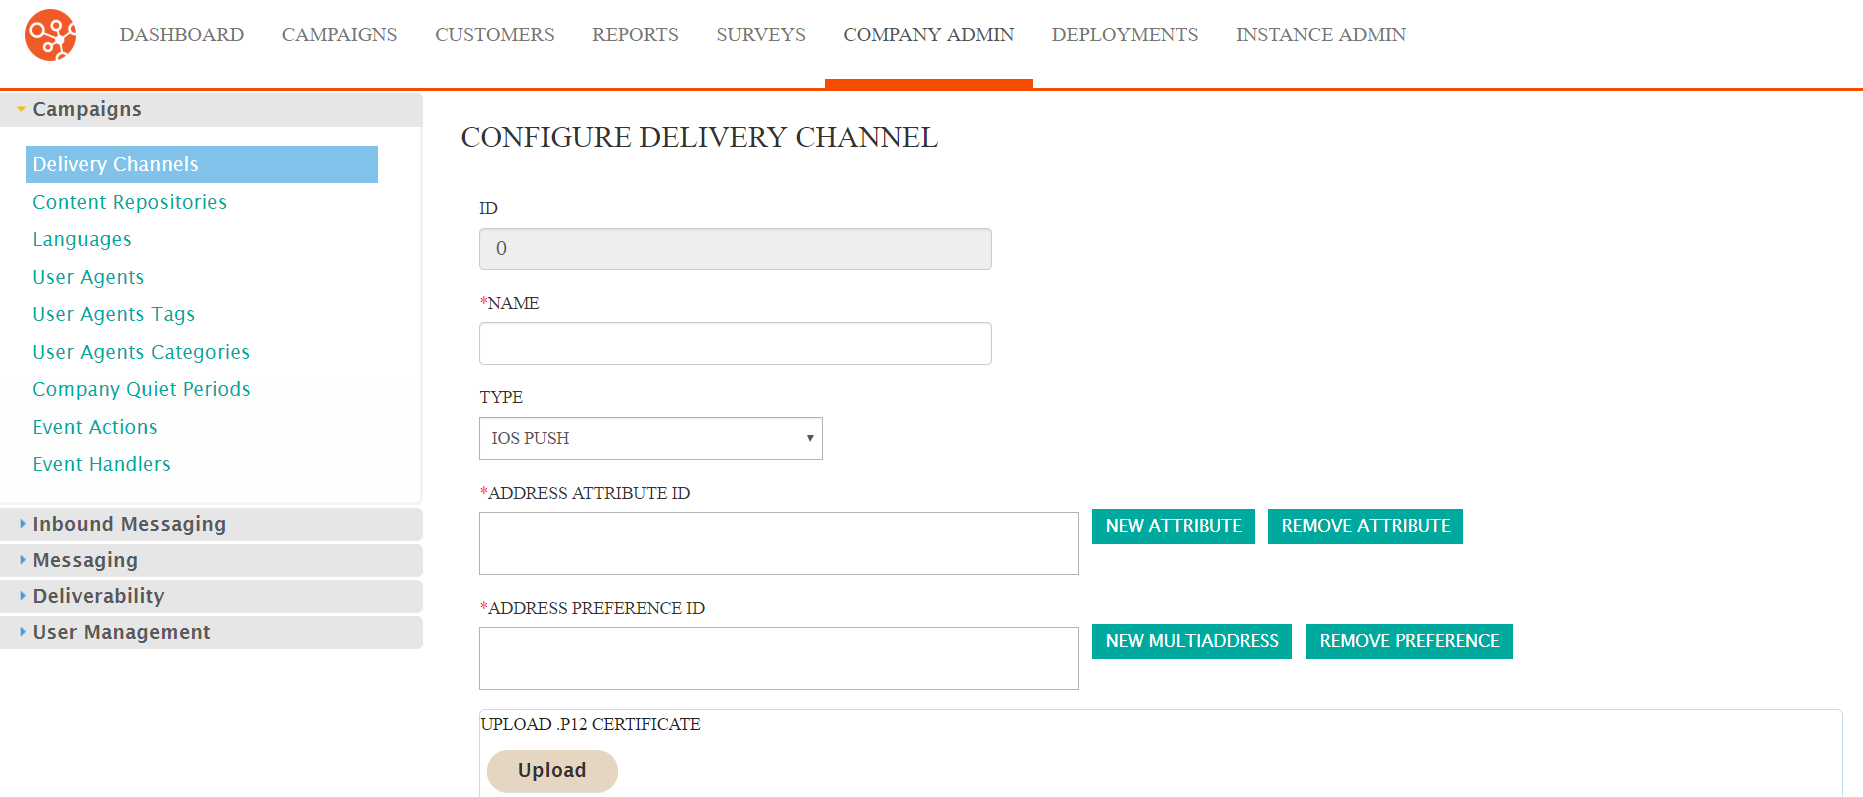
- Enter the delivery channel details:
- Name: The name for the delivery channel
- Type: Select 'Twitter'
- Enter the desired customer attribute that contains the Twitter handle for each customer in the Address Attribute ID field. For more information on adding attribute-specific information in the Address Attribute ID field, please see Creating Delivery Channels.
- Enter the authentication settings in the Authentication Settings
section using the values from the Twitter Developer Portal. For more
information on these values, please see Creating a Twitter Application for Connect:
- OATH Consumer Key
- OATH Consumer Secret
- OATH Access Token
- OATH Access Token Secret
- Enter the desired connection settings as necessary in the Connection
Settings section:
- Twitter Test Connection Before Use: Connect the connection with Twitter prior to attempting to send messages
- Twitter Updates Limit Per Half Hour: Limits the number of tweets that can be performed in a half-hour timeframe
- Twitter Direct Messages Limit Per Day: Limits the number of direct messages that can be sent in a day
- Twitter Updates Limit Per Day: Limits the number of tweets that can be sent in a day
- To cancel without configuring the delivery channel, click the Cancel button. The Twitter delivery channel is not created.
- Click the Save button. The Twitter delivery channel is saved and listed in the Delivery Channels list.
