Once a sender domain is created you are able to edit the sender domain
attributes.
Note: Other users and departments may be using the sender domain you wish
to edit. Ensure that you are updating the sender domain information
appropriately.
Editing a Sender Domain
To edit a sender domain:
- In the Campaigns screen, click on the Senders sub-tab. The
Senders screen appears.
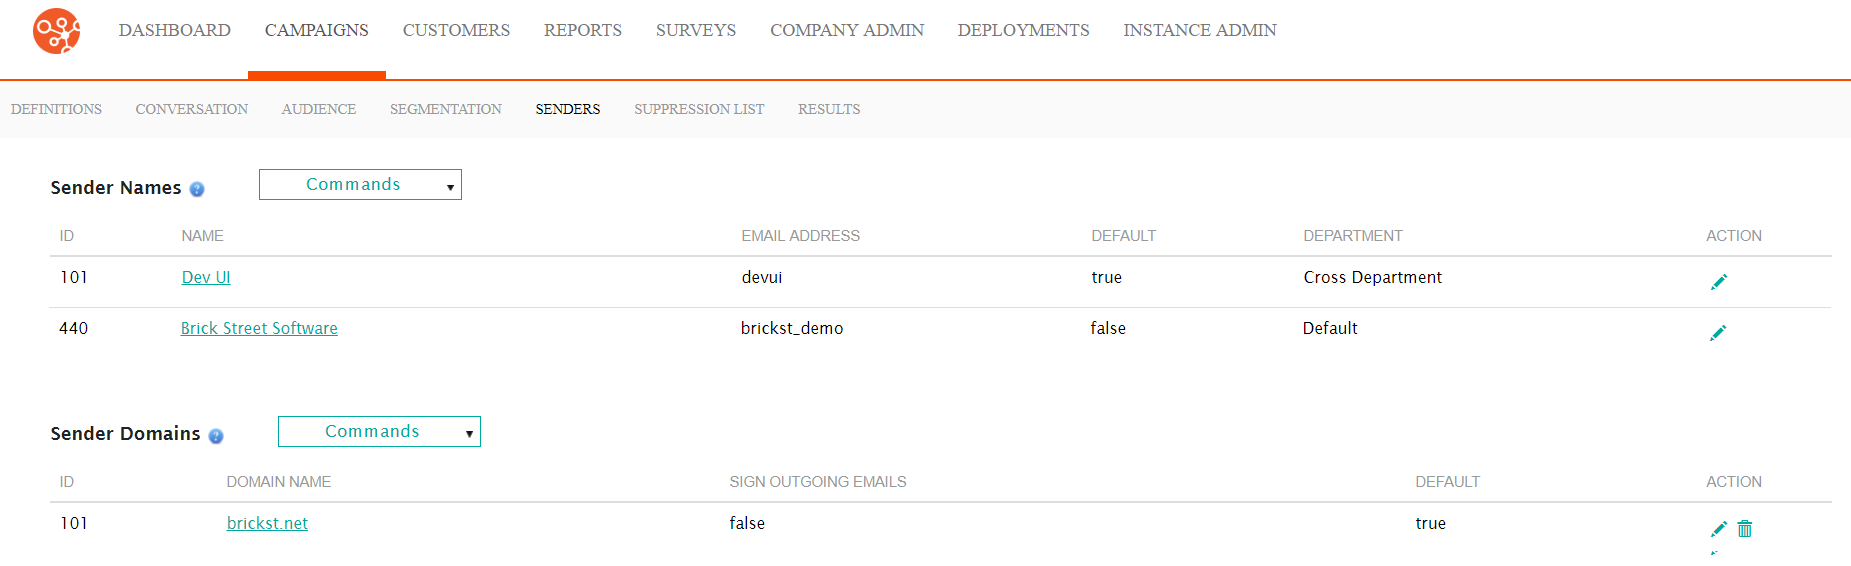
- Click on the edit icon (
 ) beside the desired sender domain. The
Define Sender Domain section opens with the sender domain
information displayed.
) beside the desired sender domain. The
Define Sender Domain section opens with the sender domain
information displayed. - Edit the desired sender domain basic information:
- Domain Name: The entire domain name including the 'dot' extension (e.g. 'mycompany.com')
- Alternate Name for Signing: An alternate domain name that can be used when using a signing protocol (as necessary)
- Default: Checkbox indicating whether the sender domain will
be used as the default domain.Note: Marking this domain as the default sender will remove the default status from the existing default sender. Ensure that you wish to use this sender as the default.
- Sign Outgoing Emails: Indicates that Connect will sign outgoing emails using DKIM or DomainKey encoding.
- Sign Emails Using: Indicates the encoding that will be used
if you have checked the Sign Outgoing Emails checkbox.
- DomainKey Simple: Uses simple DomainKey signature, adding a header named DomainKey-Signature which contains a digital signature
- DomainKey NOFWS: Uses the NOFWS (No Folding White Spaces) DomainKey signature that tolerates common modifications as white-space replacement and header line re-wrapping
- DKIM Simple: Uses simple DKIM signature, adding signatures to email messages, allowing recipient sites to verify that the message was sent by an authorized sender and not altered in transit
- Selector: The selector being used for the signature, allowing a domain to have more than one public-key in the DNS
- Enter Signing Key for Outbound Emails: The signing key that will be used for the signature for outbound emails
- To cancel without saving the new sender domain, click the Cancel button. The Define Sender Domain section disappears. The sender domain is not added to the domain list.
- Click the Save button. The Define Sender Domain section
disappears. The new sender domain is added to the domain list.Note: There are specific technical considerations to be made should you wish to use signatures. For more information about DomainKeys and DKIM, see DomainKeys and Domain Keys Identified Mail
