Before an SMPP server is able to be created, a sender needs to be created for it. This is the name of the sender of the message that the customer will see.
Creating a SMPP Sender
To create a new SMPP sender:
- Navigate to the Company Admin screen.
- Click on the Messaging sub-menu in the menu bar on the left, followed
by the SMPP menu option. The SMPP screen appears.
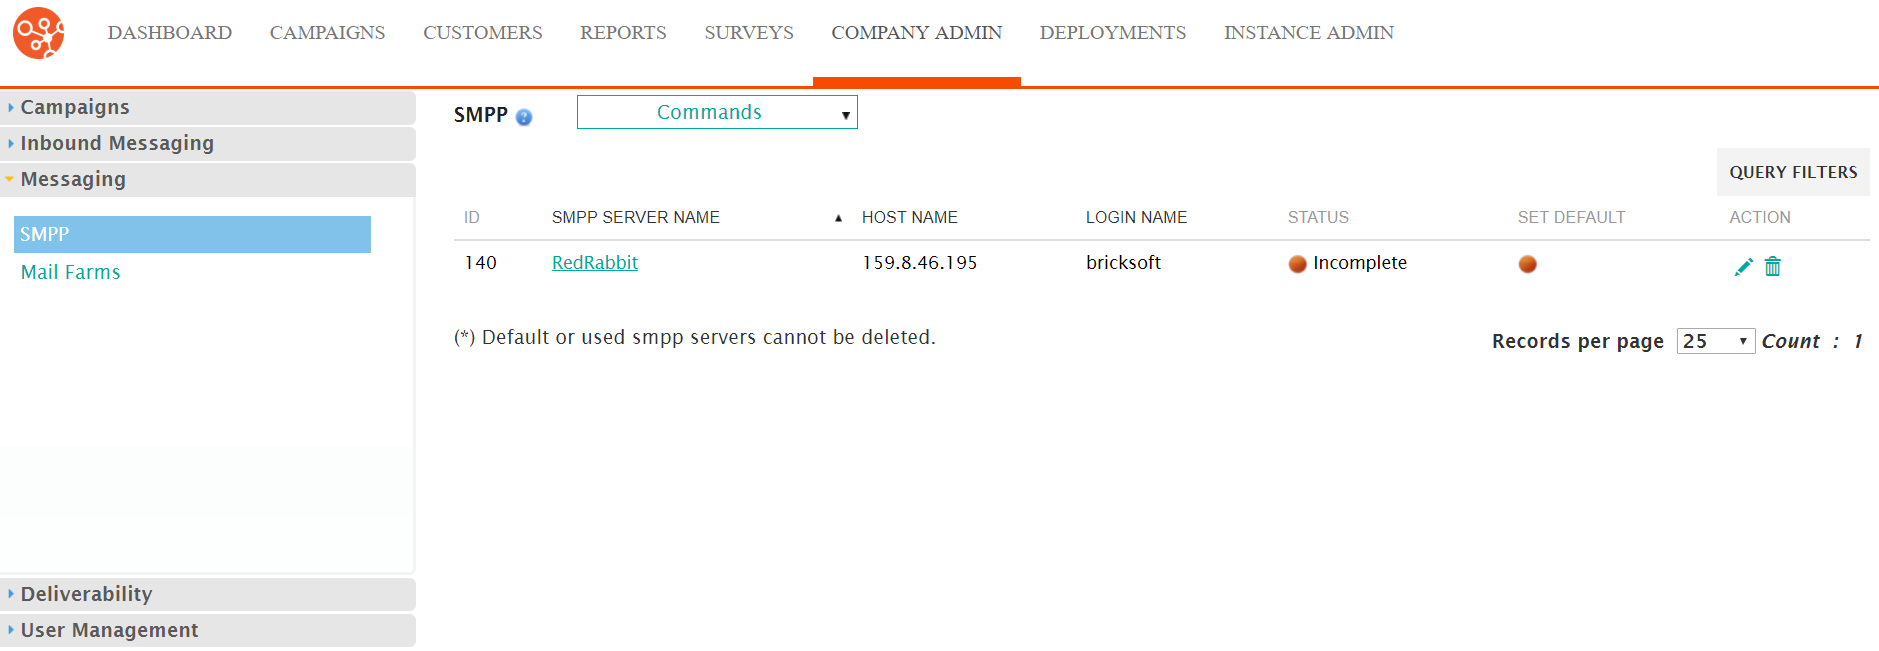
- Click on the desired SMPP server name link from the list of SMPP server or
click on the Edit icon (
 ) beside the desired SMPP. The Edit SMPP
Server Information screen appears displaying the details of the SMPP
server.
) beside the desired SMPP. The Edit SMPP
Server Information screen appears displaying the details of the SMPP
server.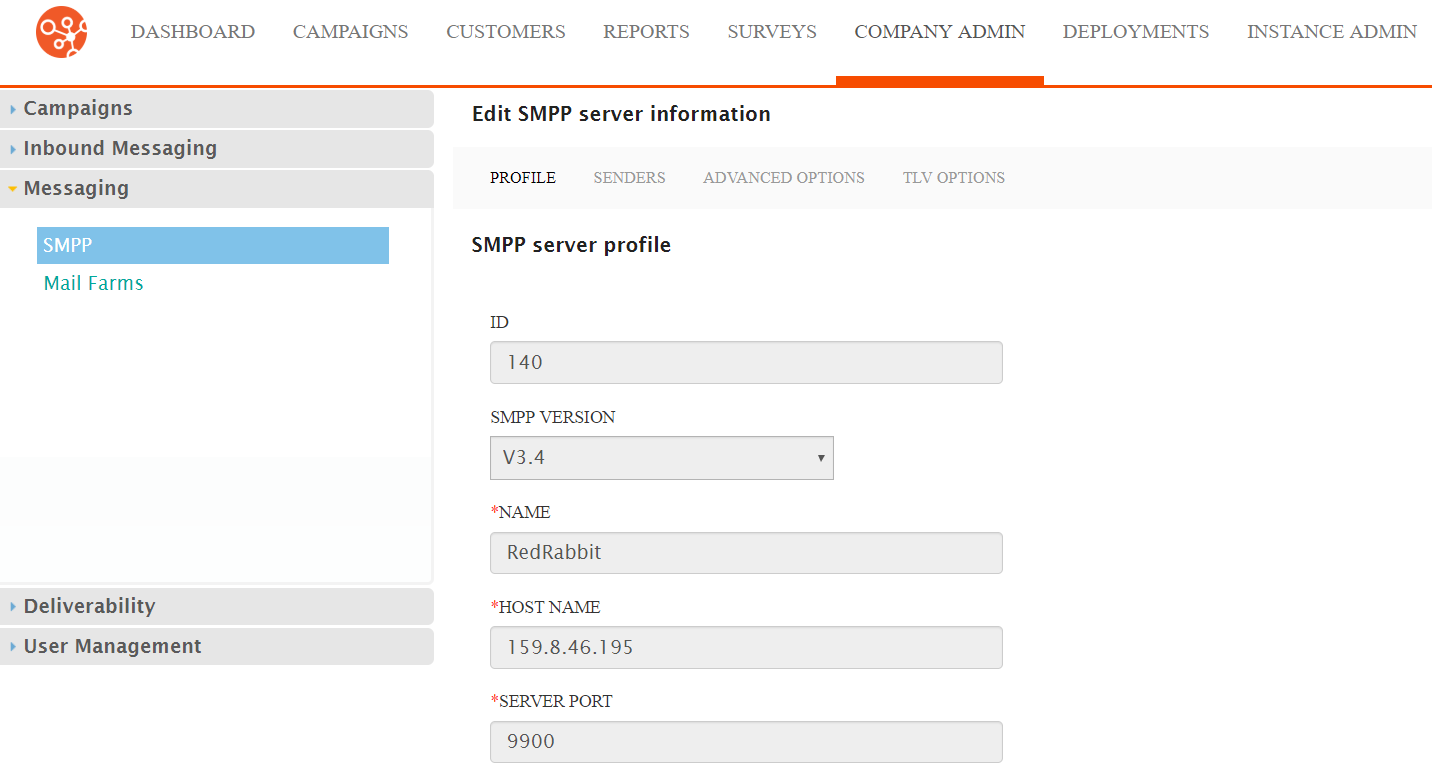
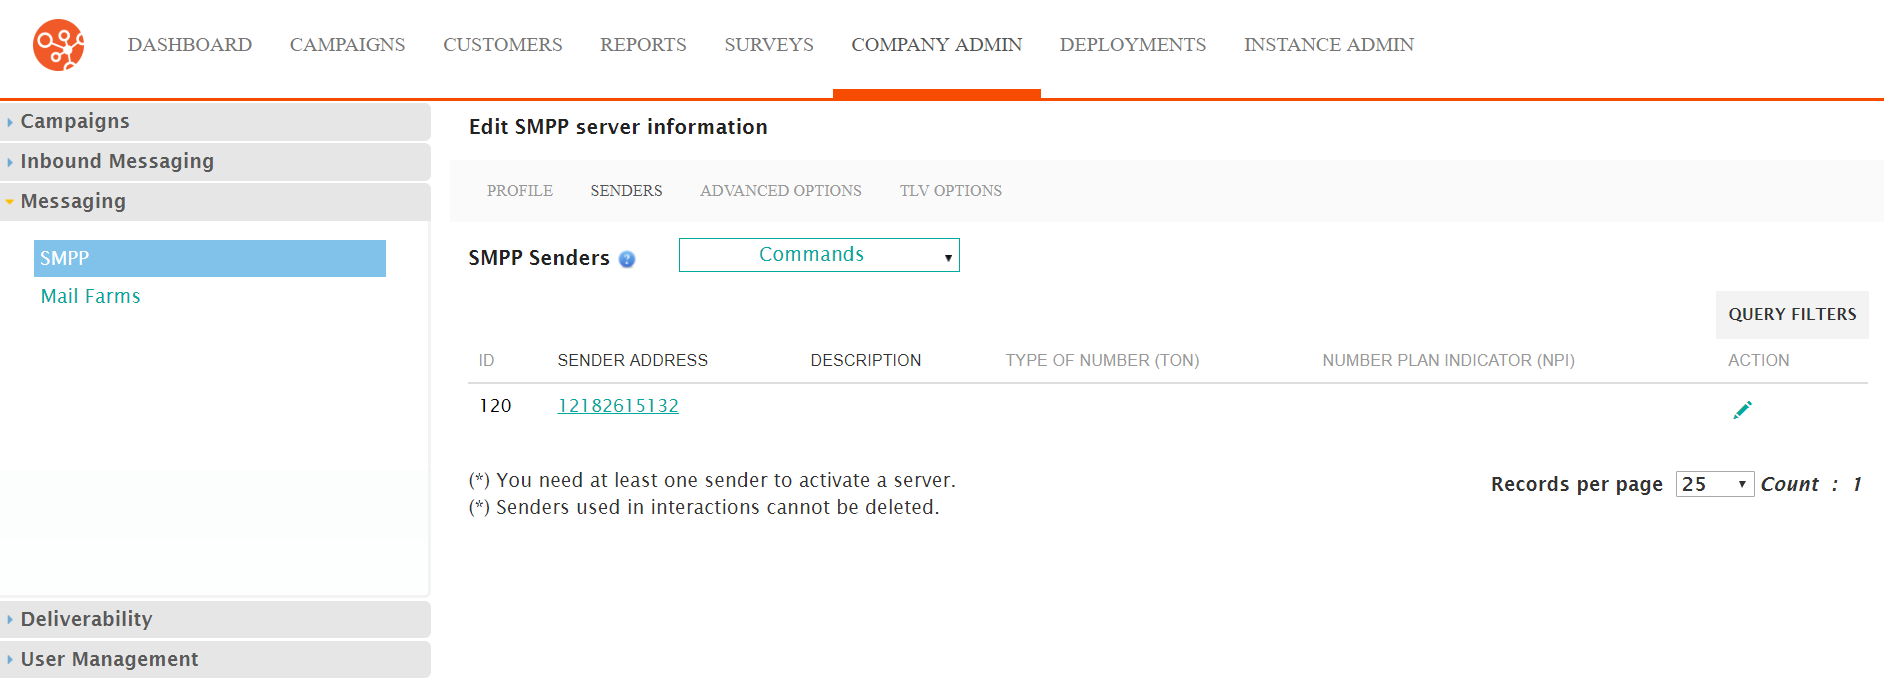
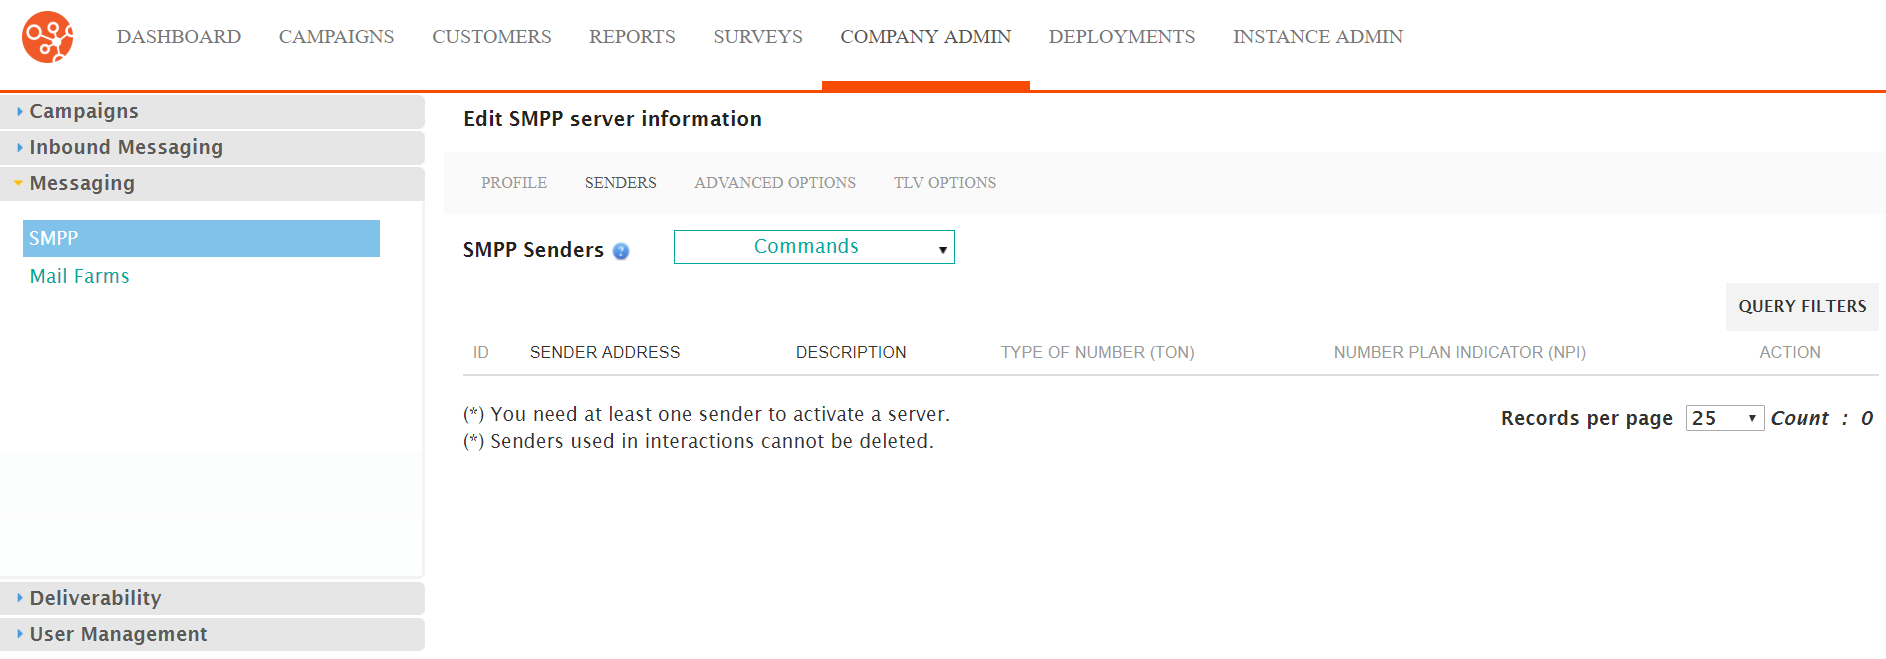
- Click on the Senders sub-menu tab. The SMPP Senders screen
appears.
- From the Commands dropdown, select 'New SMPP Sender.
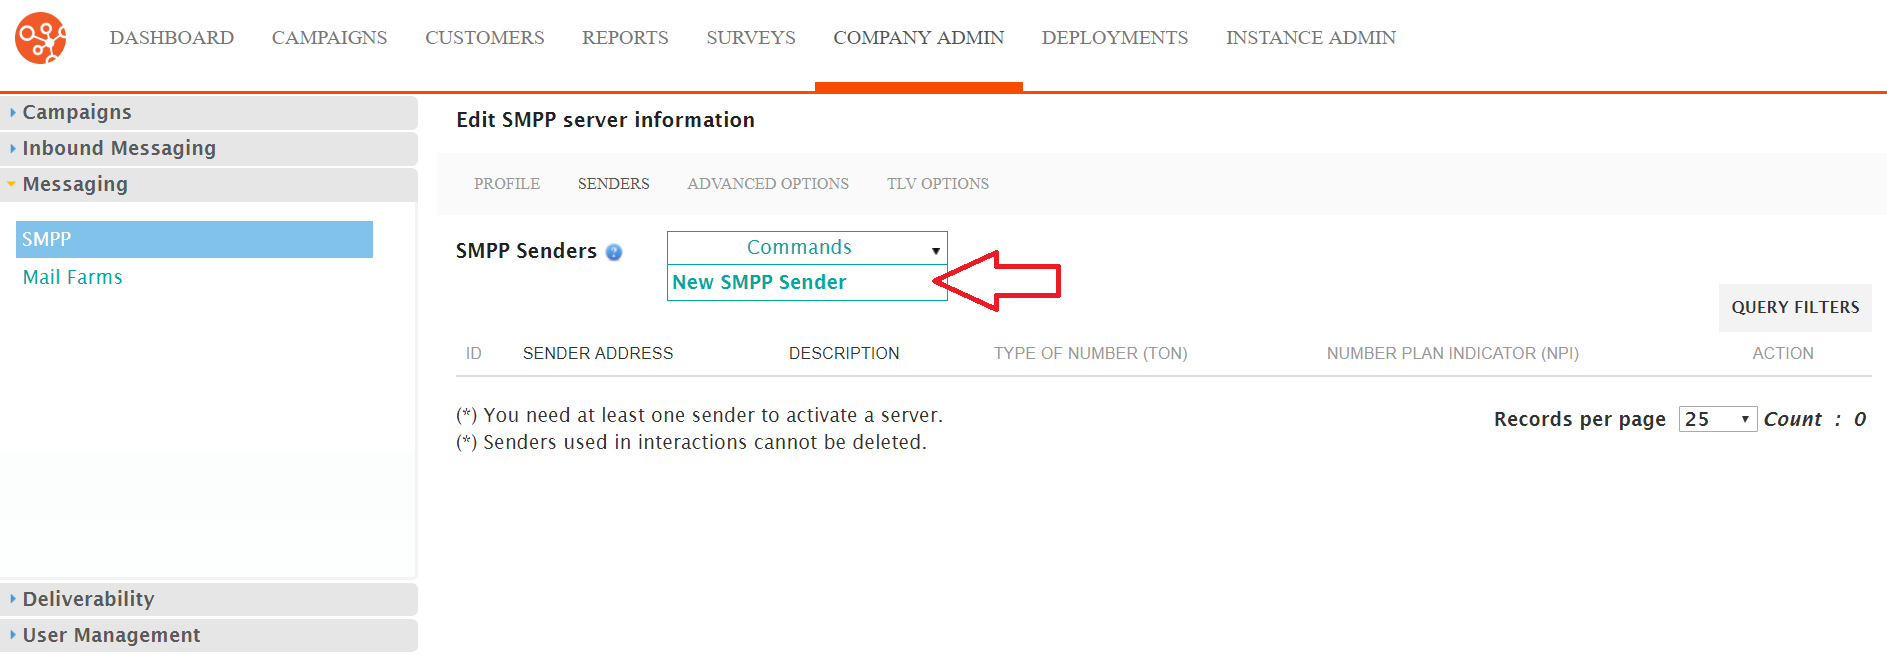
The Enter SMS Sender Information screen appears
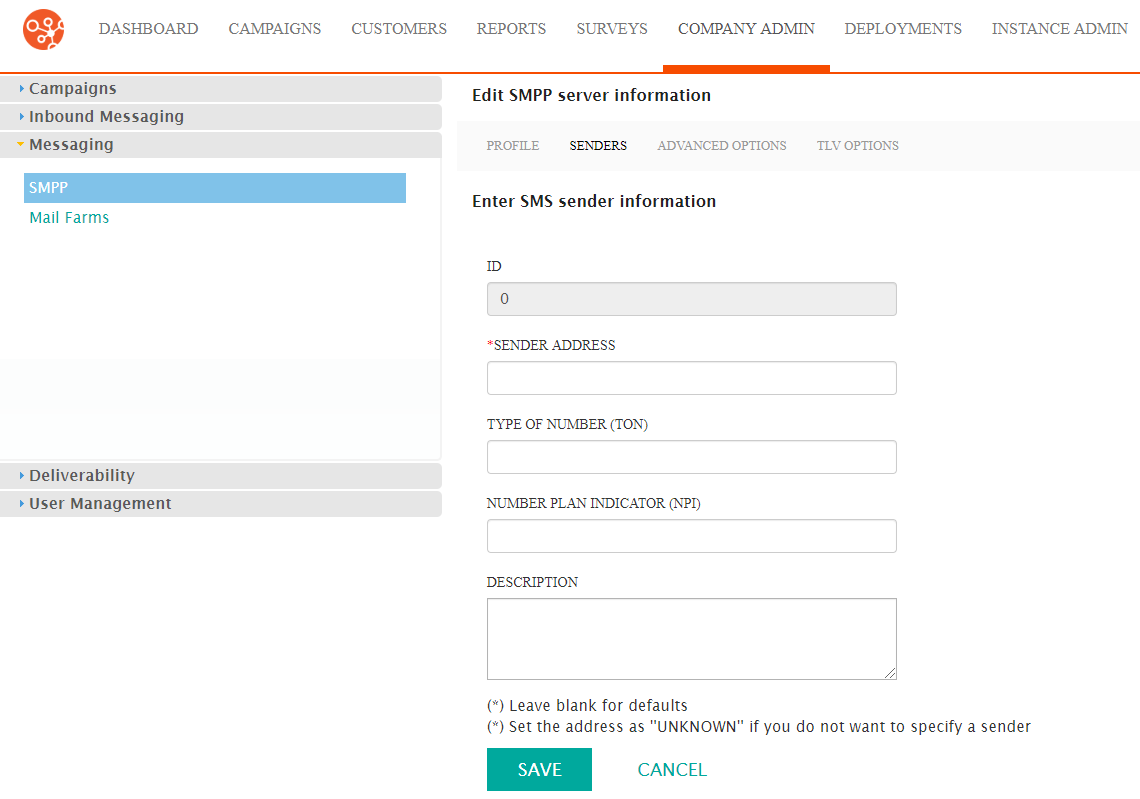
- Enter the sender information:
- Sender Address: The email address or phone number for the sender
- Type of Number (TON): The number code that tells the server
how to interpret telephone numbers:
- 0: Unknown
- 1: International
- 2: National
- 3: Network Specific
- 4: Subscriber Number
- 5: Alphanumeric
- 6: Abbreviated
- Number Plan Indicator (NPI): The number code that identifies
the numbering plan for the corresponding phone number:
- 0: Unknown
- 1: ISDN Telephony (i.e. E.164 Standard)
- 2: Generic
- 3: Data (i.e. X.121 Standard)
- 4: Telex (i.e. F69 Standard)
- 5: Maritime Mobile (i.e. E.210 and E.211 Standard)
- 6: Land Mobile (i.e. E.212)
- 7: ISDN/Mobile - (i.e. E.214 Standard)
- Description: A description for the sender
- To cancel without saving the SMPP sender, click the Cancel button. The SMPP Senders screen appears. The sender is not saved.
- Click the Save button. The SMPP Senders screen appears with the new sender appearing in the list.
