There may be cases where the details of a reply handler to redirect email replies or archive messages.
Note: Editing the details of a reply handler can have unexpected consequences such as
highly degraded performance and mishandled customer replies. If you are considering
changing the current configuration, contact Brick Street Customer Support
first.
Editing Reply Handlers
To edit a reply handler:
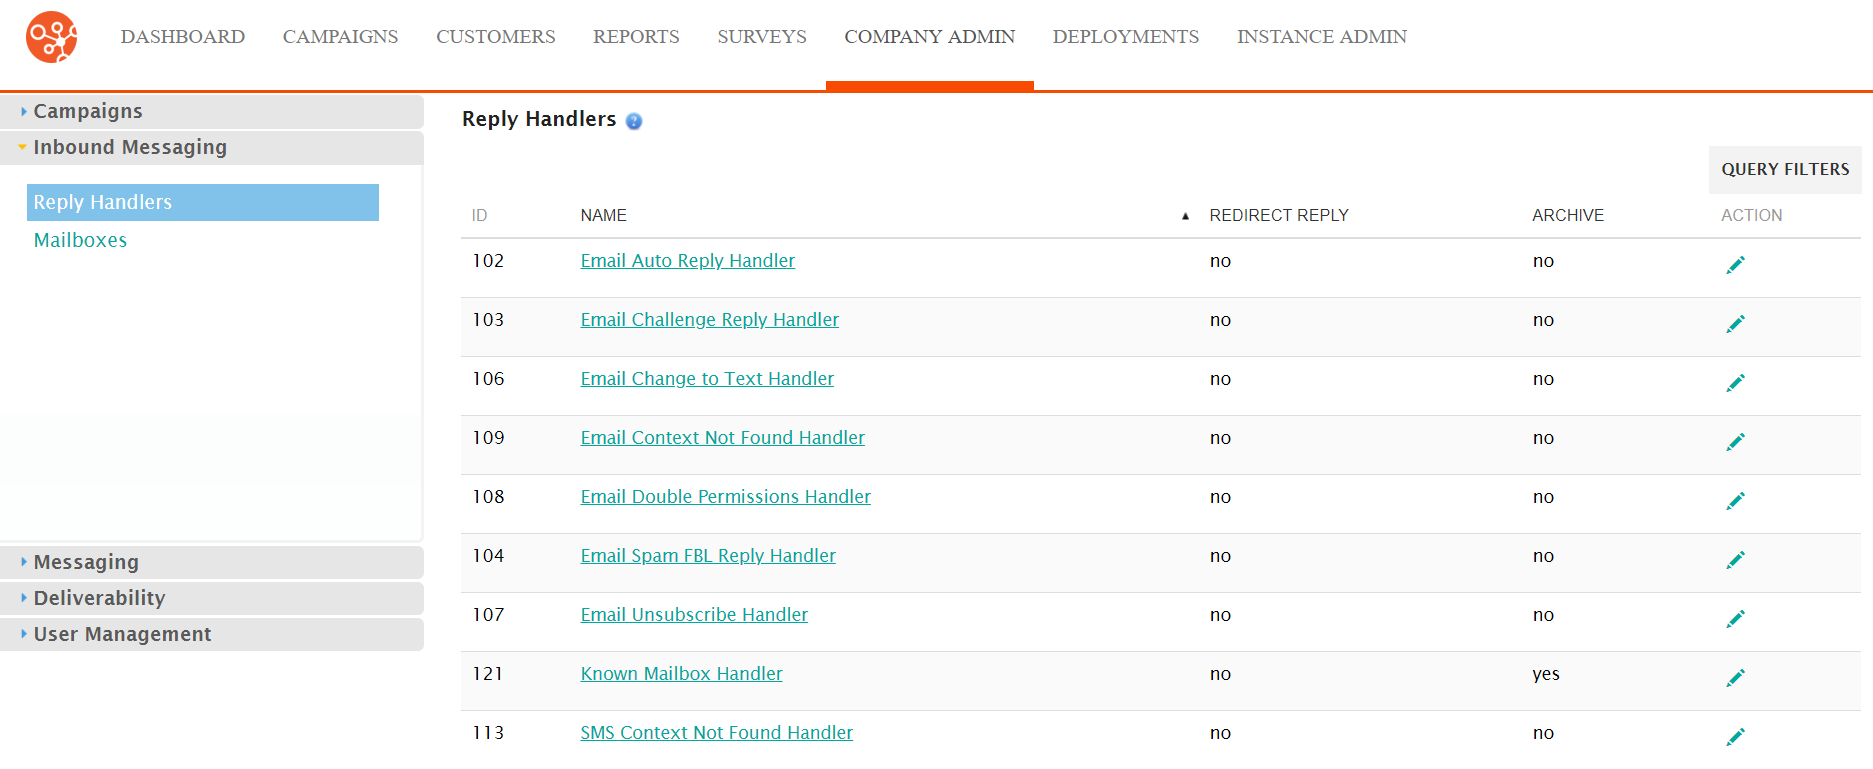
- Navigate to the Company Admin screen.
- Click on the Inbound Messaging sub-menu in the menu bar on the left,
followed by the Reply Handlers menu option. The Reply Handlers
screen appears.
- Click on the desired reply handler name link from the list of user agent
categories or click on the Edit icon (
 ) beside the desired reply handler. The Enter
Reply Handler Information screen appears displaying the details of
the reply handler.
) beside the desired reply handler. The Enter
Reply Handler Information screen appears displaying the details of
the reply handler.
- To redirect emails to specific email addresses in your organization, click
the Redirect Reply checkbox. The Email Addresses text box is
now editable.
Enter the email addresses that you wish the reply to be forwarded on to. Enter each email address on a single line.
- To disable the redirection of emails, ensure that the checkmark is cleared from the Redirect Reply checkbox. The Email Addresses text box is disabled.
- To archive reply emails to a specific folder, click the Archive
checkbox. The Directory field is now editable.
Select the desired folder that the email replies will be archived in.
- To disable archiving emails, ensure that the checkmark is cleared from the Archive checkbox. The Directory field is disabled.
- To cancel without saving the changes to the reply handler, click the Cancel button. The Reply Handlers screen appears. The changes to the reply handler are not saved.
- Click the Save button. The Reply Handlers screen appears. The changes to the reply handler are saved
