Mailboxes must be created in order for Connect to send messages to customers as well as receive messages from customers in reply to messages sent to them.
Creating a Mailbox
To create a new mailbox:
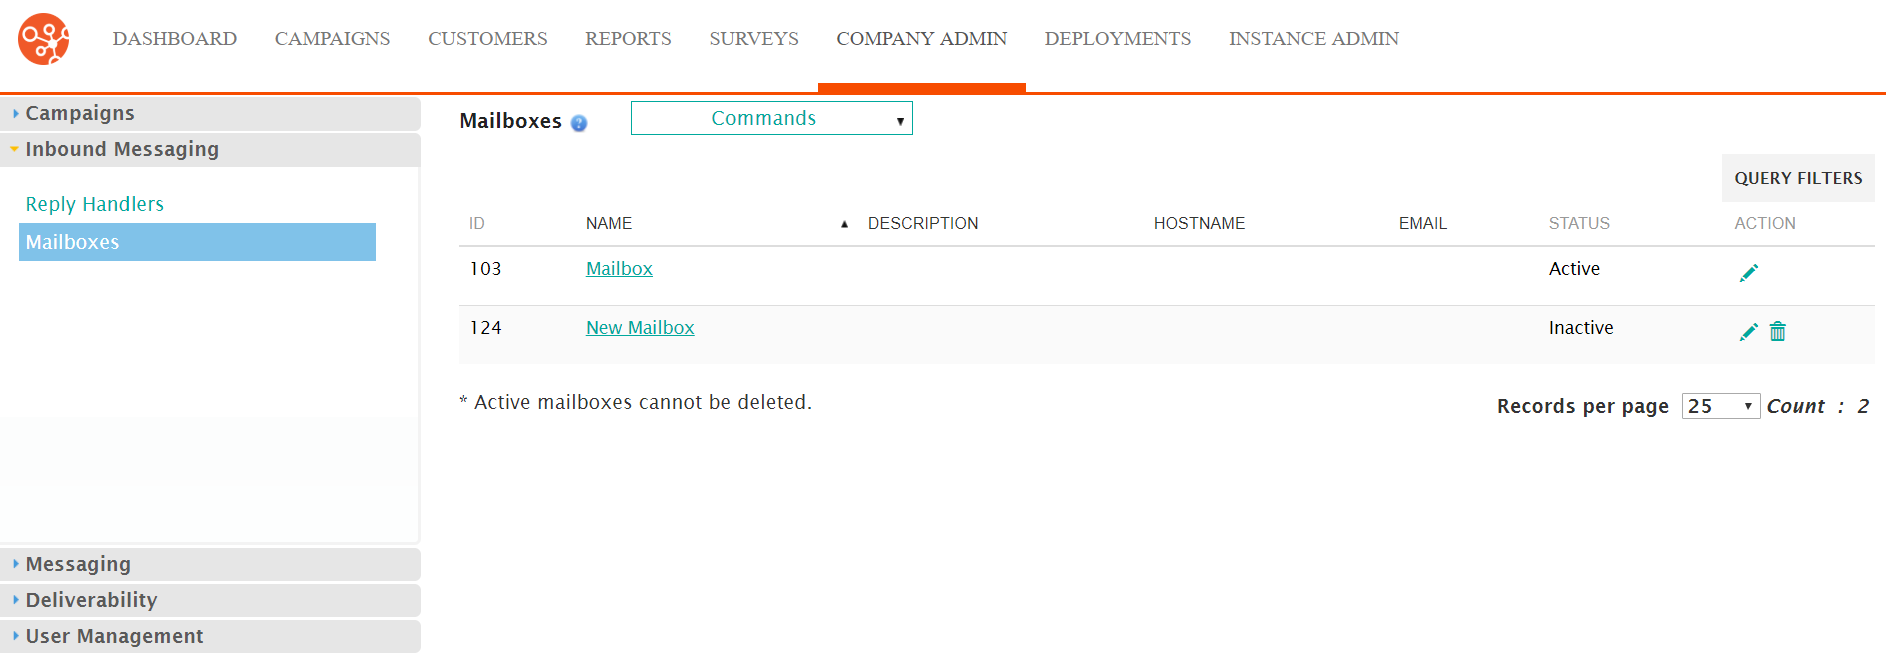
- Navigate to the Company Admin screen.
- Click on the Inbound Messaging sub-menu in the menu bar on the left,
followed by the Mailboxes menu option. The Mailboxes screen
appears.
- From the Commands dropdown, select New Mailbox.
The Edit Mailbox screen appears.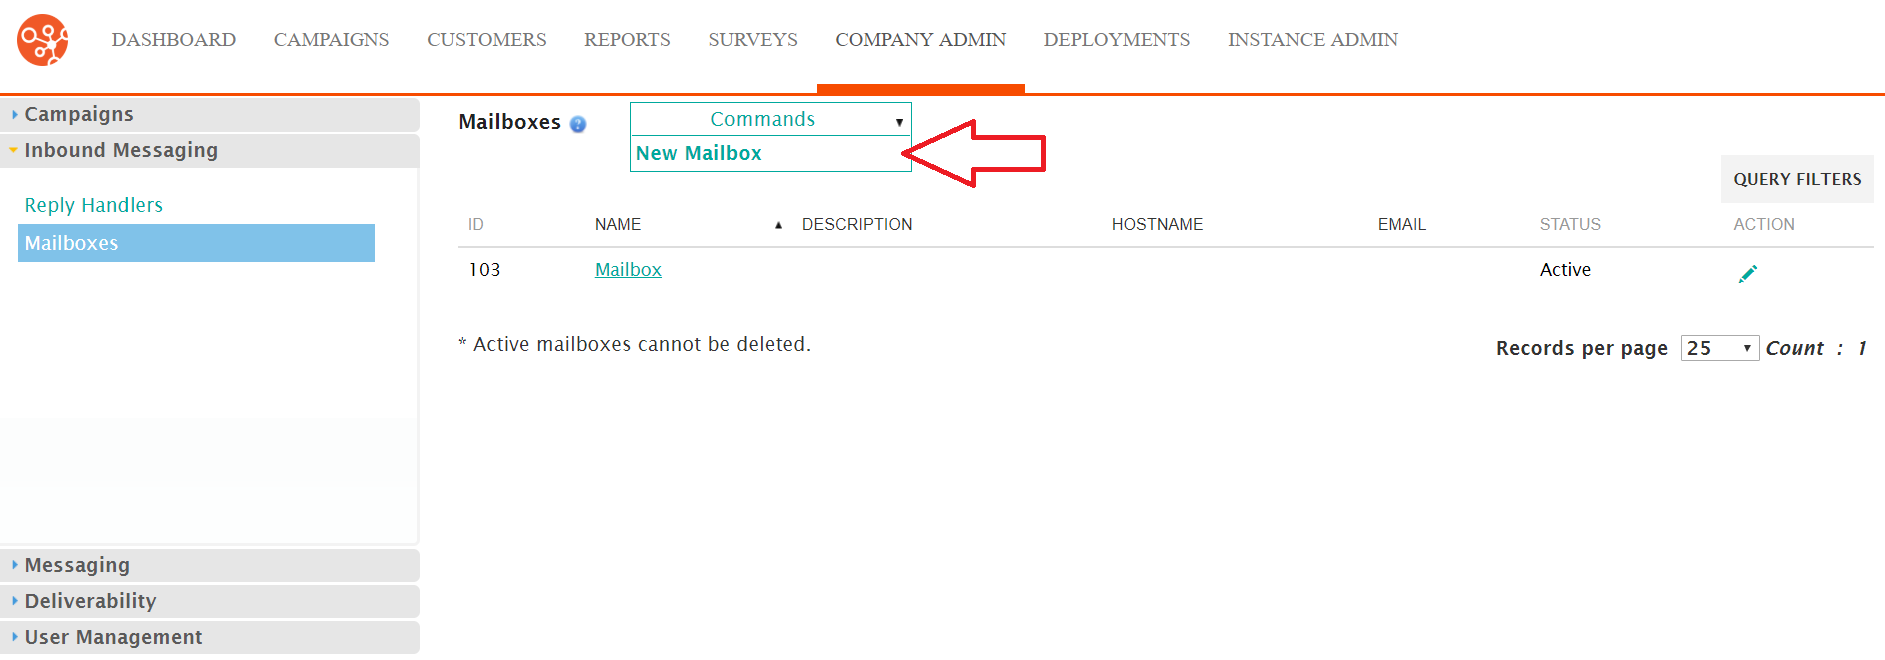
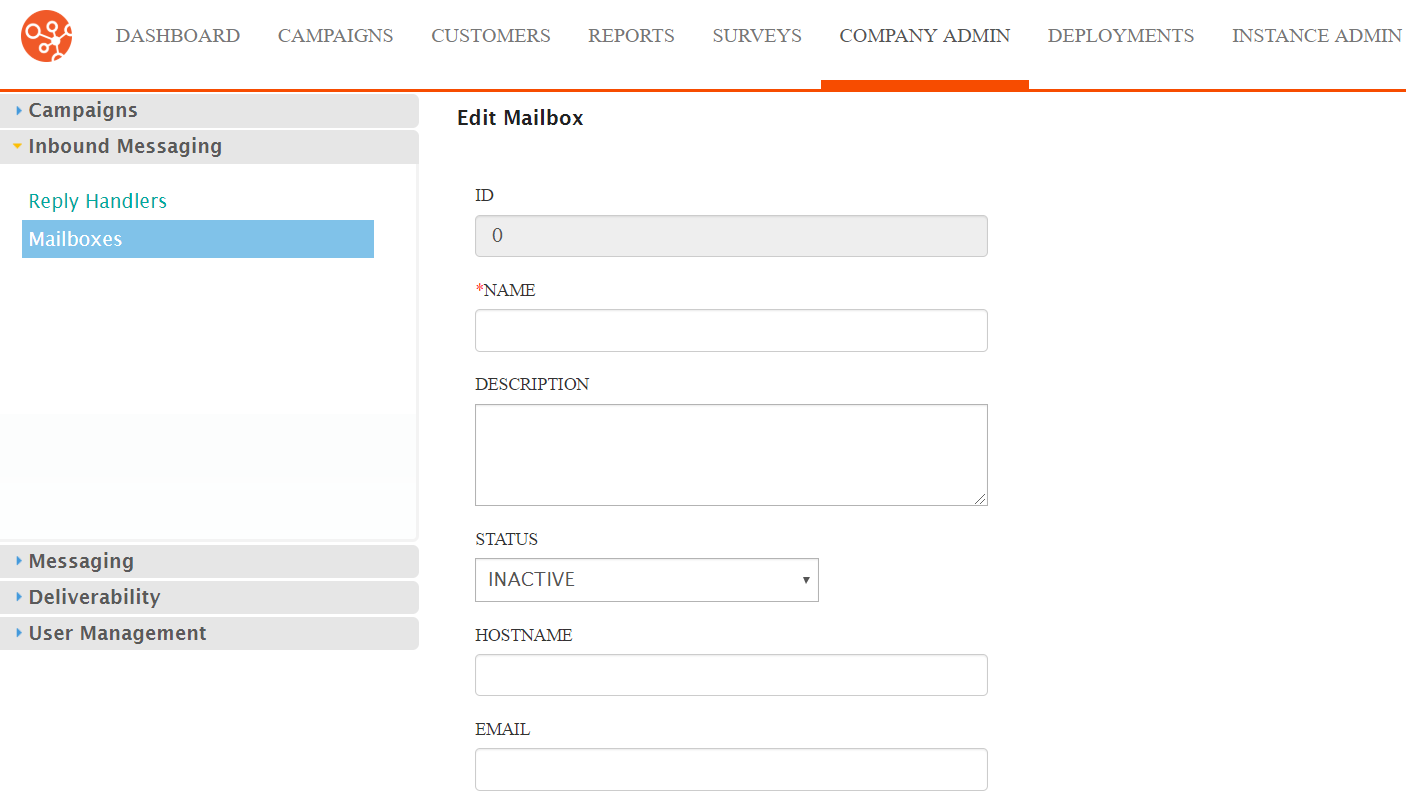
- Enter the mailbox details:
- Name: The internal name for the mailbox
- Description: A description for the mailbox
- Status: The current status of the mailbox (i.e. 'Active' or 'Inactive')
- Hostname: The hostname associated with the mailbox
- Email: The email address associated with the mailbox
- Username: The user name used externally to log into the mailbox
- Password: The password for the user name to log into the mailbox
- Protocol: The email protocol used for the mailbox (i.e. 'POP3', 'IMAP' or 'GMAIL IMAP')
- SSL: Indicates whether the mailbox uses SSL or not
- Secure: Indicates whether the mailbox uses a secure connection or not
- Select any reply handlers that will apply to the mailbox if necessary:
- EMAIL AUTO REPLY HANDLER
- EMAIL CHALLENGE REPLY HANDLER
- EMAIL SPAM FBL REPLY HANDLER
- EMAIL CHANGE TO TEXT HANDLER
- EMAIL UNSUBSCRIBE HANDLER
- EMAIL DOUBLE PERMISSIONS HANDLER
- EMAIL CONTEXT NOT FOUND HANDLER
- UNEXPECTED REPLY HANDLER
- EMAIL TEMPORARY BOUNCE HANDLER
- EMAIL PERSISTENT BOUNCE HANDLER
- SMS CONTEXT NOT FOUND HANDLER
- SMS PERSISTENT BOUNCE HANDLER
- SMS UNSUBSCRIBE HANDLER
- SMS DOUBLE PERMISSIONS HANDLER
- KNOWN MAILBOX HANDLER
- SMS KEYWORD HANDLER
- To test the login connection using the entered mailbox details, click the Test Connection button. If the connection is a success, the details for the mailbox have been entered correctly. If the connection fails, review the mailbox details and correct the errors.
- To cancel without saving the mailbox, click the Cancel button. The Mailboxes screen appears. The mailbox is not saved.
- Click the Save button. The Mailboxes screen appears. The mailbox is saved and is displayed in the list of mailboxes.
