Once survey fields are created, you may need to alter the details and configuration of
the fields if they were originally created with errors or the survey information being
captured has changed.
Note: Ensure that no other Connect users are using the survey
fields and that the changes will not cause issues with other
users.
Note: Fields cannot be created or edited if a deployment has been
created for the survey.
Editing Survey Fields
To edit an existing survey field:
- Navigate to the Surveys screen.
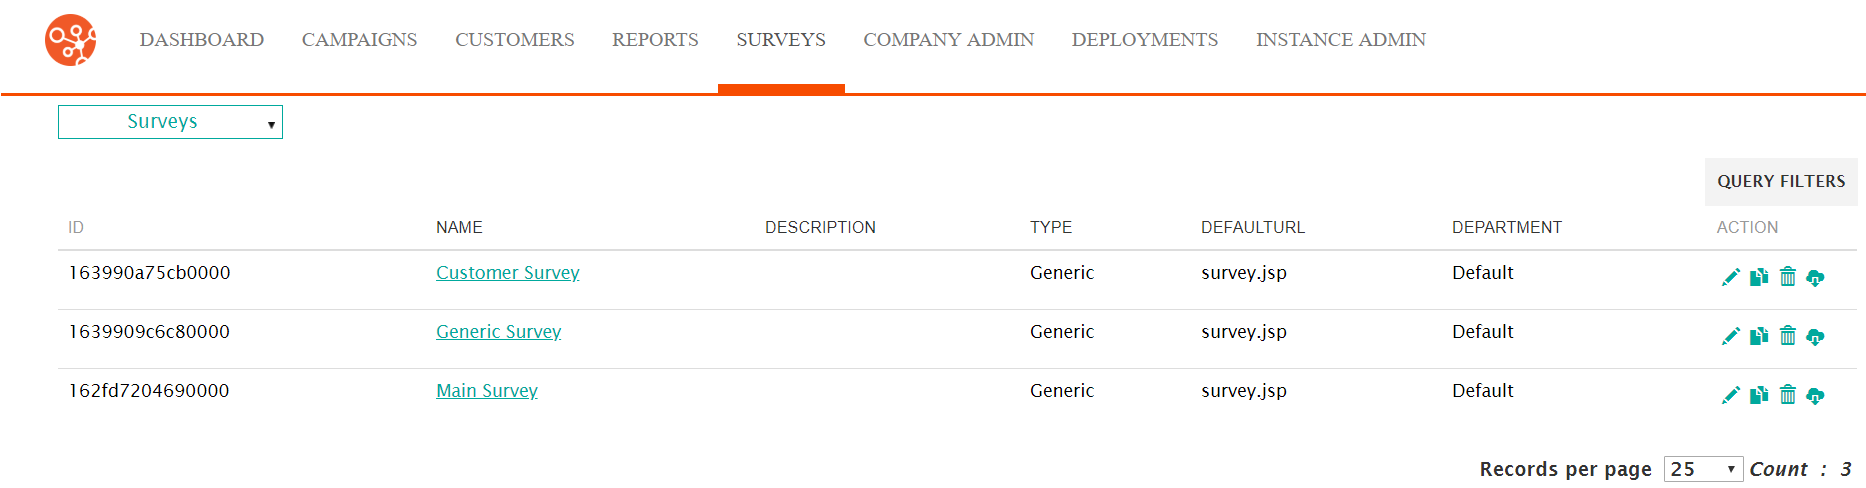
- Select the desired survey. The survey displays in the Define Survey
screen.
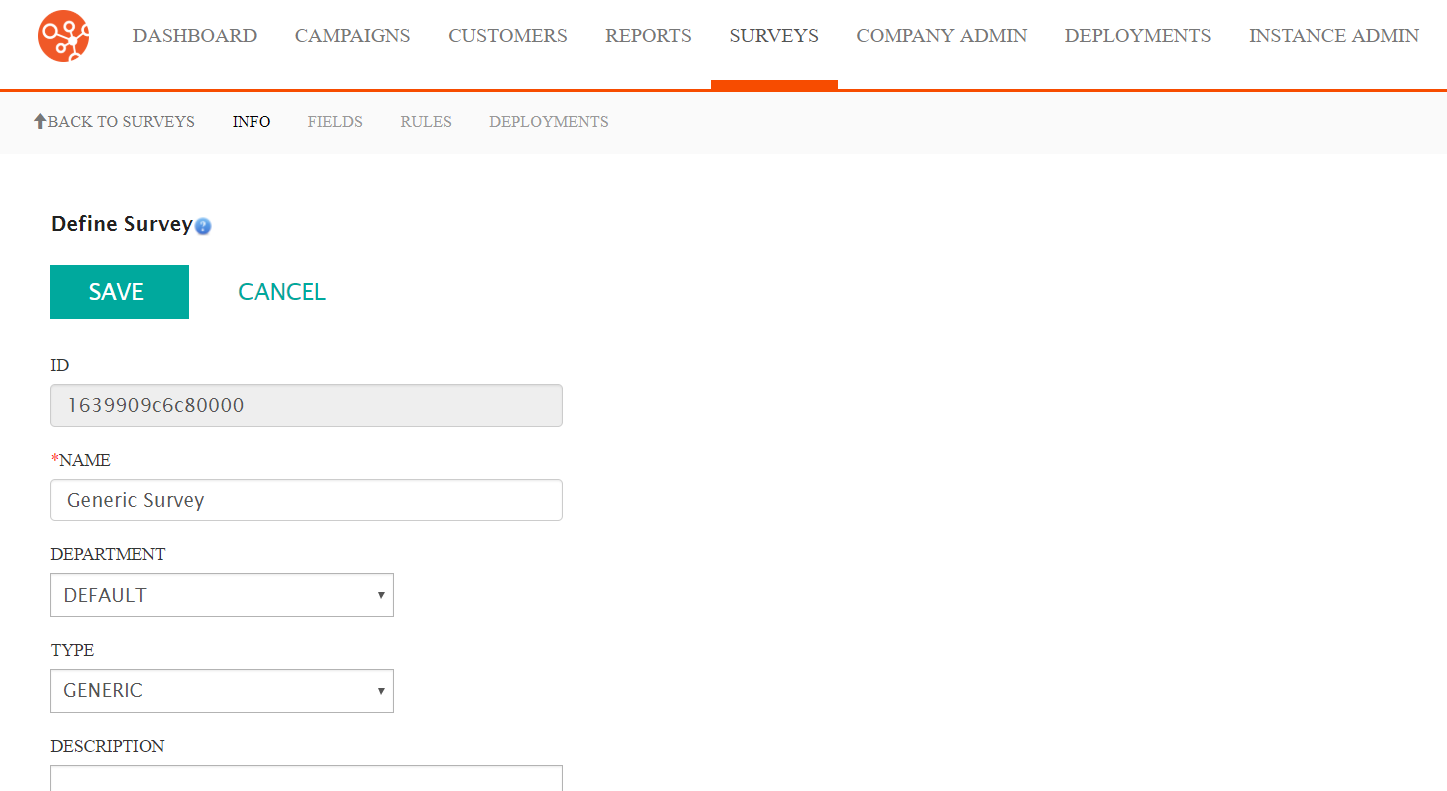
- In the Define Survey screen, click the Fields submenu heading.
The Define Fields screen appears.
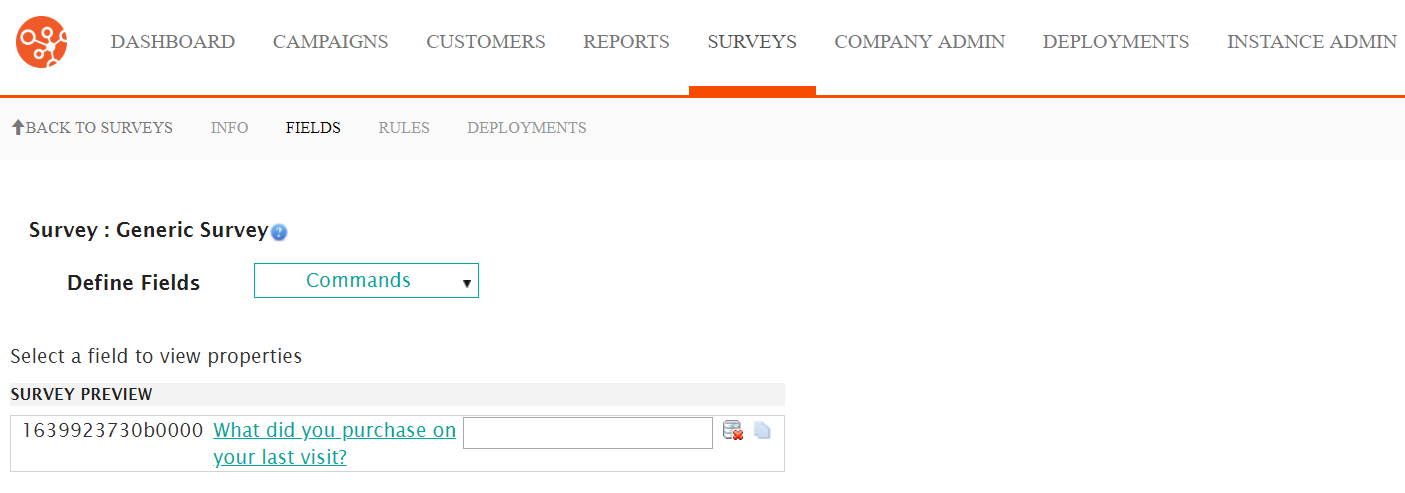
- Select the desired survey field displayed in the Survey Preview
section by clicking on the survey field's URL link.

The Edit Field section appears displaying the attributes of the field.
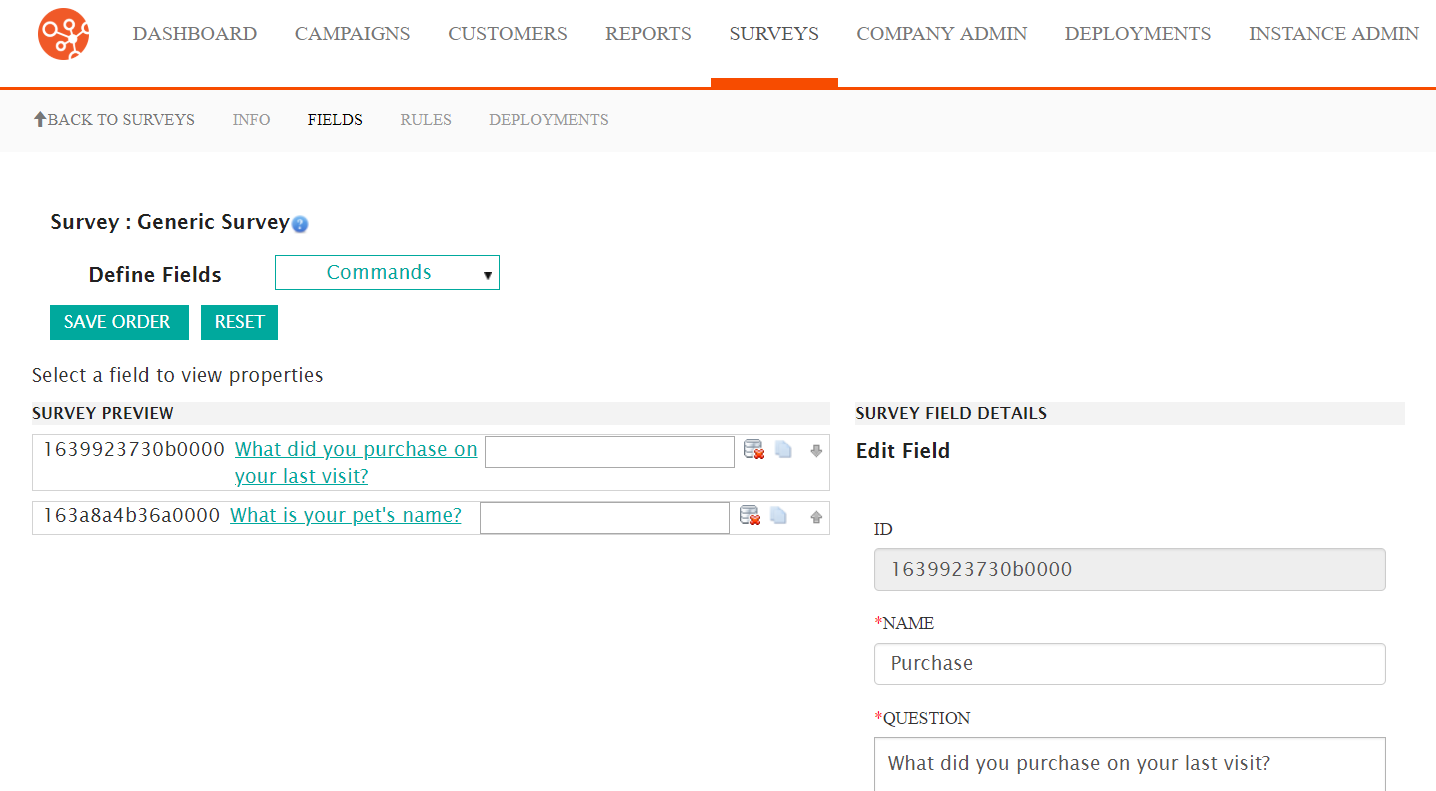
- Edit the desired field information into the Survey Field Details
fields:
- Name: An internal name for the field, not visible to the
userNote: Do not use the following names for survey fields as they are already in use by the survey system:
- Contact
- Opportunity
- Contact Owner
- Registrant
- Registrant owner
- Venue Coordinator
- Any employee name in the survey
Note: You may find it helpful to precede each field name by "s_" to help distinguish survey field names from other dedicated fields in the rules. (e.g. s_FirstName identifies that the field is the First Name field for the survey) - Question: The survey question that will be asked to the customer (e.g. "When did you last visit one of our branches?")
- Required: Indicates whether the question is required to be answered by the customer in order for the survey to be complete
- Data Type: Defines the type of data that will be accepted as
a response by the customer. This data type defines how the
information will be stored and managed by Connect:
- Text Entry: A single text entry
- Multiline Text Entry: Multiple-line text entry
- Boolean: A 'TRUE' or 'FALSE' response
- Date: Date format adhering to the format rules for dates in Connect
- Integer: Integer (numeric, non-decimal) responses
- Decimal: Numeric responses using decimals
- Fixed Text: Fixed text selected by the customer
- Attribute: Customer attribute taken from the customer record
- Preference: Customer preferences taken from the
customer recordNote: Each data type carries with it different supporting attributes and descriptors that need to be configured as well. For details on the additional fields required by the different data types, please see Additional Configuration Fields Required for Data Types
- Name: An internal name for the field, not visible to the
user
- To cancel without saving the updated field information, click the Cancel button. The Data Fields screen displays, the updated field information is not updated.
- Click the Save button. The Data Fields screen displays with the updated field information is saved.
