Customer surveys perform three main functions
- Creating and updating customer records
- Actions such as subscribing and unsubscribing customers from conversations, or creating events for triggered event campaigns
- Make decisions based on the information gathered by the survey as well as information in the Enterprise Marketing Automation database. For example, if the customer expresses interest in a certain product, you can show the customer a web page about that product after they complete the survey
Survey rules process the data collected by the survey and perform actions based on the rule
structure. For example, a survey rule can perform the following:
- Use survey answers to create a new customer record for a new customer
- Submit a collateral request for the customer
- Customize the next web page that the customer sees
Note: You are able to create as many rules as you wish for a survey. It should be
noted that if a rule fails in a survey, no other subsequent rules will be
executed.
Adding a Rule to a Survey
To add a new rule to a survey:
- Navigate to the Surveys screen.

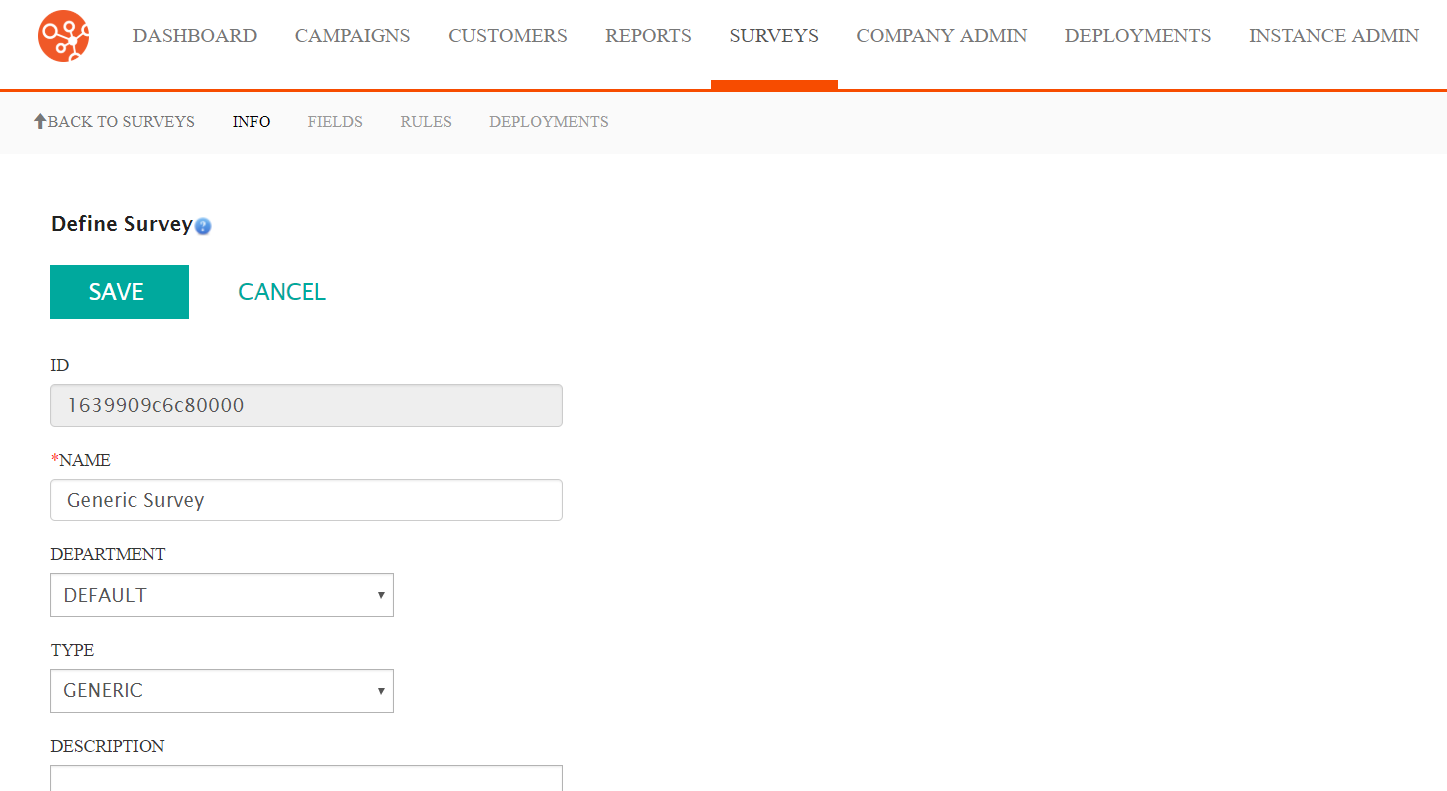
- Select the desired survey. The survey displays in the Define Survey
screen.

- In the Define Survey screen, click the Rules submenu heading.
The Define Rules screen appears.

- From the Commands dropdown, select the New Rule action.

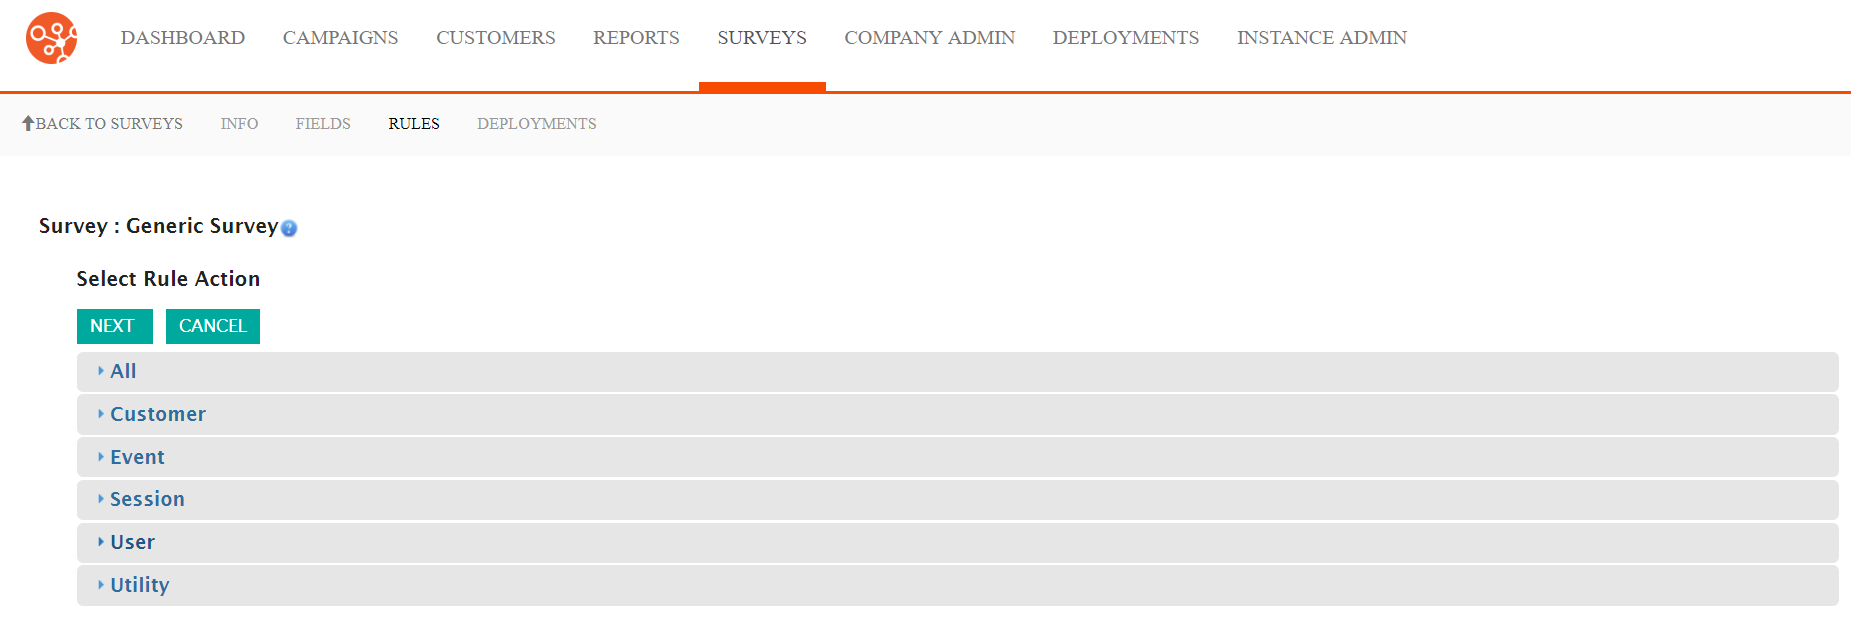
The Select Rule Action screen appears.

- Click the desired rule action category:
- All: Displays all available rules across all categories, listed alphabetically
- Customer: Rules related to customer attributes and behaviour (e.g. Customer attribute or conversation associated to the customer)
- Event: Rules based on event-triggered campaign behaviour (e.g. fetch campaign based on related event)
- Session: Rules based on the active session of the survey (e.g. set the next URL that the customer sees upon completing survey)
- User: Rules based on the Connect user (e.g. send email to group of Connect users)
- Utility: Rules used to trigger an action in Connect (e.g. fetch field in Connect)
Note: The same rule categories are used in configuring event handlers. For more information on the individual rule categories and individual rule properties, please see List of Event Handler Rule Actions. - Click on a desired rule. The rule is highlighted.Note: The same rules are used in the configuring of event handlers. For more information on the function of survey rules, please see List of Event Handler Rule Actions.
- To cancel without committing the rule, click the Cancel button. The Define Rules screen displays.
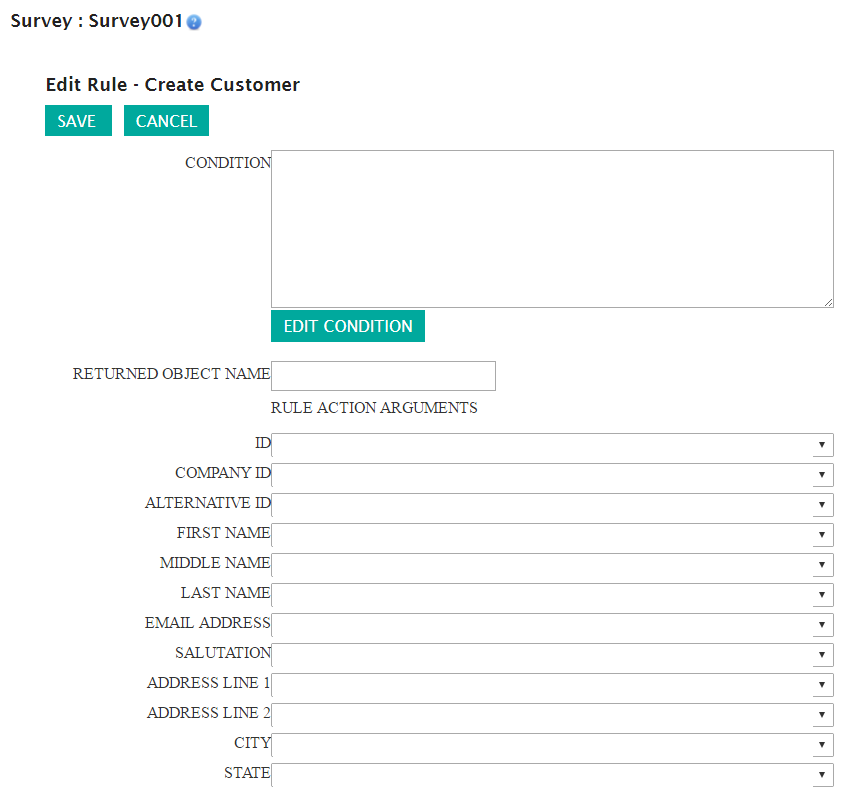
- Click the Next button. The Edit Rule - XXX window appears,
where 'XXX' is the name of the selected rule.
 Note: Each rule will have differing properties that need to be configured in order for the rule to function properly. For a description of each rule's properties, please see List of Event Handler Rule Action Properties.
 - Click the Edit Condition button. The Edit Condition field
appears with rule operands available:
- Rule Operands: AND, OR, NOT
- Condition Operands: ADD, DELETE
- Rule Position Commands: UP, DOWN
- In the Condition field, click the Set Clause... link.
- Configure the rule as required. For more information on rule operands and conditions, please see List of Event Handler Rule Action Properties.
- To cancel without saving any of the rule properties, click the Cancel button. The rule conditions are not saved.
- Click the Save button. The rule condition is saved. The Edit Rule screen appears.
- To cancel without saving the rule, click the Cancel button. The Define Rules screen appears. The rule is not saved.
- Click the Save button. The Define Rules screen appears. The
rule is saved and displayed in the survey list of rules
.
Note: Warning! With an Opportunity survey or Event Registration
survey, you cannot use the Set Next URL rule action to point to the URL
of a Contact survey. If you do this, and you try to submit the Contact
survey, you will get an Opportunity not in context error.
