Once a customer preference is created, you are able to edit the properties of the
preference if necessary.
Note: Changes to customer attributes will impact all customer
records using that attribute. Ensure that the changes being made to customer
attributes will not adversely affect your organization's data and Connect
users.
Editing a Customer Preference
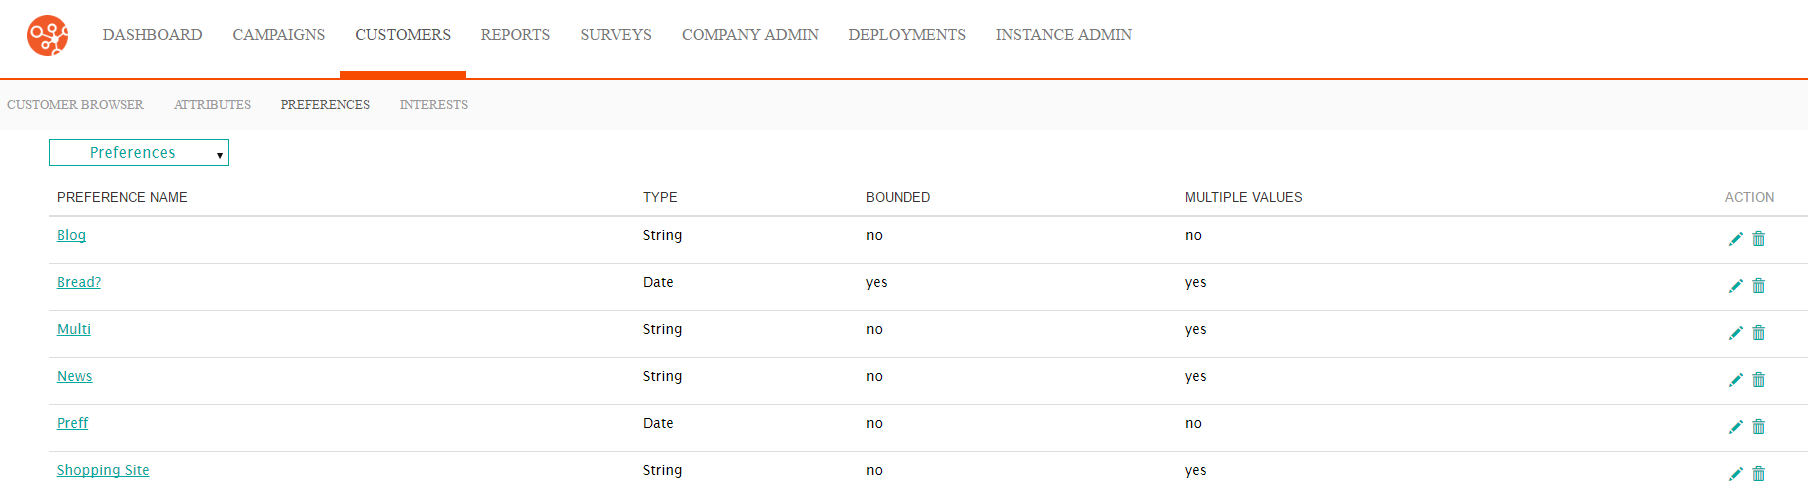
To edit a customer preference:- On the menu bar, click Customers. The Customer Browser screen appears.
- In the Customer sub-menu, click Preferences. The Preferences screen appears.
- In the Preferences screen, click the Edit icon (
 ) in the Action
field or the preference name link on the desired attribute row with you wish
to edit. The Enter attribute information screen appears.
) in the Action
field or the preference name link on the desired attribute row with you wish
to edit. The Enter attribute information screen appears. - Perform the desired changes to the preference:
- Preference Name: The unique name for the preference
- Type: The data type for the preference:
- Date: Date and time format adhering to the date/time formatted described for the system
- Number: Numeric value
- String: Text value
- Single Character: A single character
- Multiple: Indicates that the preference can store multiple values
- Bounded: Indicates whether the list of values for the preference is bound to a list or will be entered manually by the user. When checked, the Bounded Values field appears. Enter the list values for the preference separated by a carriage return.
- To reject all changes without committing changes made to the preference, click the Cancel button. You are returned to the Preferences screen.
- Click the Save button. The Preferences screen appears with the changes made to the preference.
