Once a customer attribute is created, you are able to edit the properties of the
attribute if necessary.
Note: Changes to customer attributes will impact all customer
records using that attribute. Ensure that the changes being made to customer
attributes will not adversely affect your organization's data and Connect
users.
Note: Once an attribute is created, the data type is set and cannot be
changed. That is, if the attribute's data type is set to String, you
are unable to alter the data type to Date. However, the other
characteristics of the attribute are able to be changed as they do not impact the
database values for the attribute.
Editing a Customer Attribute
To edit a customer attribute:
- On the menu bar, click Customers. The Customer Browser screen appears.
- In the Customer sub-menu, click Attributes. The Attributes screen appears.
- In the Attributes screen, click the Edit icon (
 ) in the Action
field or the attribute name link on the desired attribute row with you wish
to edit. The Enter attribute information screen appears.
) in the Action
field or the attribute name link on the desired attribute row with you wish
to edit. The Enter attribute information screen appears.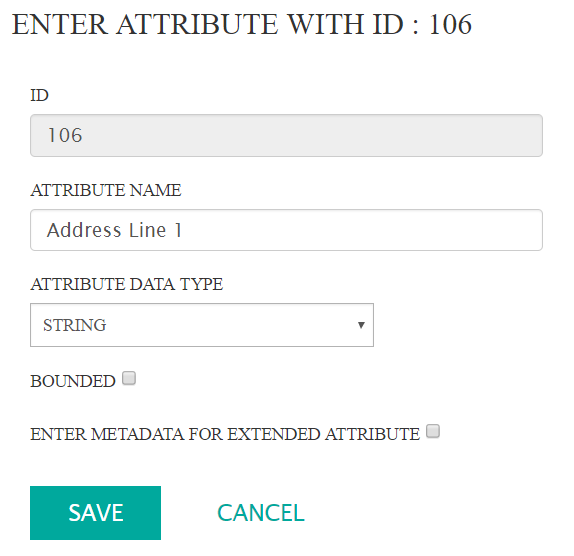
- Perform the desired changes to the attribute:
- Attribute Name: A unique and descriptive name for the
attribute.Note: Attribute names are case-sensitive, so be careful not to define the same attribute twice. For example, if you define an attribute as 'membership #' and 'Membership #', Connect considers them as two separate attributes.
- Bounded: Determine whether the attribute values will be bound
to a list or not. Check the Bounded checkbox to indicate that
the attribute is bounded. The Bounded Values field
appears.
- Bounded: If the Bounded checkbox is checked, enter the values for the bounded value list in the Bounded Values field. Separate each list entry with a carriage return.
- Unbounded: The user will enter data values.
- Enter Metadata for Extended Attribute: Allows you to alter
the attribute's metadata valuesNote: Metadata attribute should only be maintained by experienced users with a knowledge of the database schema. Incorrect information entered into Connect can cause system failure and unexpected behaviour.
- Attribute Type: Defines the type of attribute and
storage behaviour in the database
- Row per attribute: Create a single row instance in the attribute table per attribute. Note that this is similar to the normal attribute tables.
- Column per attribute: Create a column row instance in the attribute table per attribute.
- Extended Attribute Table Name: The new table the
attribute will reside in. Note the following
- Table names are case sensitive.
- Tables must be accessible in the Connect database.
- No spaces in the table name. Separate words with an underscore (_) or with a dash (-)
- Extended Attribute Field Name: The field name for the extended attribute, if applicable
- Extended Attribute Table Join Field Name: Defines the related table join name in order to co-relate the attribute value to other tables
- Customer Table Join Field: The field in the Customer table to which the attribute is joined
- Attribute Join Column: The column the attribute joins, if available
- Attribute Join Value: The attribute value for the join to another table
- Attribute Type: Defines the type of attribute and
storage behaviour in the database
- Attribute Name: A unique and descriptive name for the
attribute.
- To reject all changes without committing changes made to the attribute, click the Cancel button. You are returned to the Attributes screen with the changes having not been saved.
- Click Save to save your changes. The Attributes screen appears with the changes to the attribute saved and displayed where appropriate.
