You are able to import campaigns directly into Connect. Connect accepts an XML file with
all of the campaign information outlined in the file. Once uploaded into Connect, the
file is parsed to ensure that it contains all of the necessary campaign information to
be created. A unique campaign ID number is generated for the campaign. Once created, the
campaign can be edited and launched.
Note: The format of the XML file must adhere to a
specific format in order to be read by Connect. You are able to view this format by
exporting an existing Connect campaign. For more information on exporting campaigns,
please see Exporting Campaigns.
Importing a Campaign
To import a campaign:- Navigate to the Campaigns screen. A list of campaigns displays.
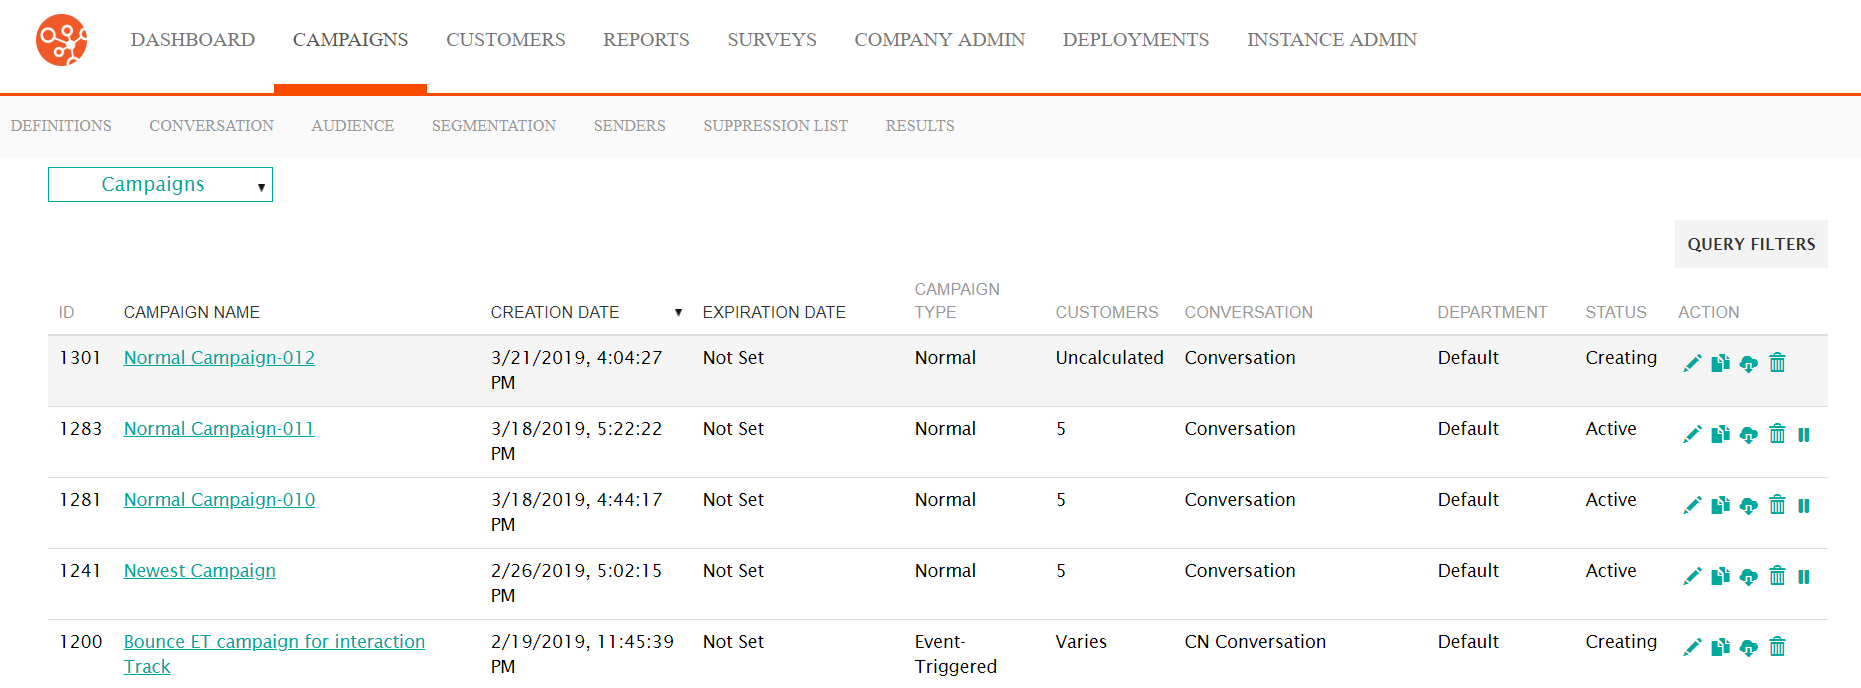
- In the Campaigns dropdown, select the 'Import Campaign action. The
Import Campaign screen displays.
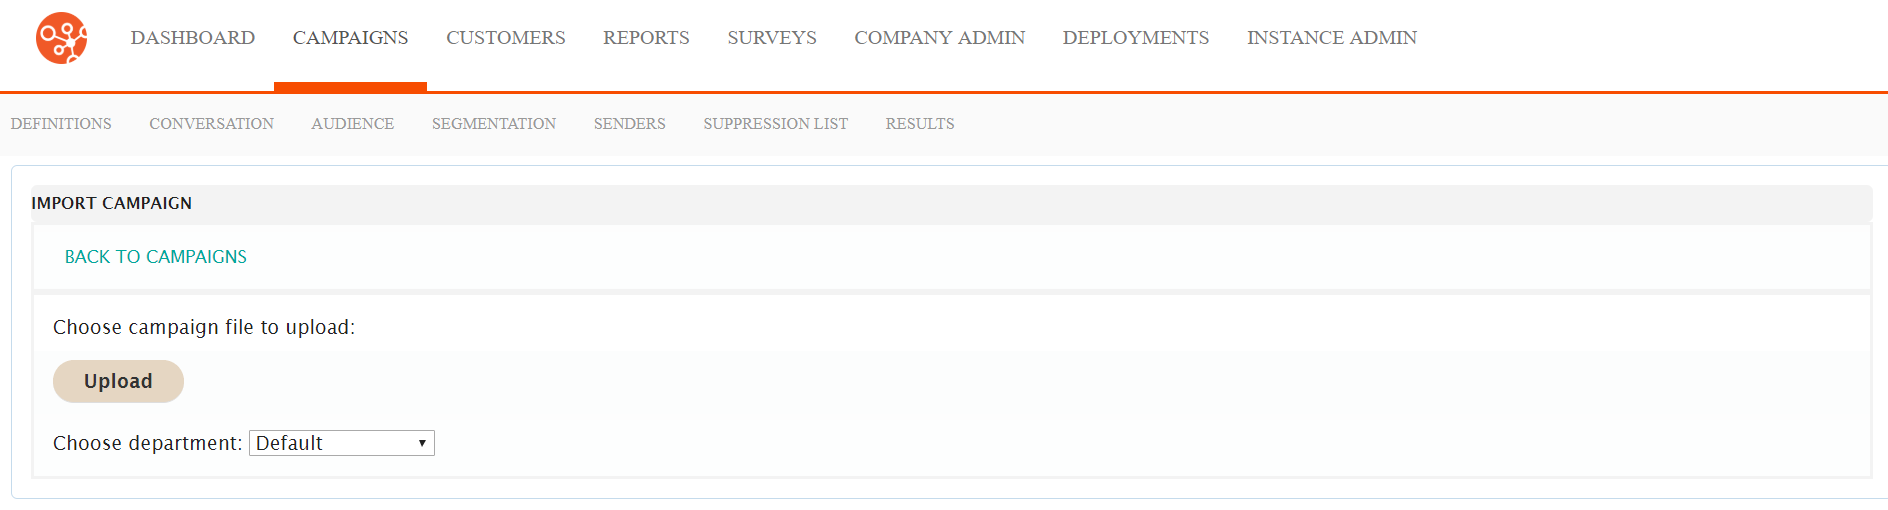
- Click the Upload button. A file browser window displays.
- Navigate to and select the XML file that you wish to upload. The Import Campaign screen displays with the file having been uploaded.
- Select the department you wish to associate to the campaign in the Choose department: dropdown.
- To return to the Campaigns screen without uploading the campaign, click the Back To Campaigns button. You are returned to the Campaigns screen without the campaign having been uploaded.
- Click the Import button. The campaign is uploaded.
- To upload another campaign, click the Import Another button. Repeat steps 3 to 7 above.
