Conversations are able to be made to conversations as need be. Conversations can be
edited to increase or decrease the number of customers that can be reached by
campaigns.
Note: Prior to editing a conversation, ensure that an impact analysis has
been performed on all campaigns using the conversation. Changes to the conversation
will impact all associated campaigns.
To edit a conversation:
- From the Conversations screen, click the Edit icon (
 ) beside
the desired conversation. The Edit Conversation screen appears.
) beside
the desired conversation. The Edit Conversation screen appears.
- Edit the basic conversation information:
- Name: The name of the conversation
- SMS Short Name: The short name that will be used for SMS conversations
- Description: A description for the conversation, used internally
- Department: The department or business associated with the conversation
- To edit the FROM: email address and domains for messages from the conversation:
- Click the 'Configure the FROM: address for email section heading.
The sender information displays.
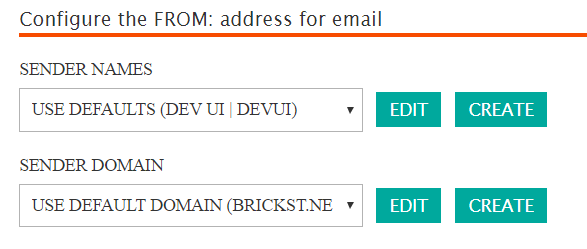
- Select the sender information from the following dropdowns:
- Sender Names: The sender name that will appear in messages that are sent to the customer (e.g. 'Customer Service-DO NOT REPLY')
- Sender Domain: The domain name that will appear in
messages that are sent to the customer (e.g.
'mycompany.com')Note: You are able to edit and create sender names and domains if no appropriate names or domains appear in the dropdown lists. For more information, see Sender Names and Sender Domains.
- Click the 'Configure the FROM: address for email section heading.
The sender information displays.
- To edit DKIM signature information:
- Click the Sign emails with DKIM signatures section heading. The
DKIM signatures information displays.
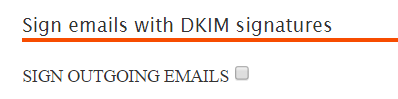
- Click the 'SIGN OUTGOING EMAILS' checkbox to sign outgoing emails from
the conversation with DKIM signatures. If the box is not checked, DKIM
signatures will not be used.Note: The DKIM private key and selector must also be configured for the Sender Domain in the Lists > Senders tab.
For more information on DKIM signatures, see cnv_dkim_info.html#reports_samples.
- Click the Sign emails with DKIM signatures section heading. The
DKIM signatures information displays.
- To edit tracker link information:
- Click the Configure Tracker Links section heading. The tracker
links information displays.
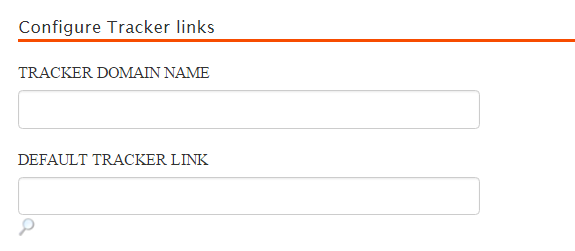
- Enter the tracker link information:
- Tracker Domain Name: The URL for the desired tracker
linkNote: Leave the field blank if you wish to use the default tracker domain name.
- Default Tracker Link: The URL that is used when a
customer clicks an unknown or invalid link, typically point to a
home or landing page. Click the search icon (
 ) to change the default tracker
link.
) to change the default tracker
link.
- Tracker Domain Name: The URL for the desired tracker
link
- Click the Configure Tracker Links section heading. The tracker
links information displays.
- To edit customer reply information:
- Click the Configure where incoming email replies are sent section
heading. The incoming emails information appears.
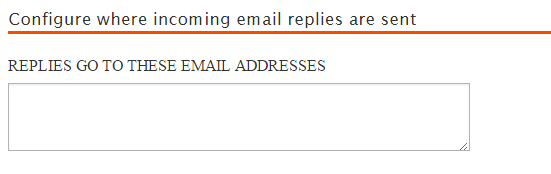
- In the 'REPLIES GO TO THESE EMAIL ADDRESSES' text box, enter one or more email addresses that you wish to receive reply emails from customers. Each email address must be separated with a semicolon (;).
- Click the Configure where incoming email replies are sent section
heading. The incoming emails information appears.
- To edit subscription opt-in information:
- Click the Configure the opt-in form section heading. The opt-in
information appears.
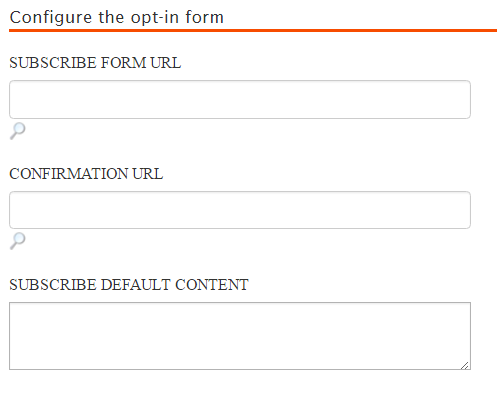
- Enter the following opt-in information:
- Subscribe Form URL: The URL for the subscribe form that
the customer will use to subscribe to the conversation. You can
also click the search icon () to search for the URL.
- Confirmation Email: The URL for the subscription
confirmation message the customer will see once they have
subscribed to the conversation. You can also click the search
icon () to search for the URL.
- Subscribe Default Content: The text of the default subscribe message the customer sees when they subscribe to the conversation and there is no confirmation URL.
- Subscribe Form URL: The URL for the subscribe form that
the customer will use to subscribe to the conversation. You can
also click the search icon (
- Click the Configure the opt-in form section heading. The opt-in
information appears.
- To edit subscription opt-out information:
- Click the Configure the opt-out form section heading. The opt-out
information appears.
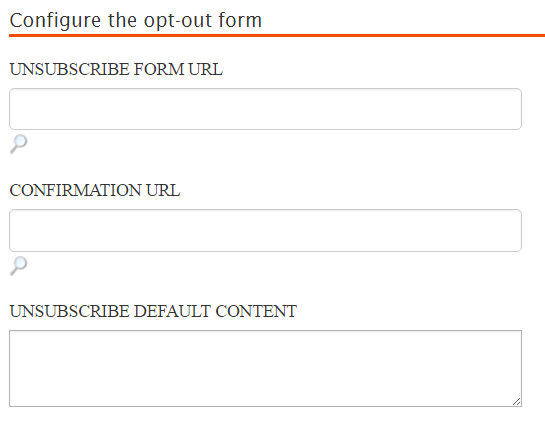
- Enter the following opt-in information:
- Unsubscribe Form URL: The URL for the unsubscribe form
that the customer will use to unsubscribe from the conversation.
You can also click the search icon () to search for the URL.
- Confirmation Email: The URL for the unsubscription
confirmation message the customer will see once they have
unsubscribed from the conversation. You can also click the
search icon () to search for the URL.
- Unsubscribe Default Content: The text of the default unsubscribe message the customer sees when they unsubscribe from the conversation and there is no confirmation URL.
- Unsubscribe Form URL: The URL for the unsubscribe form
that the customer will use to unsubscribe from the conversation.
You can also click the search icon (
- Click the Configure the opt-out form section heading. The opt-out
information appears.
- To edit the refer-a-friend information:
- Click the Configure the refer-a-friend form section heading. The
refer-a-friend information appears.
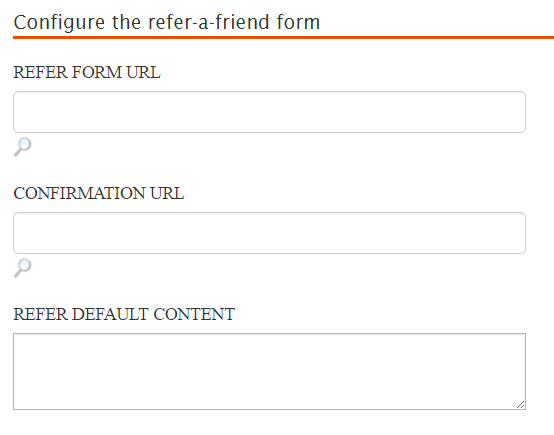
- Enter the following refer-a-friend information:
- Refer Form URL: The URL for the refer-a-friend form that
the customer will use to refer friends to the conversation. You
can also click the search icon () to search for the URL.
- Confirmation Email: The URL for the refer-a-friend
confirmation message the customer will see once they have
referred a friend to the conversation. You can also click the
search icon () to search for the URL.
- Refer Default Content: The text of the default refer-a-friend message the customer sees when they refer a friend to the conversation and there is no confirmation URL.
- Refer Form URL: The URL for the refer-a-friend form that
the customer will use to refer friends to the conversation. You
can also click the search icon (
- Click the Configure the refer-a-friend form section heading. The
refer-a-friend information appears.
- To cancel the changes made to the conversation without saving, click the Cancel button. You are returned to the Conversations screen.
- Click the Save button. The Conversations screen appears with the edited conversation displaying in the conversation list. The Last Modified field is updated to the time of saving.
