A destination object specifies the message target the JMS client produces and the message source the JMS client receives. In Connect, the destination accepts a Request Queue and a Response Queue.
Adding a Destination to a JMS Connection Factory
To add a destination to a JMS connection factory:
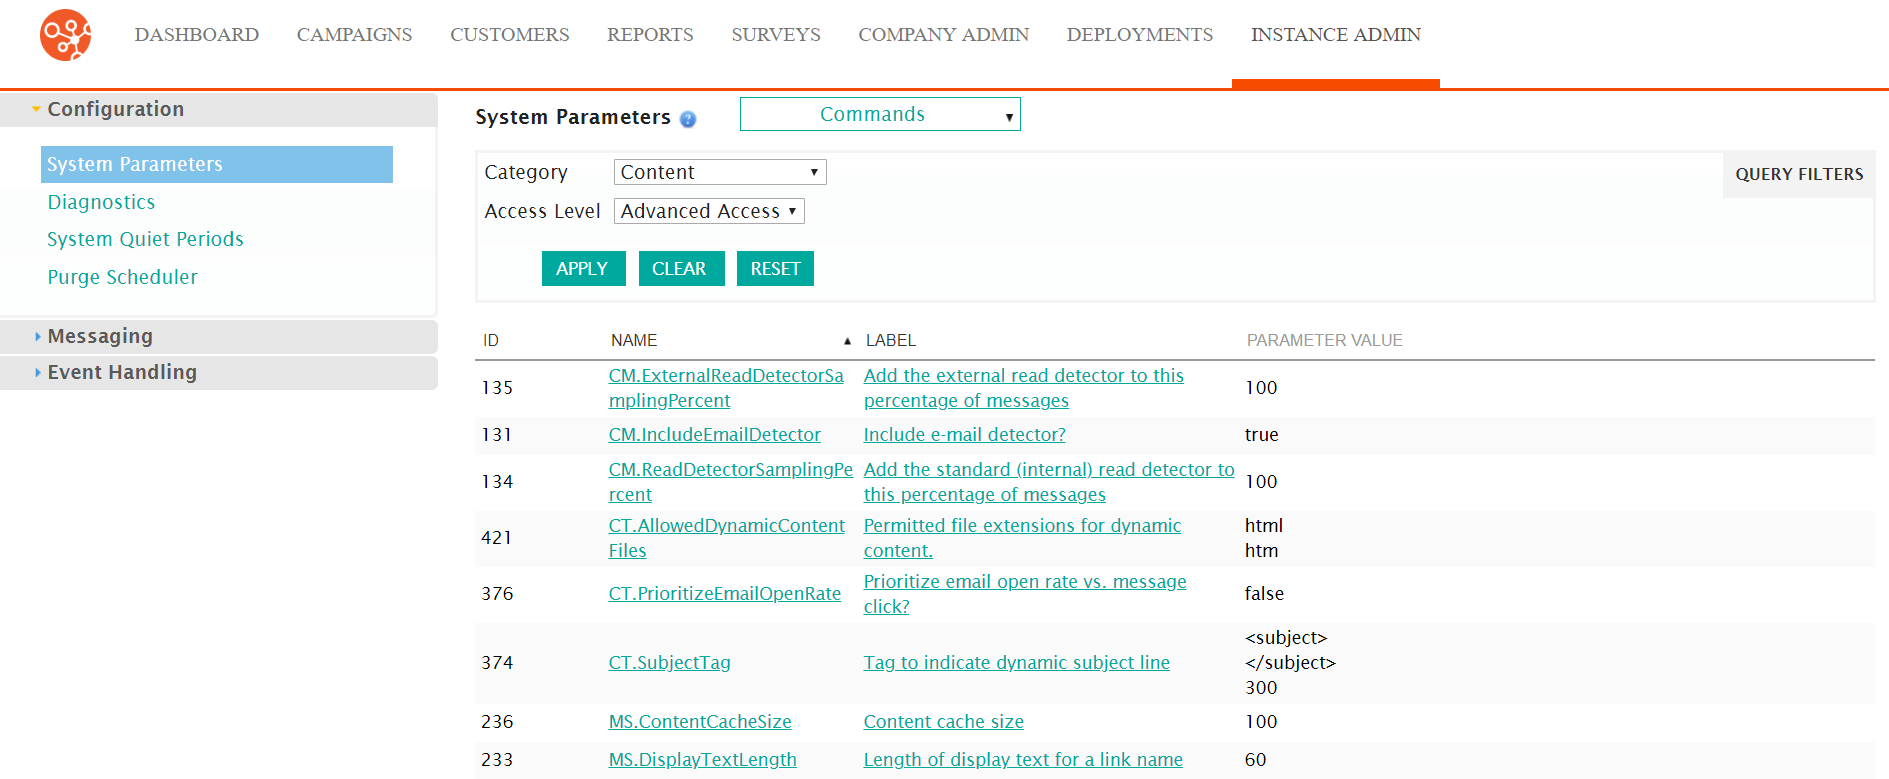
- Navigate to the Instance Admin screen. The System Parameters
screen displays.
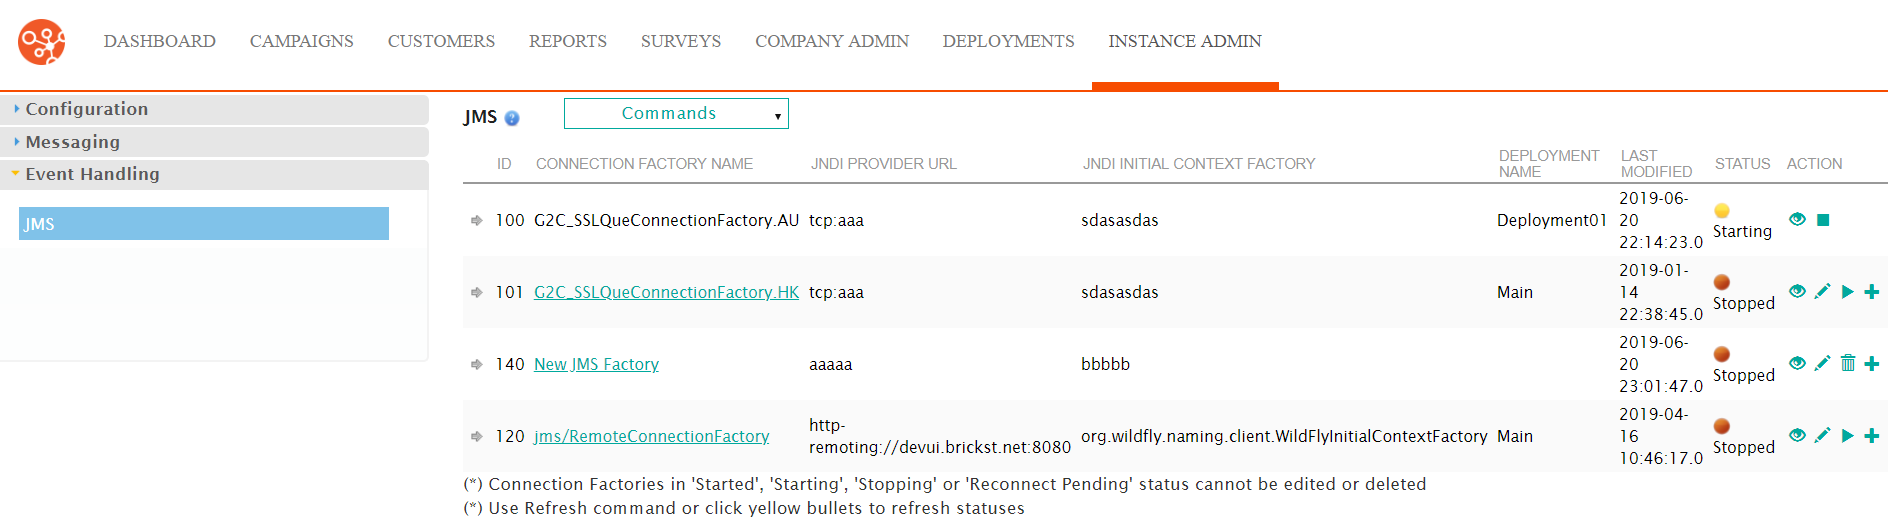
- Click on the Event Handling sub-menu in the menu bar on the left,
followed by the JMS menu option. The JMS screen
appears.
- Click on the Delete icon (
 ) beside the desired connection factory. The
Destination screen appears.
) beside the desired connection factory. The
Destination screen appears.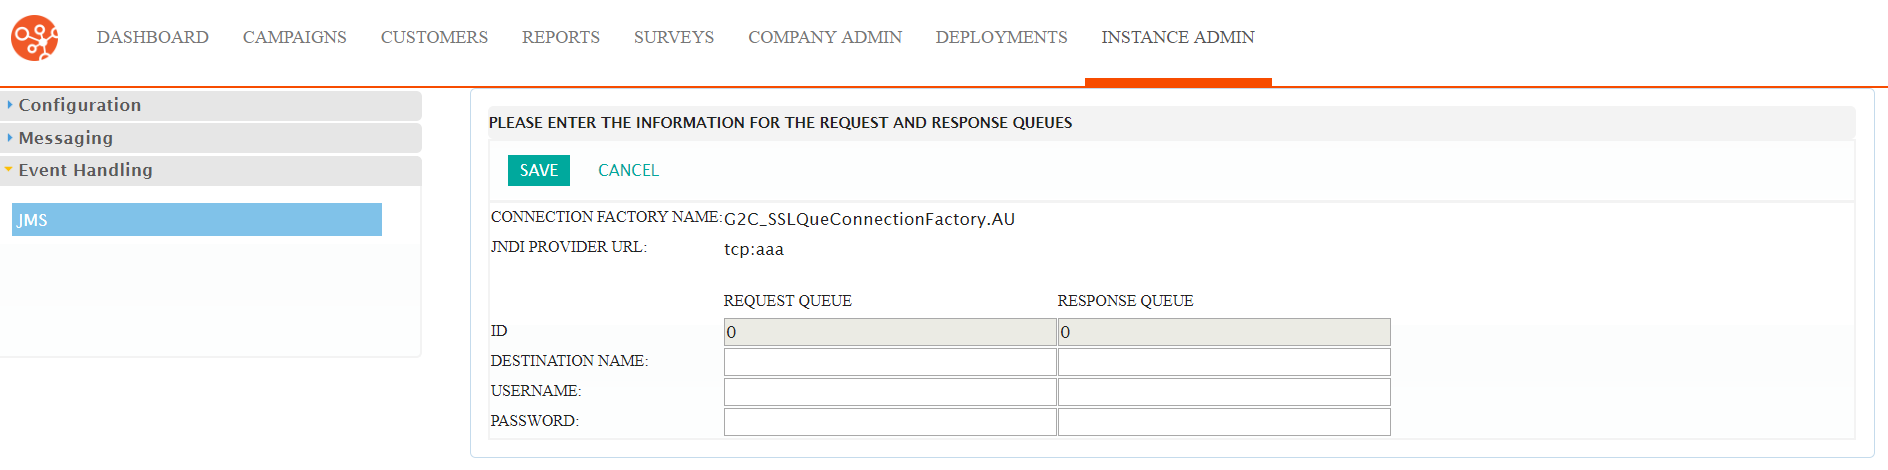
- Enter the Request Queue information:
- Destination Name: The name of the destination for the request queue
- User Name: The user name that will be used to access the destination request queue
- Password: The password for the user name accessing the destination request queue
- Enter the Response Queue information:
- Destination Name: The name of the destination for the response queue
- User Name: The user name that will be used to access the destination response queue
- Password: The password for the user name accessing the destination response queue
- To cancel without saving the destination details, click the Cancel button. The JMS screen displays. The destination information are not saved.
- Click the Save button. The JMS screen displays. The destination information is saved.
