In order for Connect to send SMS messages, an SMPP server must be configured. This allows Connect to interface with the server in order to send and track messages to customers.

Creating an SMPP Server
To add an SMPP Server:
- Navigate to the Company Admin screen.
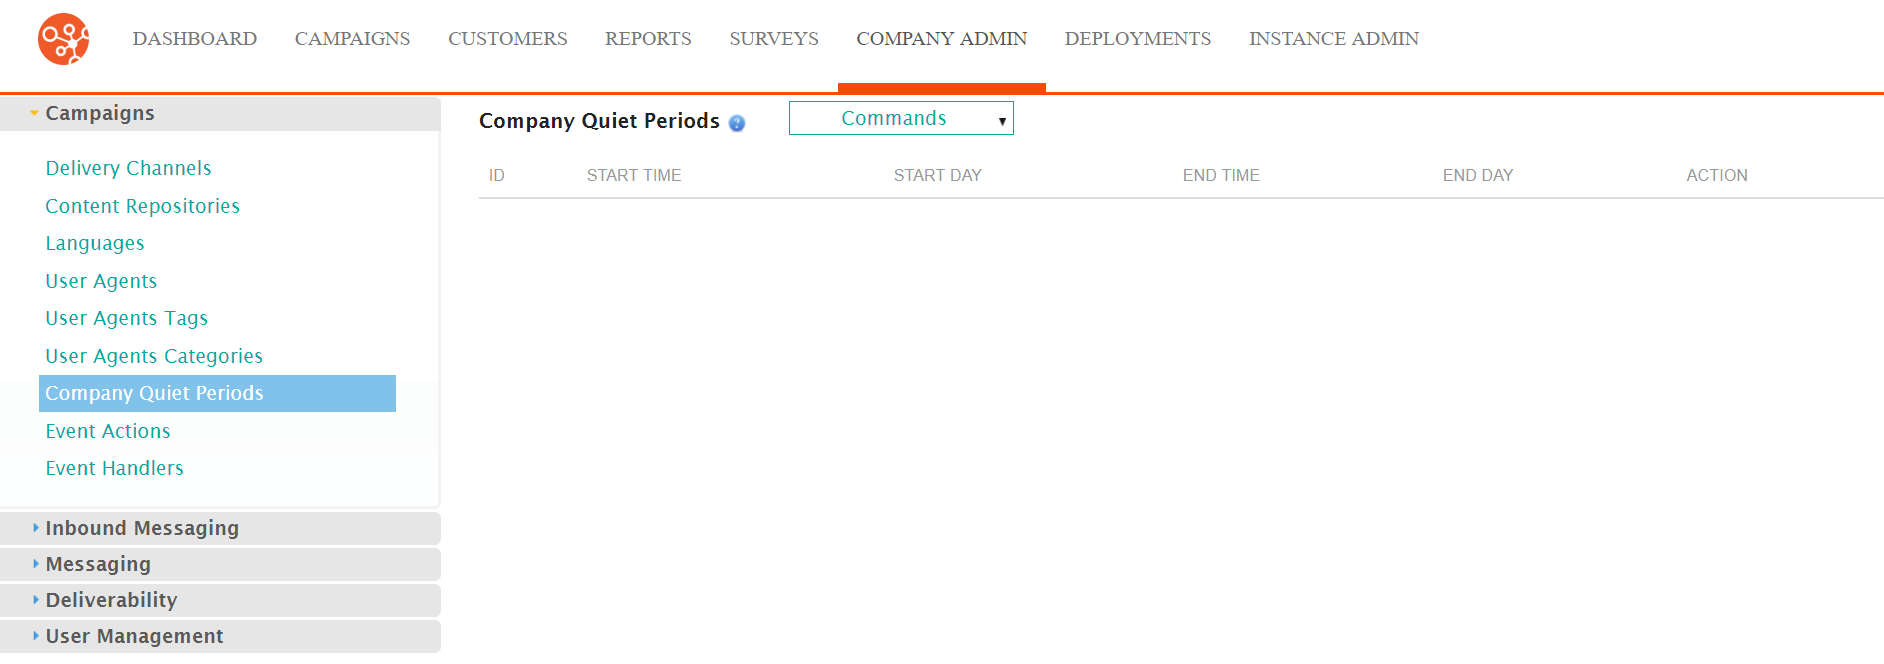
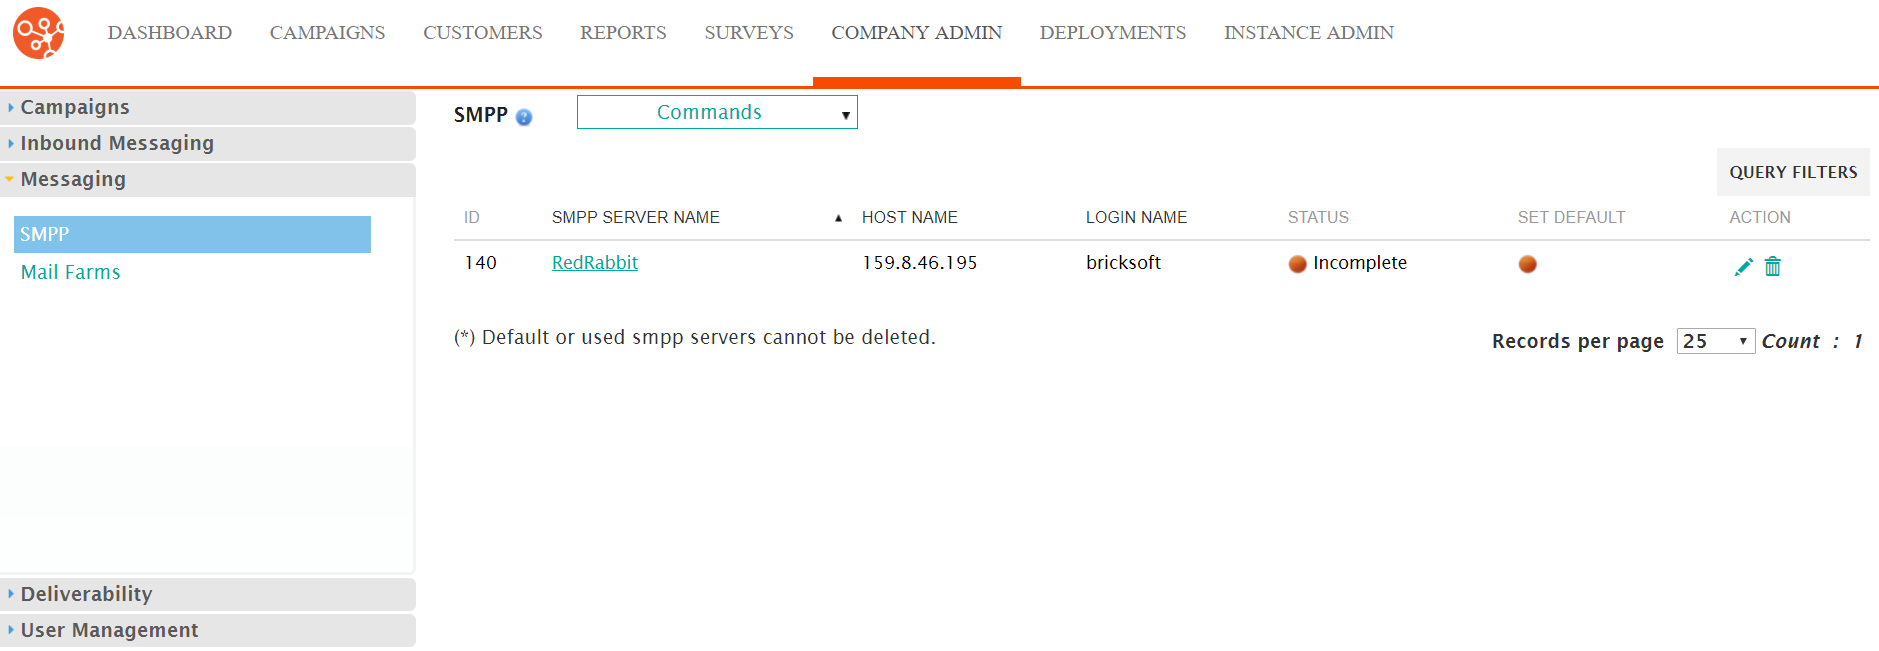
- Click on the Messaging sub-menu in the menu bar on the left, followed
by the SMPP menu option. The SMPP screen appears.
- From the Commands dropdown, select New SMPP Server.
The Edit SMPP Server Information screen appears.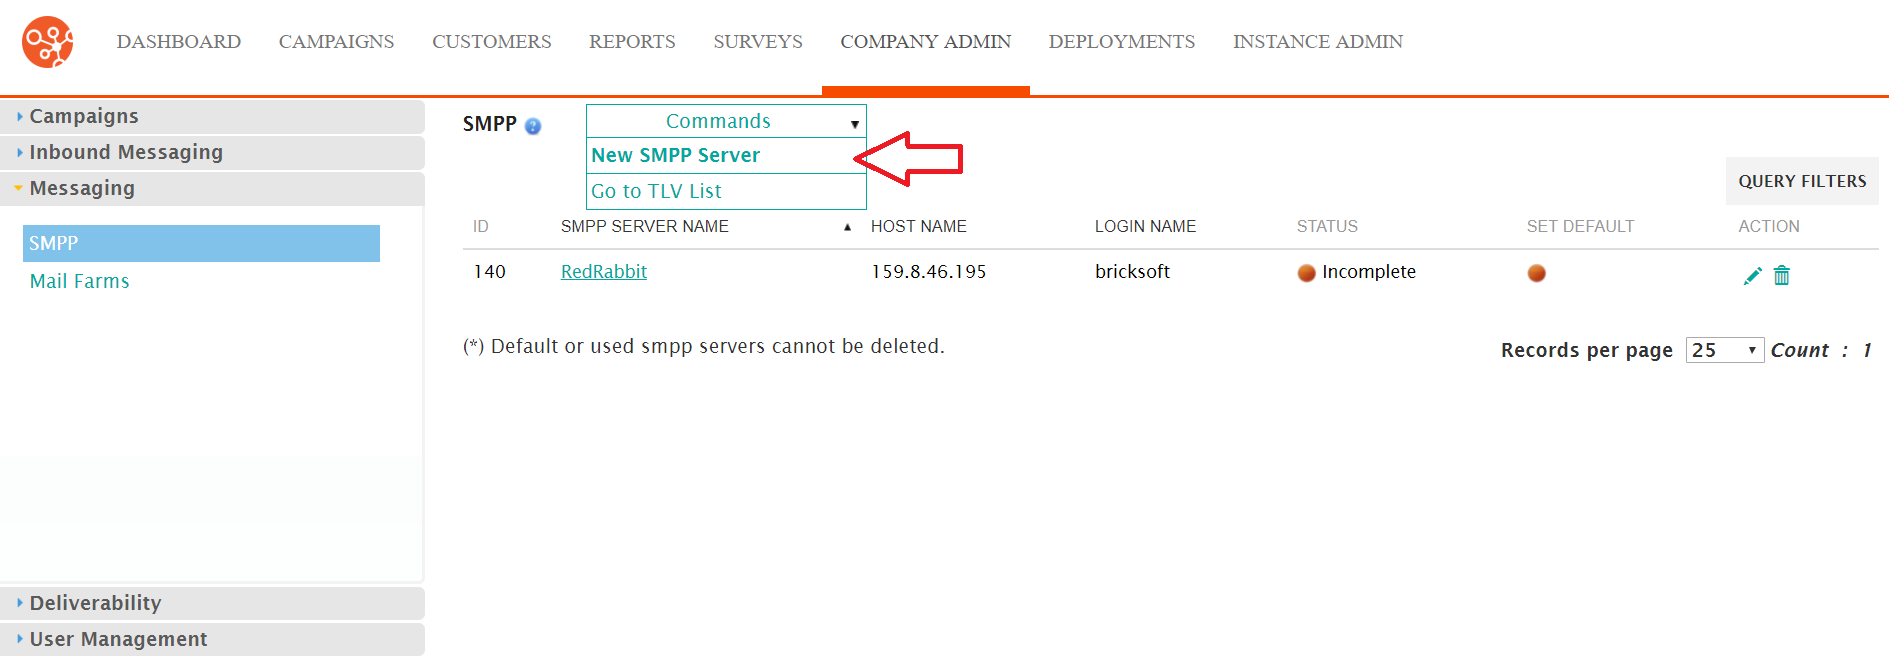
- From the SMPP screen, click Commands > New SMPP Server. The Edit
SMPP Server Information screen appears.
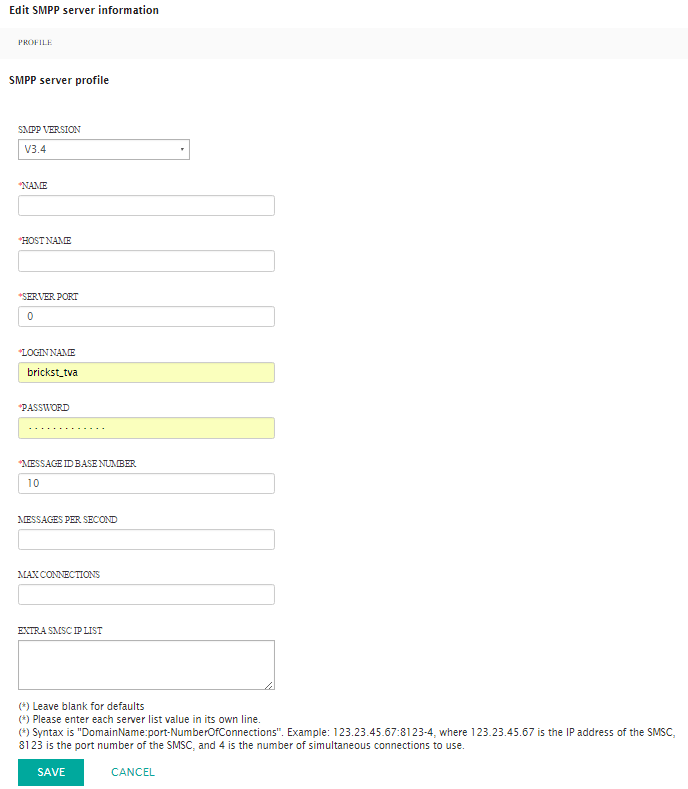
- Enter the SMPP server details:
- SMPP Version: The version of SMPP to use: 3.3 supports only GSM, 3.4 adds Tag Length Value (TLV), non-GSM SMS technology support as well as transceiver support.
- Name: Unique name for the server
- Host Name: Host name assigned to the device
- Server Port: The appropriate port number, the last set of the numbers at the end of the IP address
- Login Name: The login name used to access the server
- Password: The password the login name uses to access the server
- Message ID Base Number: The base number used to identify the message when sent
- Messages per Second: The number of messages that can pass simultaneously if using synchronous messaging.
- Max Connections: The maximum number of connections to the server
- Extra SMSC IP List: The list of IP addresses of the proxy servers. Each IP address must appear on its own line.
- To cancel without saving the SMPP server, click the Cancel button. The SMPP screen appears. The SMPP server is not saved and does not appear in the list of SMPP servers.
- Click the Save button. The SMPP screen appears. The SMPP server is saved and appears in the list of SMPP servers.
