When importing customers, the document you import is a Comma Separated Values (CSV) file. A CSV file is usually created in a spreadsheet and saved or exported as a CSV file. Refer to the software's help system for more information about CSV files.
Follow these instructions to import a CSV file.
- From the Conversations screen, click Actions > Import Customers on
the row with the selected conversation. The Import Customers - Step 1 of 2
screen appears.
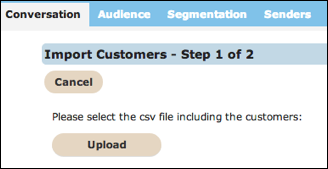
- From the Import Customers - Step 1 of 2 screen, click the Upload button. The Open dialog box appears.
- From the Open dialog box, browse to the CSV file and click the file. The file name appears in the Name field..
- From the Open dialog box, click OK to upload the CSV file. The
Import Customers - Step 1 of 2 screen appears with the CSV file listed.
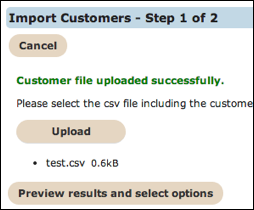
- From the Import Customers - Step 1 of 2 screen, click the Preview
results and select options button. The Import Customers - Step 2 of 2
screen appears.
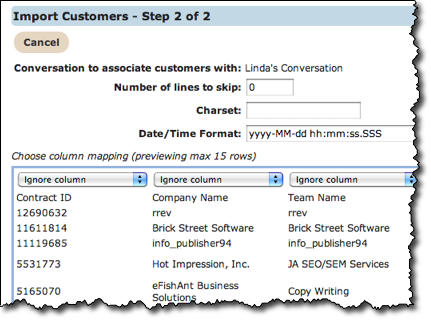
- In the Number of Lines to skip field, type the number of lines you want to skip. Column headings are usually included in the CSV file so you may want to skip the first line.
- In the Date/Time Format field, delete the portions of the default format you do not want.
- To assign fields to each column, follow these instructions:
- Click the drop-down arrow in the field at the top of the column. The list of customer profile fields appear.
- Click the field you want to assign to the column.
- To skip a column, select Ignore Column. Ignore Column is the default selection for all columns.
- Click the Import customers button to import the customers into Connect.