The System Activity Reports provide you with the ability to view current and past system activity.The activity report provides you with a way to track system activity. You can control both the time period covered by the report and the types of information displayed. You can choose the time period for the information you want to review.
Select New Time Period
- From the System Activity Report screen, in the Time field, click the
drop-down list to select a new time period. Options include the following:
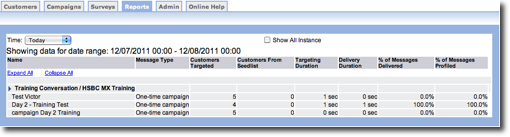
- Today (default)
- Yesterday
- This Week
- Lat 7 Days
- Custom
- To show all instances for the date, click the Show All Instances check box. The report displays every campaign instance for the date.
Set Custom Time Period
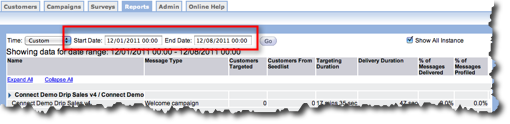
One of the options in the Time dropdown list is Custom. If you select this option, Start Date and End Date fields appear. From these fields, type a custom date range for the report.
Follow these directions to create a custom date range for the report.
- From the System Activity Report screen, click the Time field to display the drop-down list.
- From the drop-down list select Custom . The Start Date and End Date fields appear.
- In the Start Date field, type the month, day and year you want to start your date range. The time part of the field is optional.
- In the End Date field, type the month, day and year you want to end your date range. The time part of the field is optional.
- Click the Go button. The table displays all of the campaigns that meet your criteria.
- To show all instances for the date, click the Show All Instances check box. The report displays every campaign instance for the date.
Control Table Display
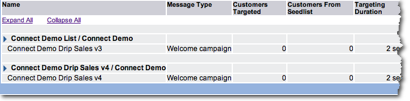
The table can display as much information as you want. The Collapse All option displays an overview of the actions in a campaign. The following image displays a collapsed report.
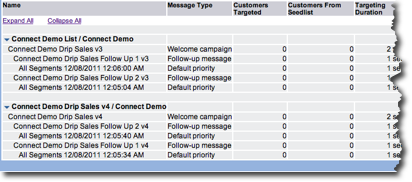
When you choose Expand All, the table displays every action associated with the campaign. Be careful if you choose to Expand All with a large campaign or if you have a large date range. In these cases, the report screen can run into the hundreds of pages. The following image displays an expanded report.