Once the suppression list is created, email addresses are able to be imported into the suppression list and stored. Once stored in the suppression list, the collection of email addresses in the suppression list can be applied to conversations and removed from the conversation.
Importing Email Addressses Into a Suppression List
To import email addresses into a suppression list:
- In the Campaigns screen, click on the Suppression List
sub-tab. The Suppression List screen appears.
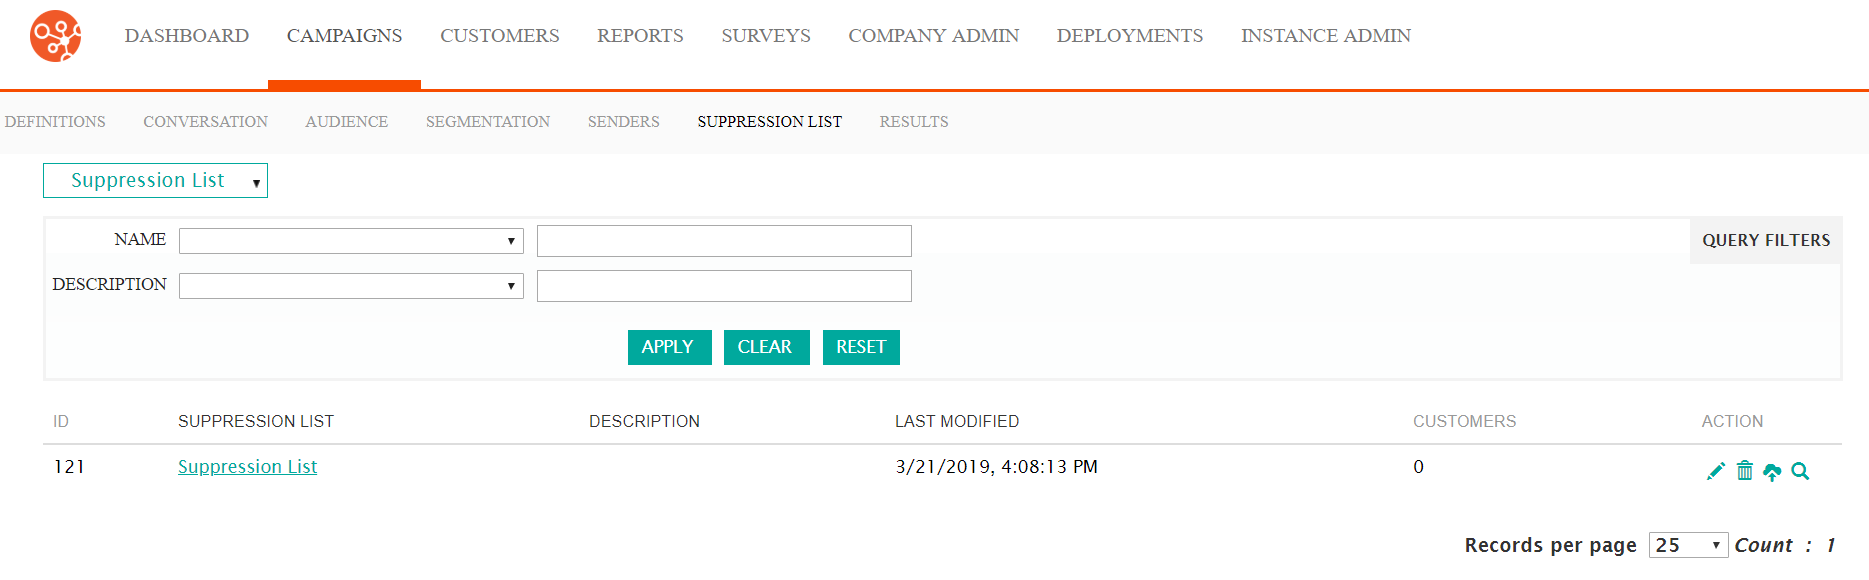
- Click the Import icon (
 ) for the desired suppression list. The
Import Suppression List - Step 1 of 2 screen appears.
) for the desired suppression list. The
Import Suppression List - Step 1 of 2 screen appears.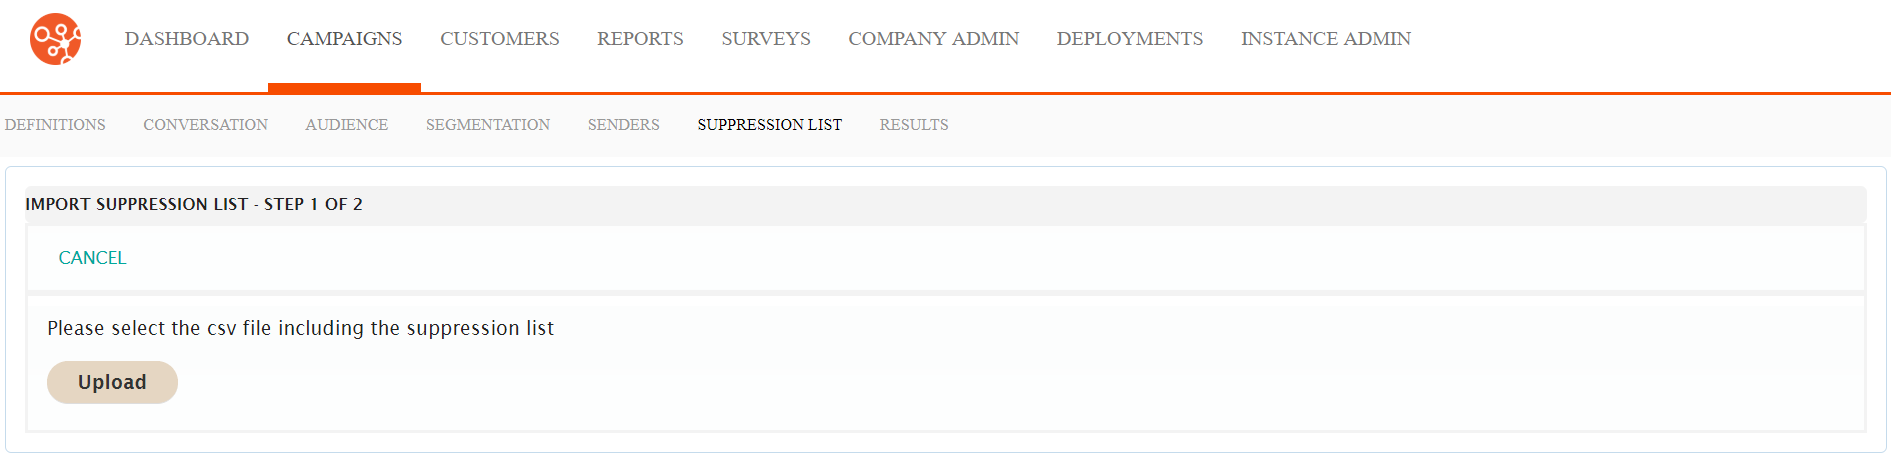
- Click the Upload button. The file selection window appears.
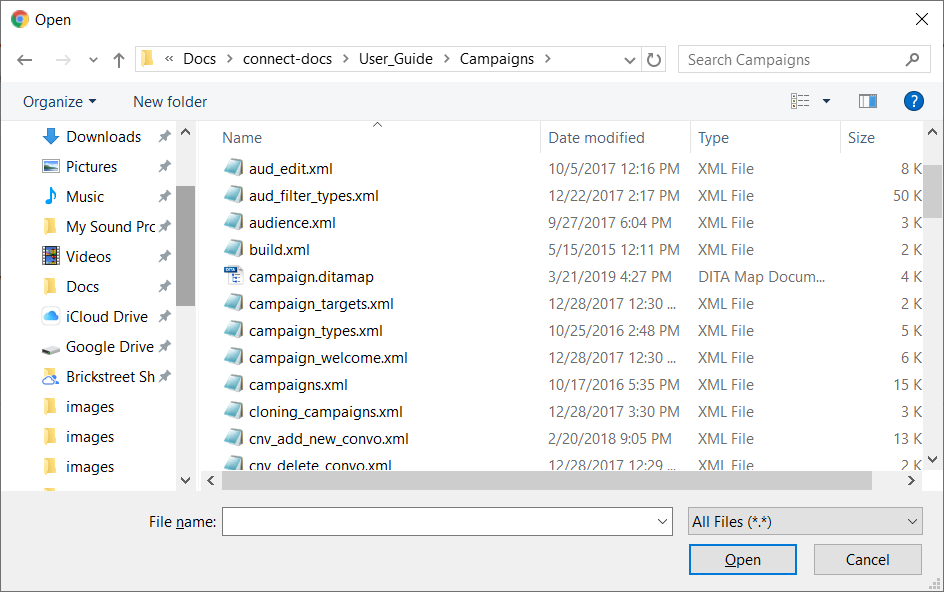
- Select the desired file and click the Open button. The confirmation
message stating the suppression list imported successfully appears.
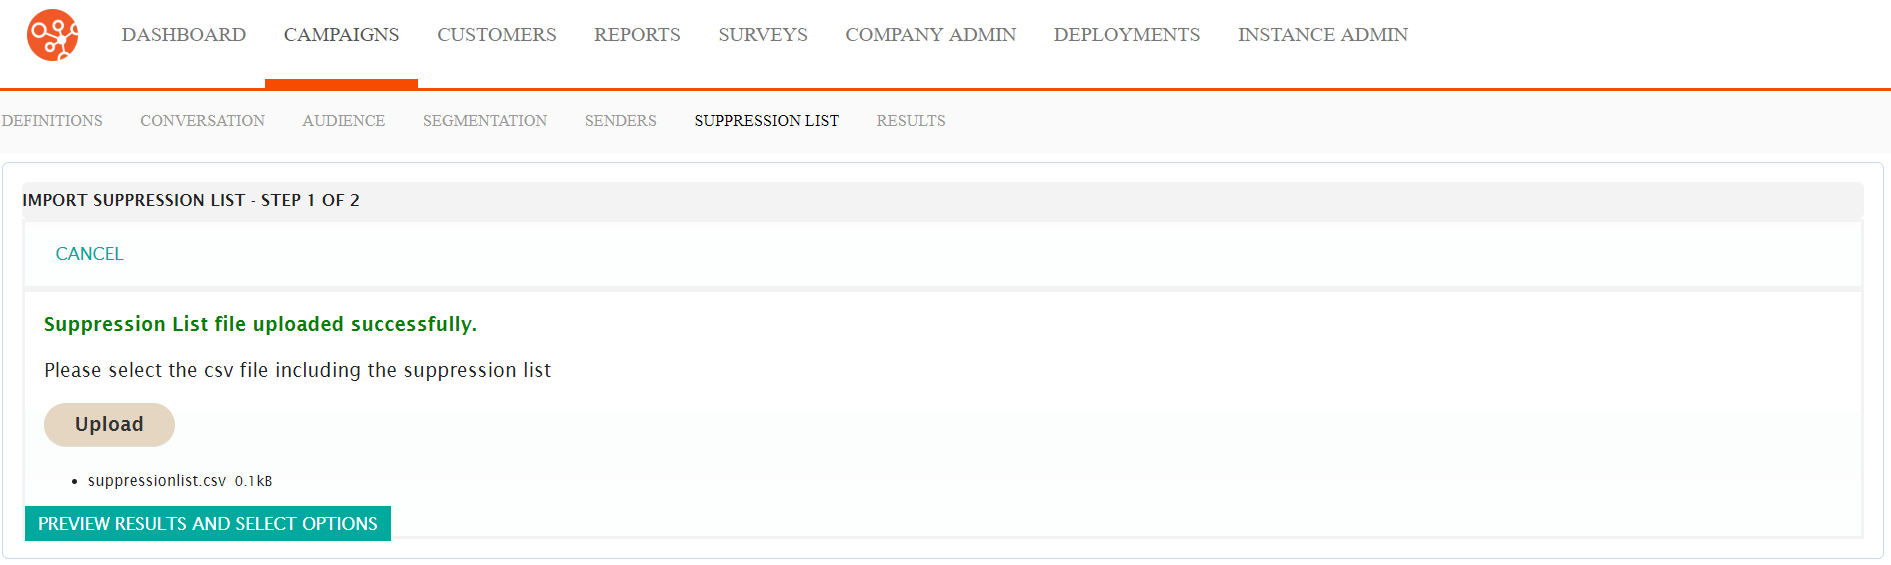
- Click the Preview Results and Select Options button. The Import
Customers - Step 2 of 2 screen appears and the content of the CSV
files appears in a table.
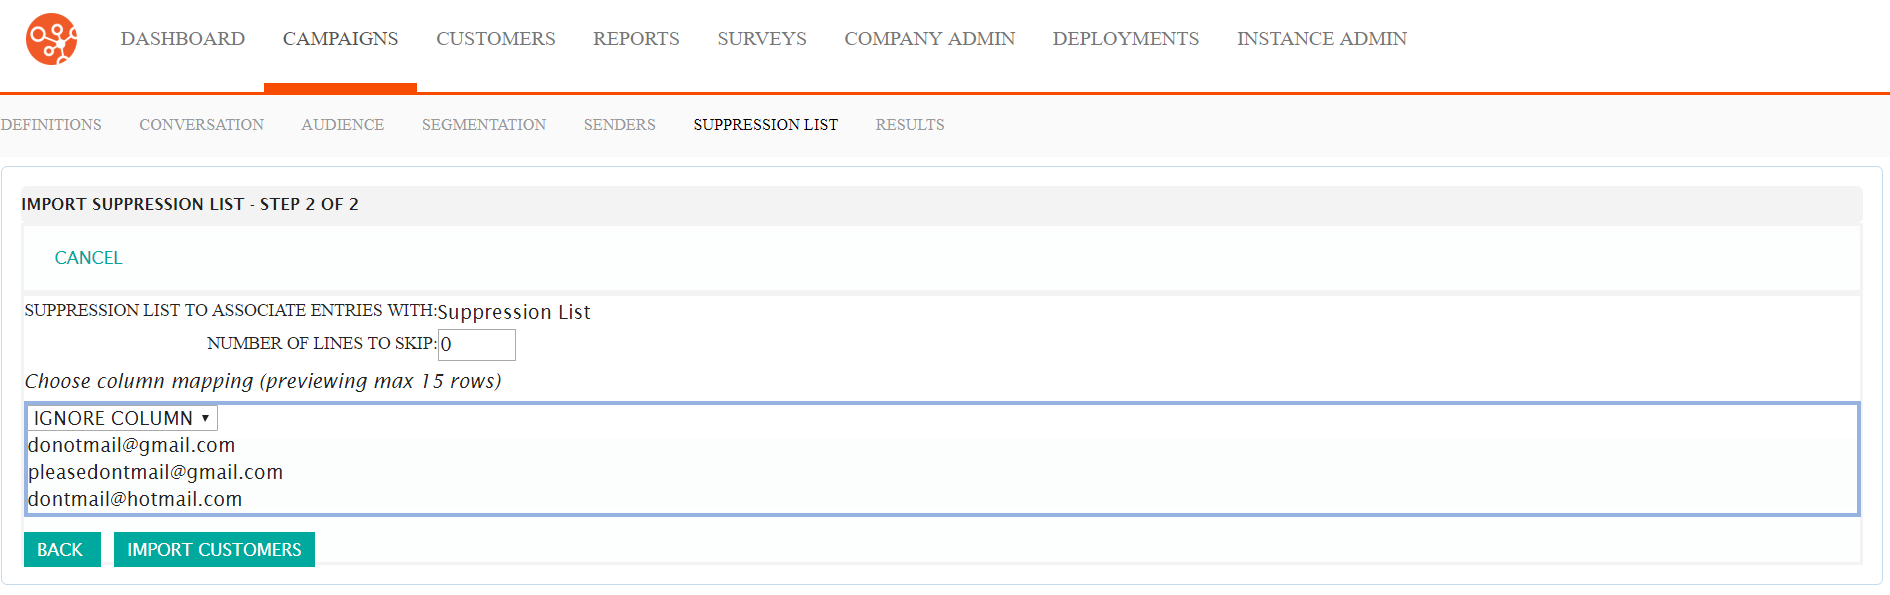
- In the Number of Lines to Skip field, enter the number of lines in the file you wish Connect to skip. This is useful if column headings are used to label the data fields in the CSV file.
- Select 'EMAIL_ADDRESS from the column dropdown.
- If you wish to discard all changes, click the Back button. You are returned to the 'Import Supression List - Step 1 of 2' screen.
- If you wish to cancel the email address import, click the Cancel button. You are returned to the Suppression List screen.
- Click the Import Customers button. The email addresses are imported
and a confirmation message displays.
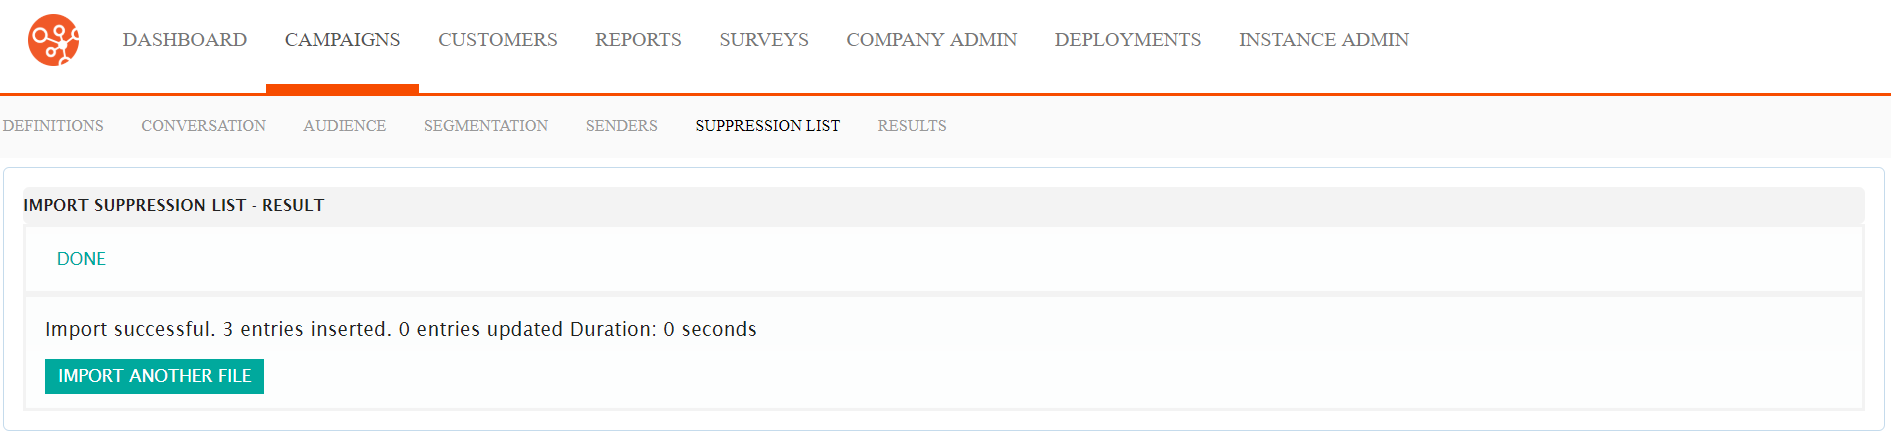
- If you wish to import another file, click the Import Another File button. The Import Suppression List - Step 1 of 2 screen appears allowing you to repeat the process. Proceed to step 3 above to continue.
