To configure SMPP service you must first set up an SMPP server. Once the server is configured, the remaining services may be configured.
Creating a New SMPP Server
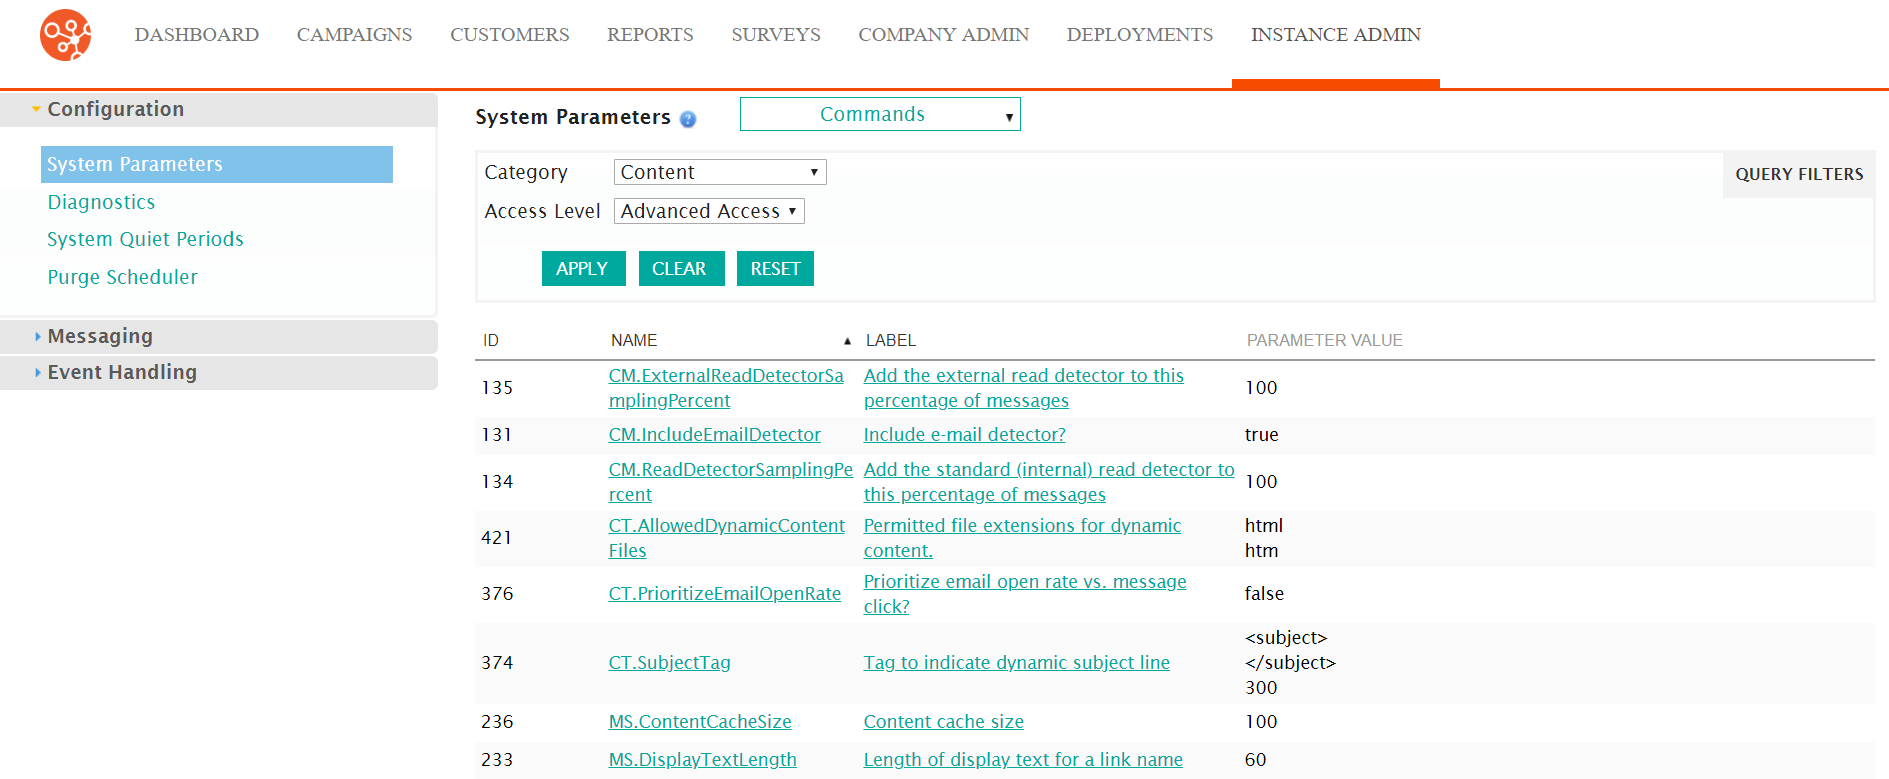
To create a new SMPP server:- Navigate to the Instance Admin screen. The System Parameters
screen displays.
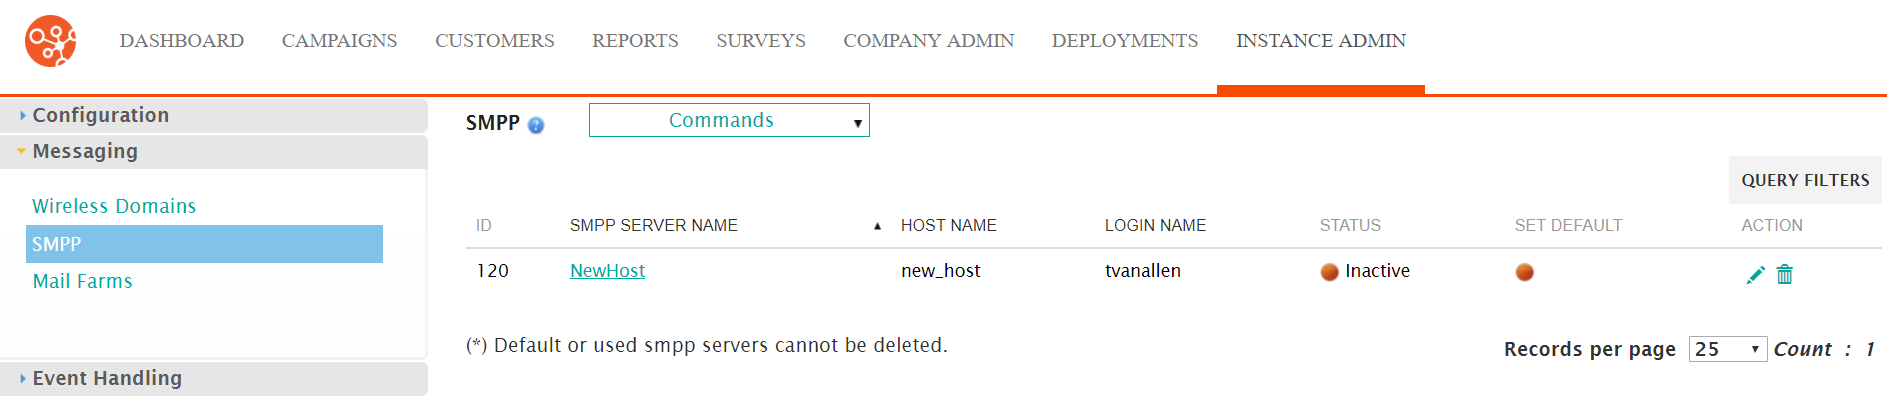
- Click on the Messaging sub-menu in the menu bar on the left, followed by
the SMPP menu option. The SMPP screen appears.
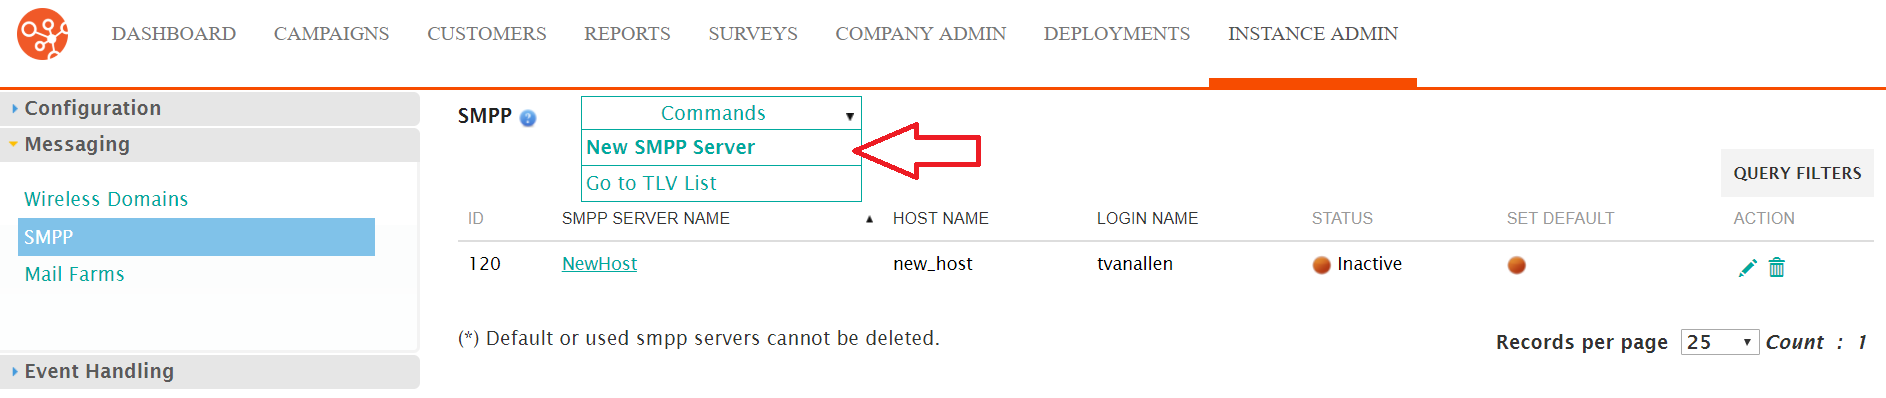
- From the Commands dropdown, select New SMPP Server.
- The Edit SMPP Server Information screen appears.

- Enter the SMPP server details:
- SMPP Version: The version of SMPP to use: 3.3 supports only GSM, 3.4 adds Tag Length Value (TLV), non-GSM SMS technology support as well as transceiver support.
- Name: Unique name for the server
- Host Name: Host name assigned to the device
- Server Port: The appropriate port number, the last set of the numbers at the end of the IP address
- Login Name: The login name used to access the server
- Password: The password the login name uses to access the server
- Message ID Base Number: The base number used to identify the message when sent
- Messages per Second: The number of messages that can pass simultaneously if using synchronous messaging.
- Max Connections: The maximum number of connections to the server
- Extra SMSC IP List: The list of IP addresses of the proxy servers. Each IP address must appear on its own line.
- To cancel without saving the SMPP server, click the Cancel button. The SMPP screen appears. The SMPP server is not saved and does not appear in the list of SMPP servers.
- Click the Save button. The SMPP screen appears. The SMPP server is saved and appears in the list of SMPP servers.
