Once a purge period is created it may be necessary to edit the purge period. This may be necessary if the times for the purge period need altering or updating.

Editing a Purge Scheduler Entry
To edit a purge scheduler entry:
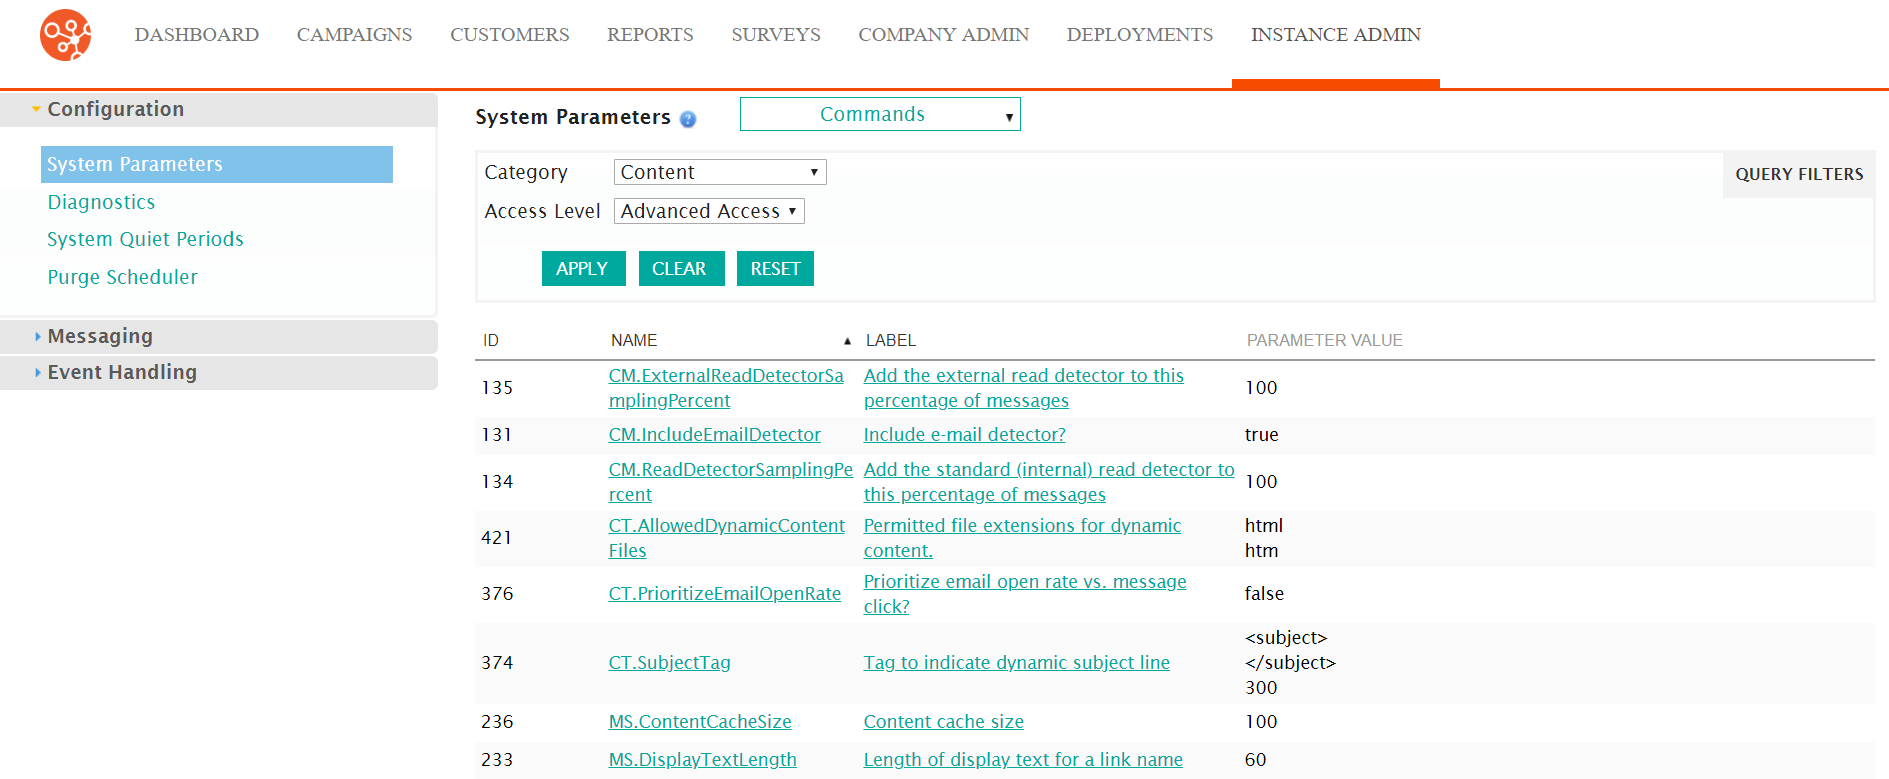
- Navigate to the Instance Admin screen. The System Parameters
screen displays.
- Click on the Purge Scheduler sub-menu in the menu bar on the left.
The Purge Modules screed displays.
- Click on the purge module name link from the list of purge modules or click
on the Edit icon (
 ) beside the desired purge module. The Edit
Schedule screen for the selected purge module appears.
) beside the desired purge module. The Edit
Schedule screen for the selected purge module appears.
- Click on the start time name link from the list of scheduled entries or
click on the Edit icon () beside the desired schedule entry. The Set
the Properties for This Scheduled Period screen appears.
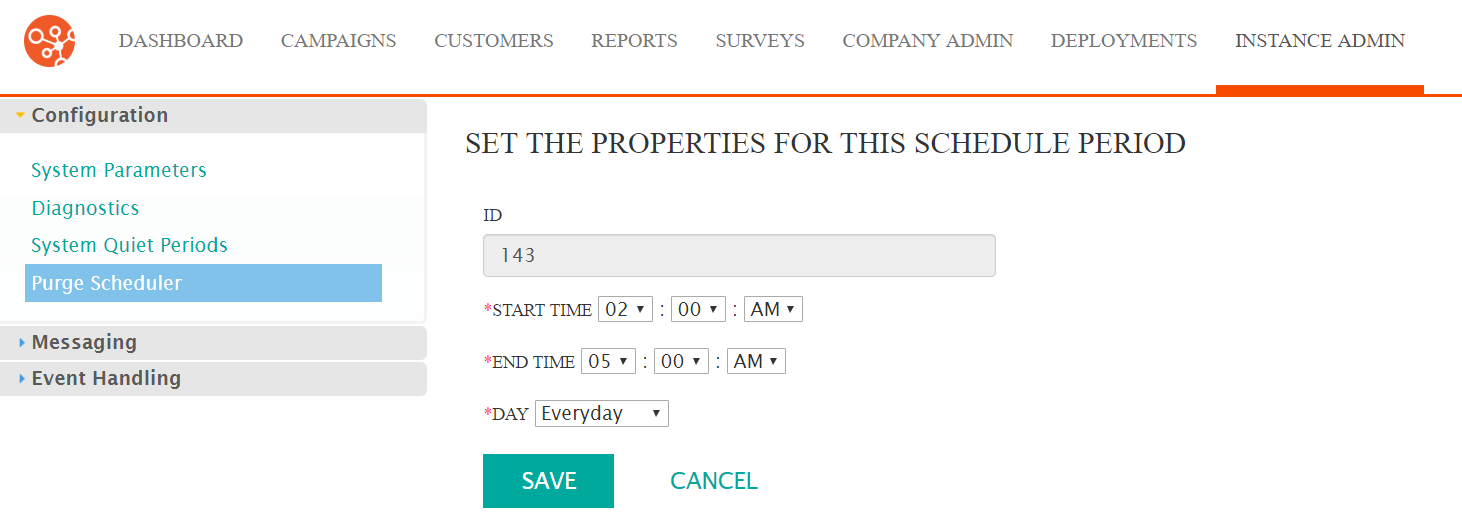
- Edit the schedule period information:
- Start Time: The time the purge period starts
- End Time: The time the purge period ends
- Day: The day the purge period timeframe will be active (a
select day or 'everyday')Note: For purge periods to span midnight, you must create two purge periods: one period to stop at 11:59pm, and another to start at 12:00am the next day.
- To cancel without saving the changes to the purge period, click the Cancel button. The Edit Schedule screen appears. The changes to the purge period are not saved.
- Click the Save button. The Edit Schedule screen appears. The changes to the purge period are saved.
