The Purge Scheduler manages the times when data that is no longer needed and relevant is
removed from the Connect database. A scheduled time for the purge is created in each of
the Purge Manager modules. A start and end time is configured along with the frequency
of the data purge.
Note: Multiple schedule periods can be configured for each
module.

Creating a New Purge Scheduler Entry
To create a new purge scheduler entry for a purge module:
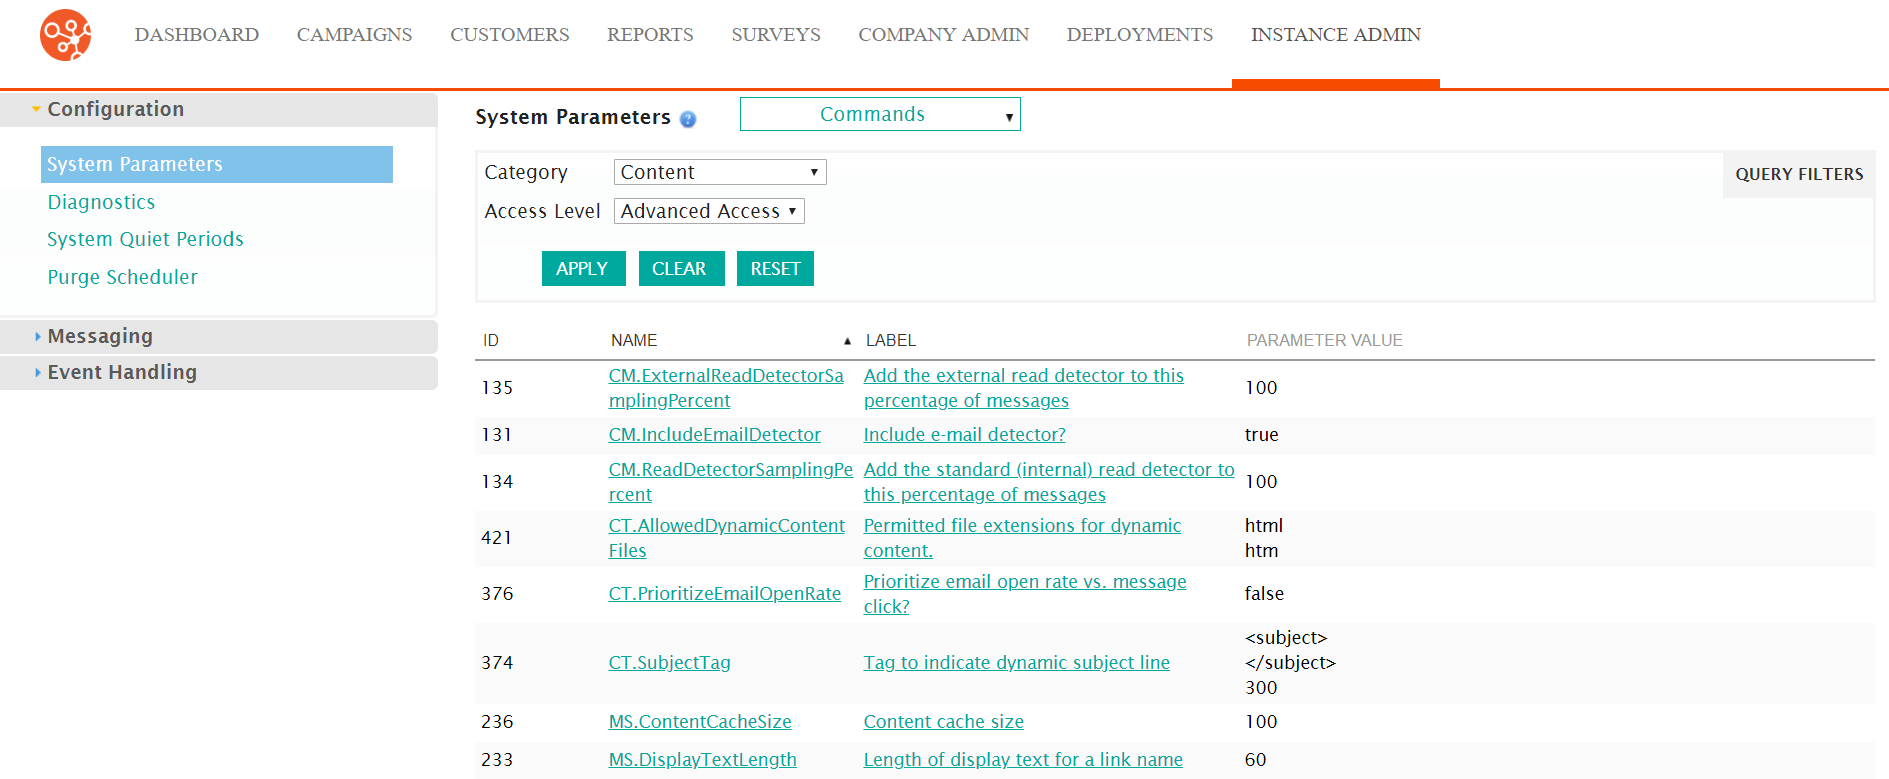
- Navigate to the Instance Admin screen. The System Parameters
screen displays.
- Click on the Purge Scheduler sub-menu in the menu bar on the left.
The Purge Modules screed displays.
- Click on the purge module name link from the list of purge modules or click
on the Edit icon (
 ) beside the desired purge module. The Edit
Schedule screen for the selected purge module appears.
) beside the desired purge module. The Edit
Schedule screen for the selected purge module appears.
- Click the Add New Schedule Entry button. The Set the Properties
for This Scheduled Period screen appears.
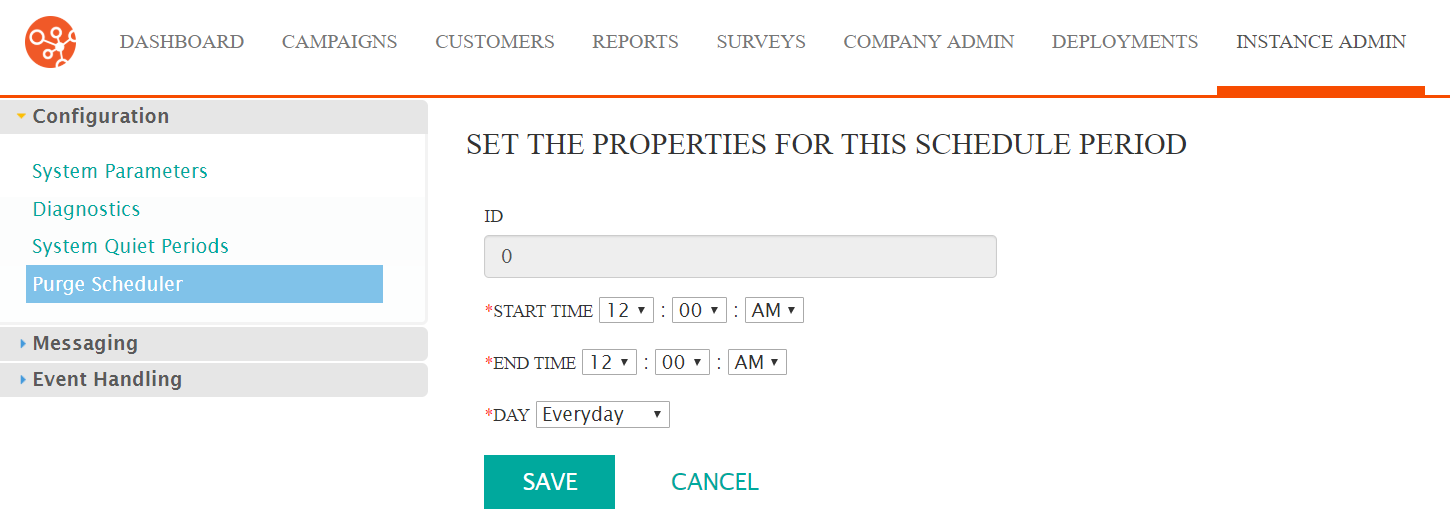
- Enter the schedule period information:
- Start Time: The time the purge period starts
- End Time: The time the purge period ends
- Day: The day the purge period timeframe will be active (a
select day or 'everyday')Note: For purge periods to span midnight, you must create two purge periods: one period to stop at 11:59pm, and another to start at 12:00am the next day.
- To cancel without saving the purge period, click the Cancel button. The Edit Schedule screen appears. The purge period is not saved and does not display in the Edit Schedule screen.
- Click the Save button. The Edit Schedule screen appears. The purge period are saved and displays in the Edit Schedule screen.
