Connect allows you to add a machine (or node) outside the firewall as part of the Connect application architecture. Connect requires the configuration of outside nodes to effectively access and utilize the machine outside the firewall.
Adding a New Outside Node
To add a new outside node:
- Navigate to the Deployments screen. The Deployment Editor screen
displays.
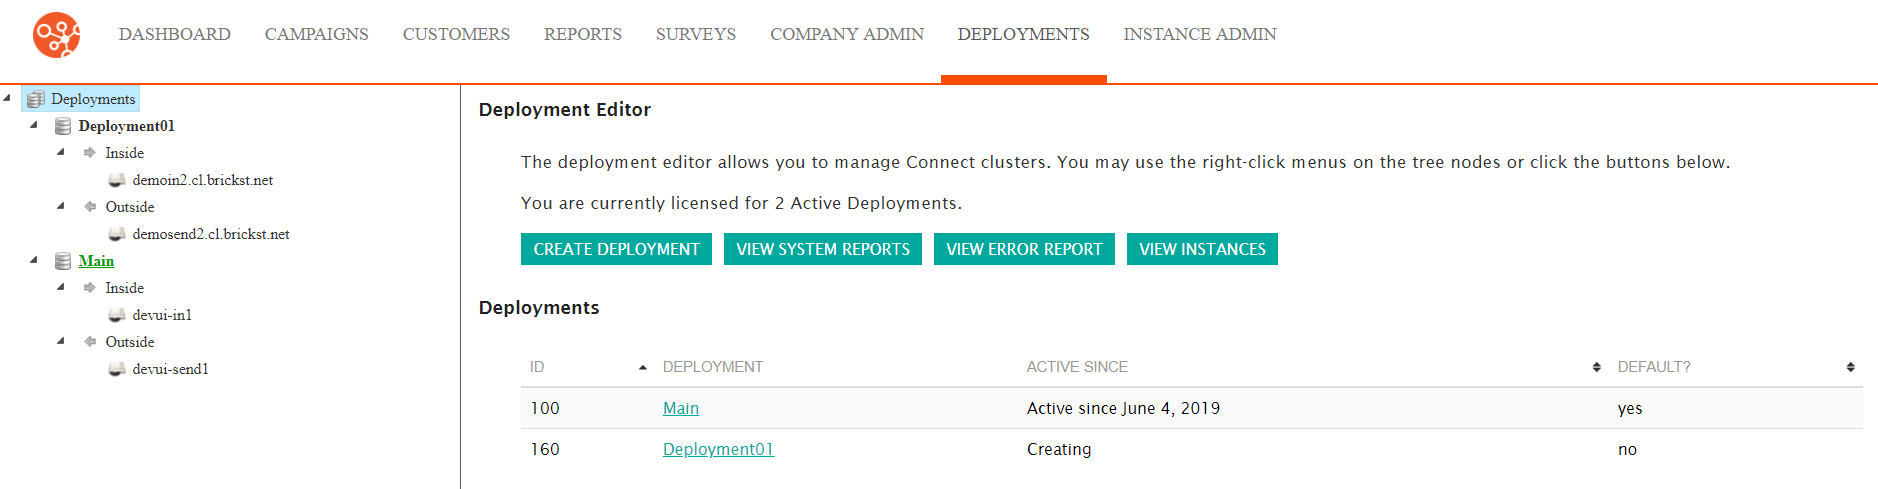
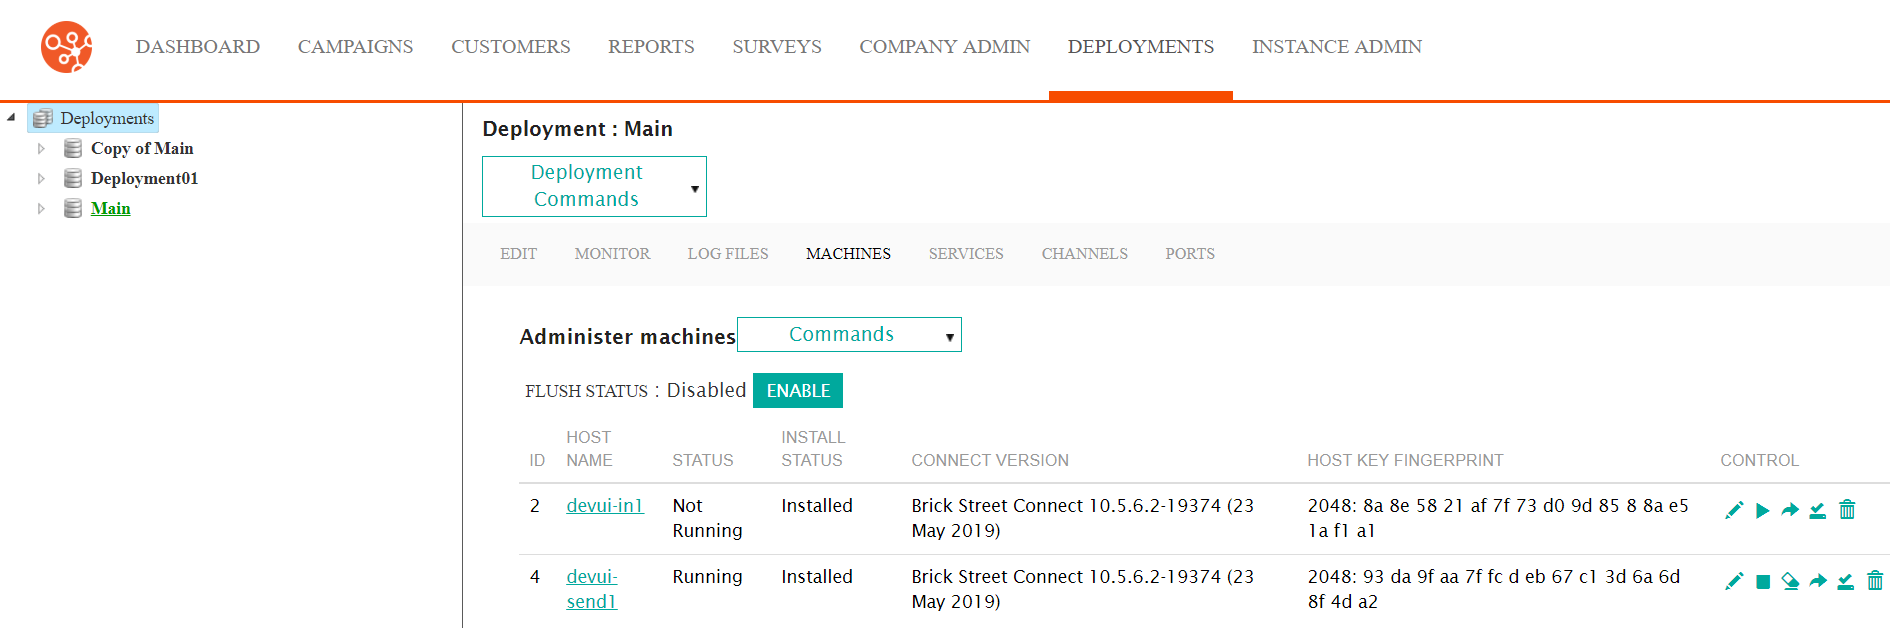
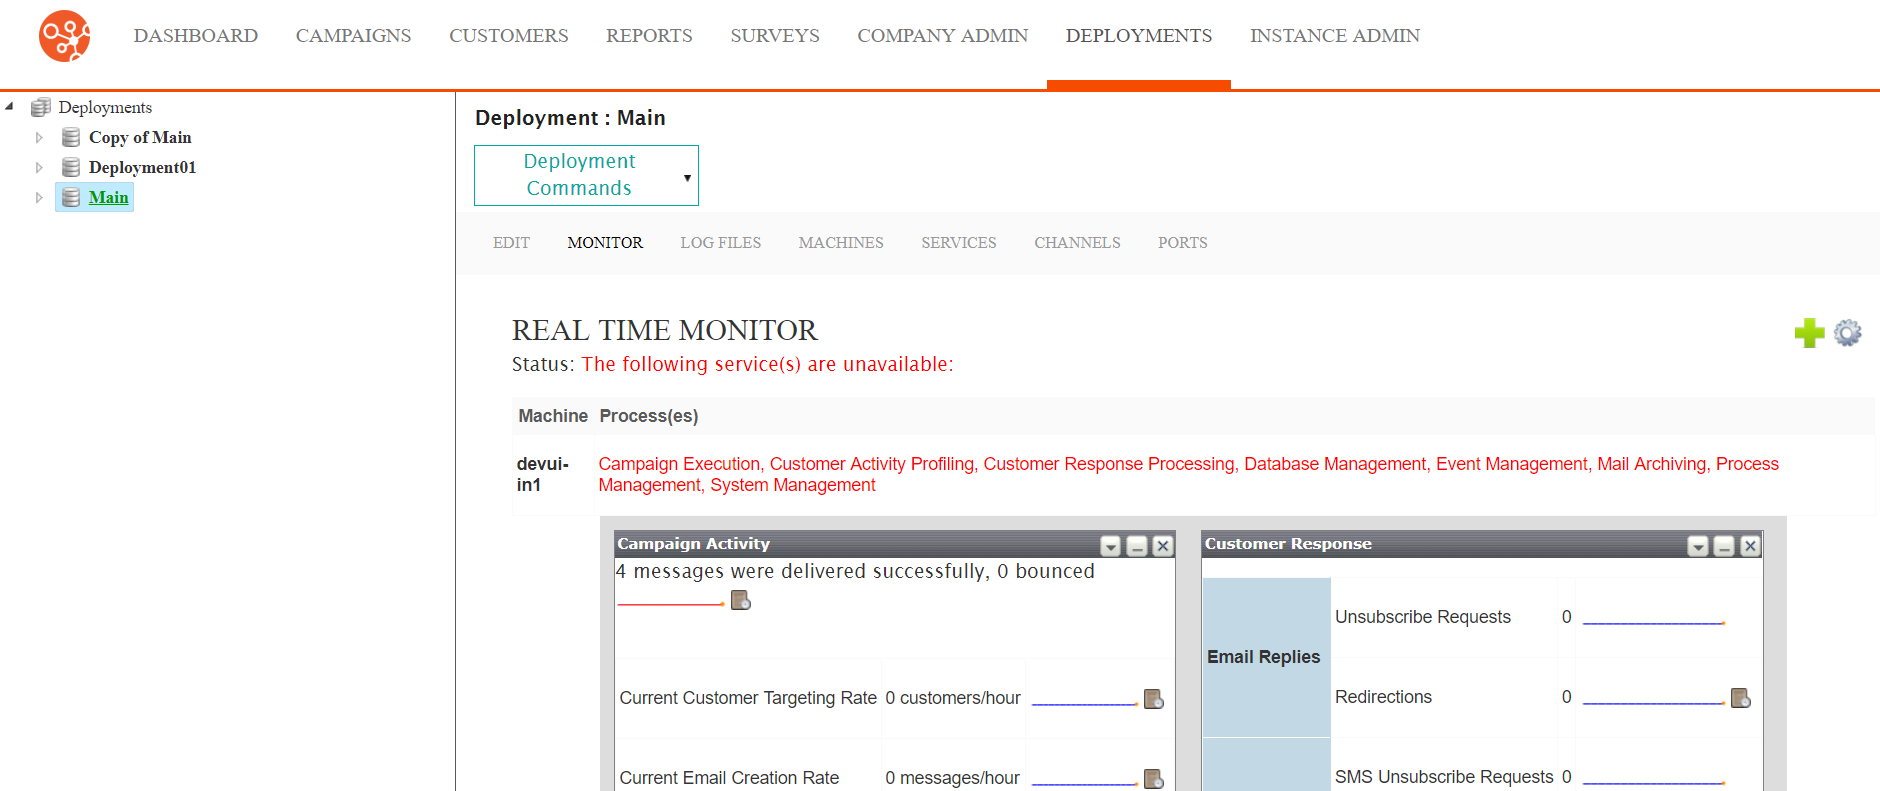
- Click on the desired active deployment. The real time monitor displays.
- Click on the Machines sub-menu heading. The Machines screen
displays.
- From the Commands dropdown, select Add Outside Node.
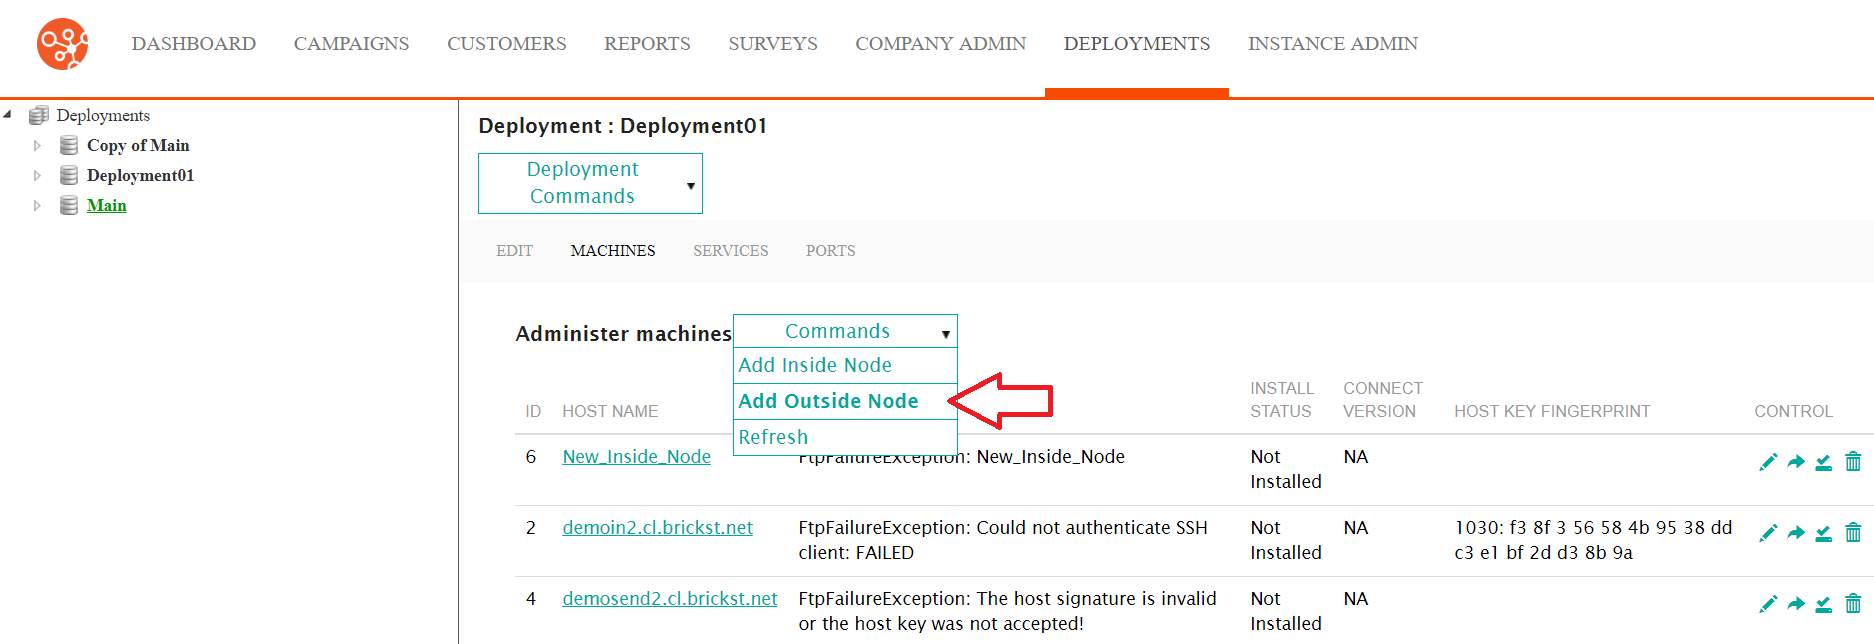
The Configure Outside Cluster Node screen displays.
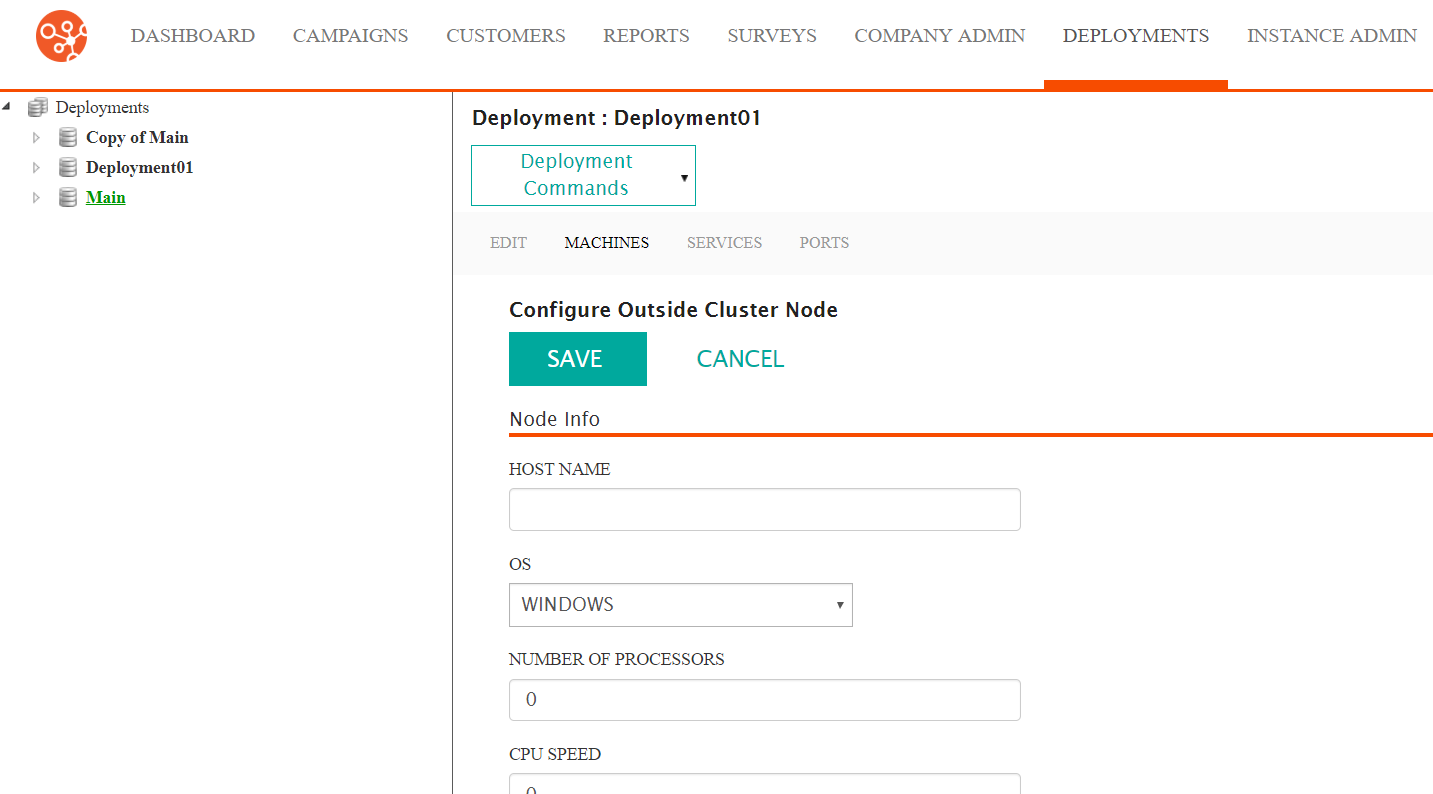
- Enter the details for the outside node in the Node Info:
- Host Name: The host name for the machine
- OS: The operating system of the machine
- Number of Processors: The number of processers the machine has
- CPU Speed: The speed of the machine's CPU
- Select any Connect components that you wish to disable on the machine in the Components section.
- Enter the details of the deployment in the Deployment Settings section:
- Use Default Deployment Settings for Cluster: Checked to use the default settings for user name, password and base directory. Deselect this checkbox to enter the deployment settings manually.
- S/FTP User Name: The user name used to connect to the FTP application
- Password: The password for the user name used to connect to the FTP application
- Connect Deployment Base Directory: The base directory on the machine used for the Connect deployment
- To cancel without saving the outside node, click the Cancel button. The Machines screen displays. The outside node is not saved.
- Click the Save button. The Machines screen displays displaying the newly created outside node in the list of machines.
