If your organization has a large number of users that are to be put into a group, Connect allows you to import the users from a comma-separated value (CSV) file. The file is imported and the fields associated with database fields in Connect. Once the association is made, the users are imported directly into the group with no need for manual entry.
Importing Users into a Group
To import a file of users into a group:
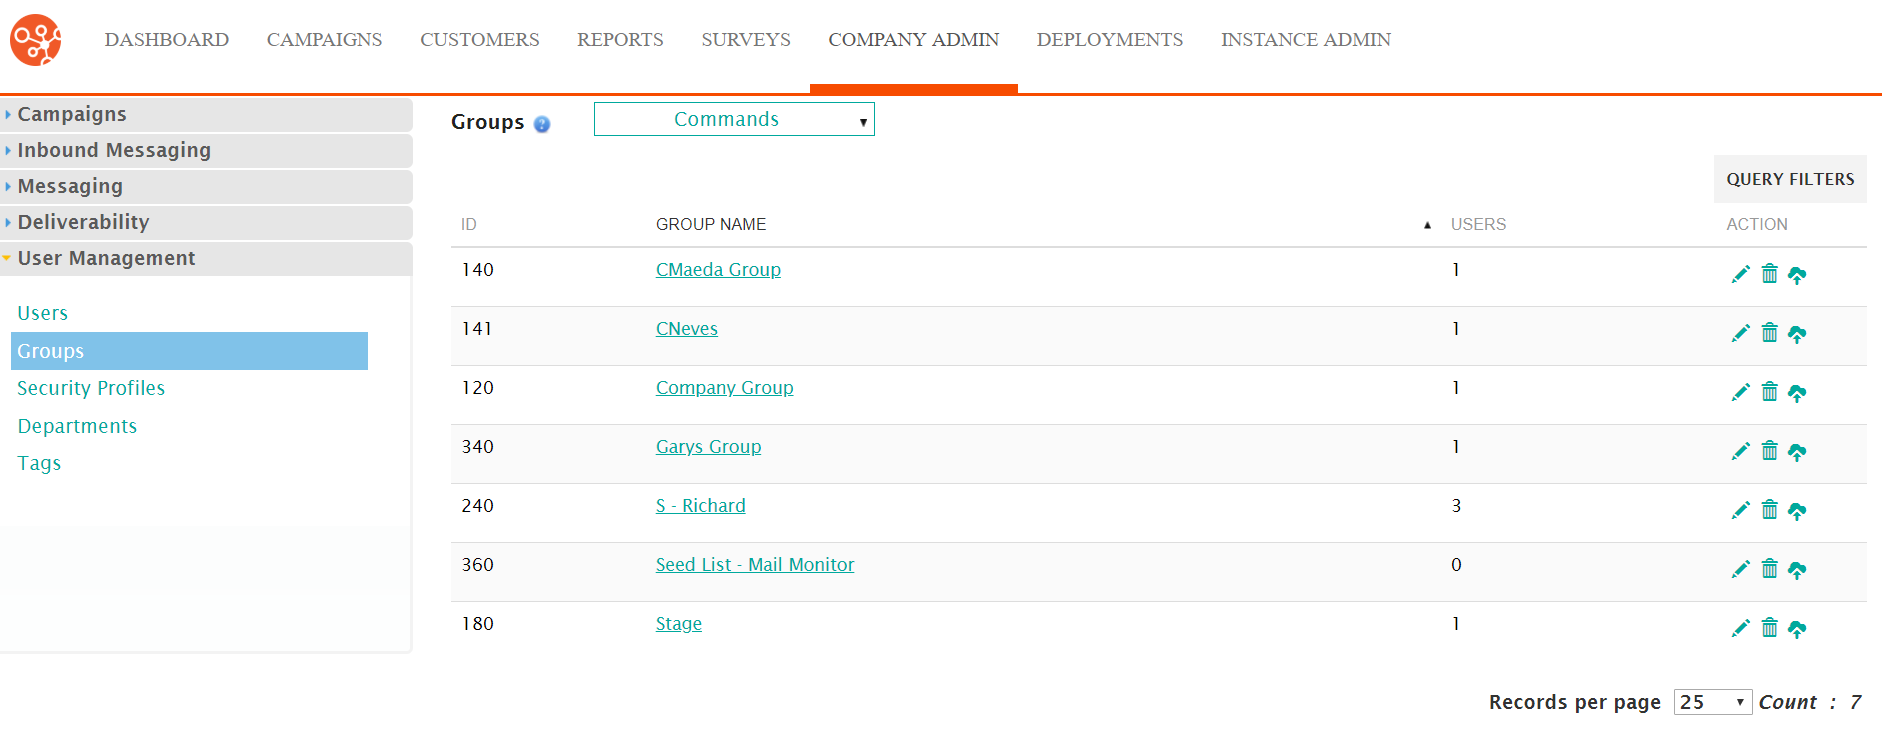
- Navigate to the Company Admin screen.
- Click on the User Management sub-menu in the menu bar on the left,
followed by the Groups menu option. The Groups screen
appears.
- Click on the Import Group icon (
 ) beside the desired group. The Import
Customers Step 1 of 2 screen appears.Note: The user import for groups uses the same Connect infrastructure for importing customers. The labeling is similar to that of a customer import but the import is actually importing Connect users into the group.
) beside the desired group. The Import
Customers Step 1 of 2 screen appears.Note: The user import for groups uses the same Connect infrastructure for importing customers. The labeling is similar to that of a customer import but the import is actually importing Connect users into the group.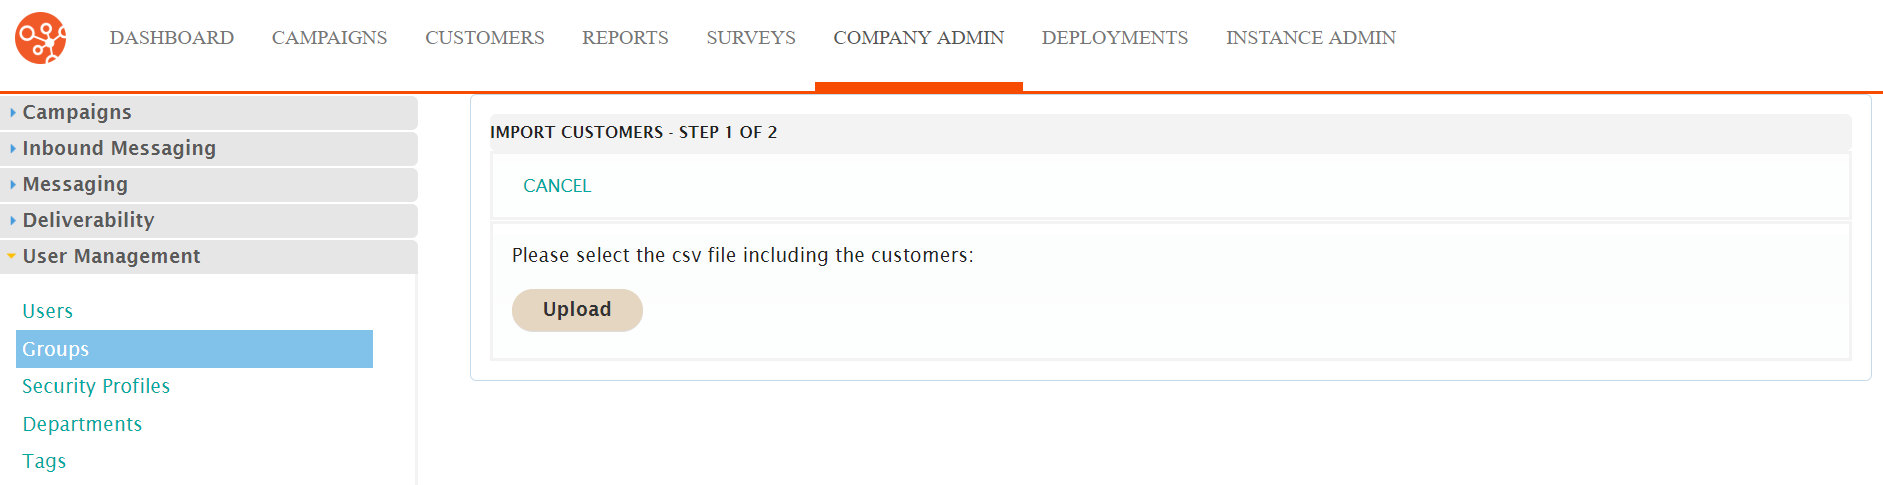
- Click the Upload button. The file browser opens.
- Navigate to the desired CSV file and select it, and click the Open
button. The upload confirmation displays.
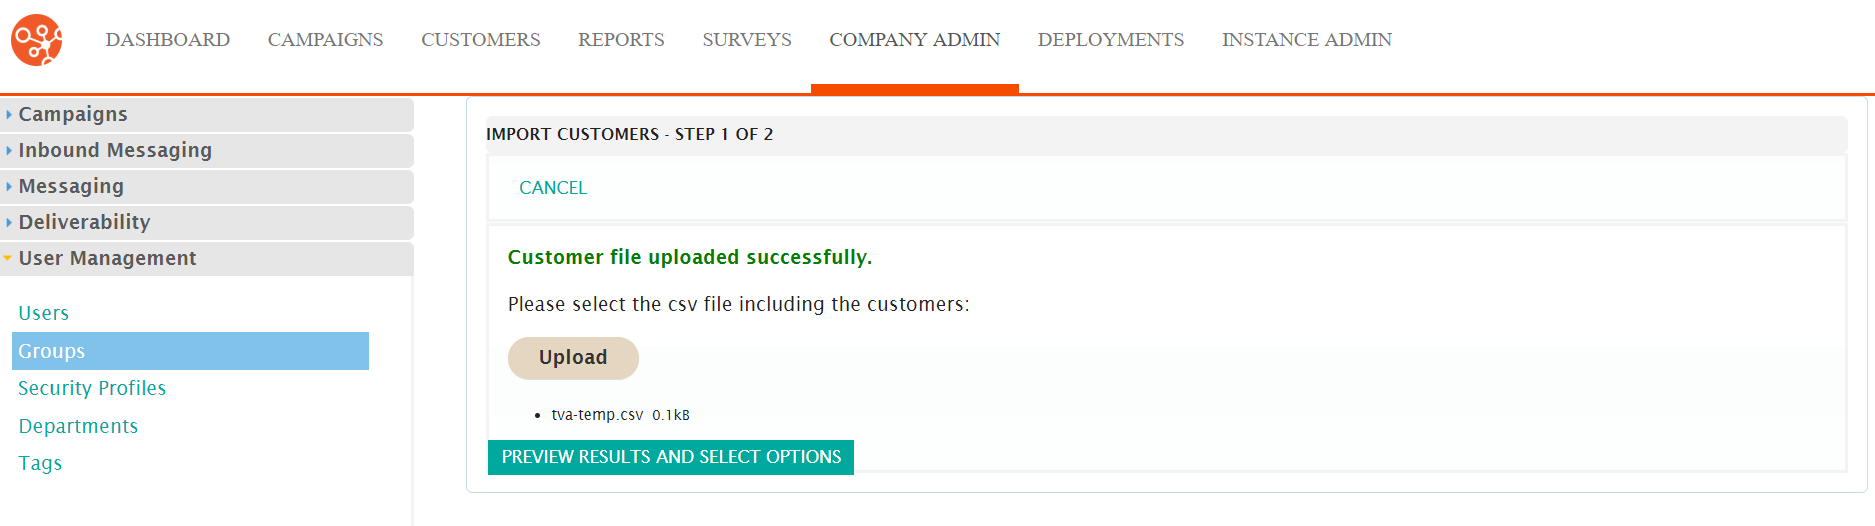
- Click the Preview Results and Select Options button. The Import
Customers Step 2 of 2 screen displays.
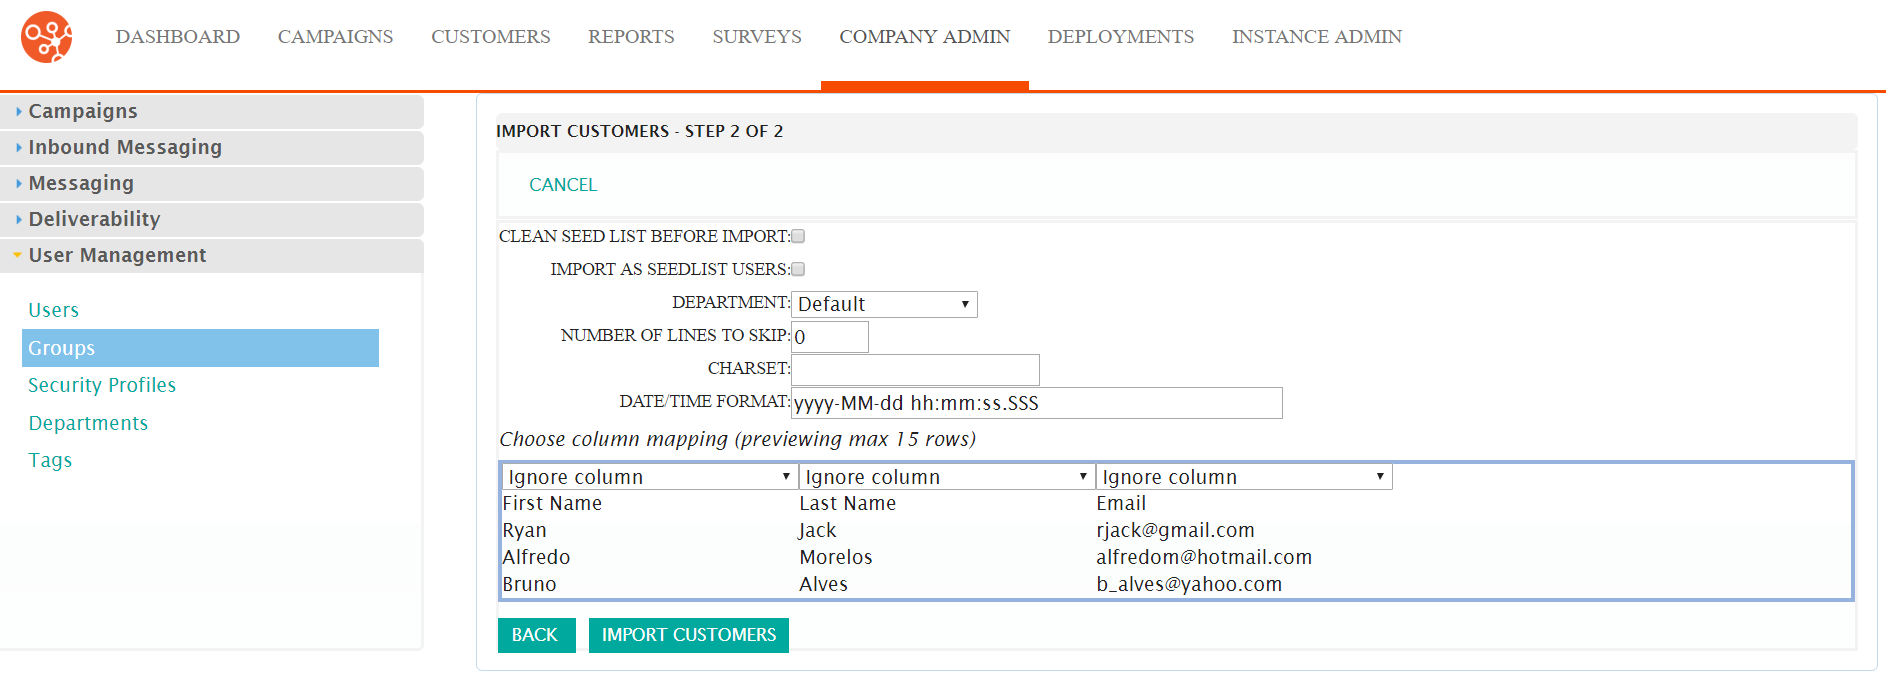
- Enter the information for the imported users:
- Clean Seed List Before Import: Indicates whether seed lists will be cleaned and have duplicates removed prior to the import of users
- Import as Seedlist Users: Indicates whether the users will be imported to a seed list or not
- Department: The department that will be associated to the users in the group
- Number of Lines to Skip: Indicates the number of lines at the top of the file that will be skipped, assuming them to be column headers
- Charset: The charset being used in the file
- Date/Time Format: The date and time format to be used when importing date/time data
- For each imported field, select the desired attribute that describes the field for import (e.g. FIRST_NAME for the user's first name).
- To go back to the previous step, click the Back button. The Import Customers Step 1 of 2 screen appears.
- To cancel without importing users into the group, click the Cancel button. The Groups screen appears. The users are not imported into the group.
- Click the Import Customers button. The import confirmation message
appears.
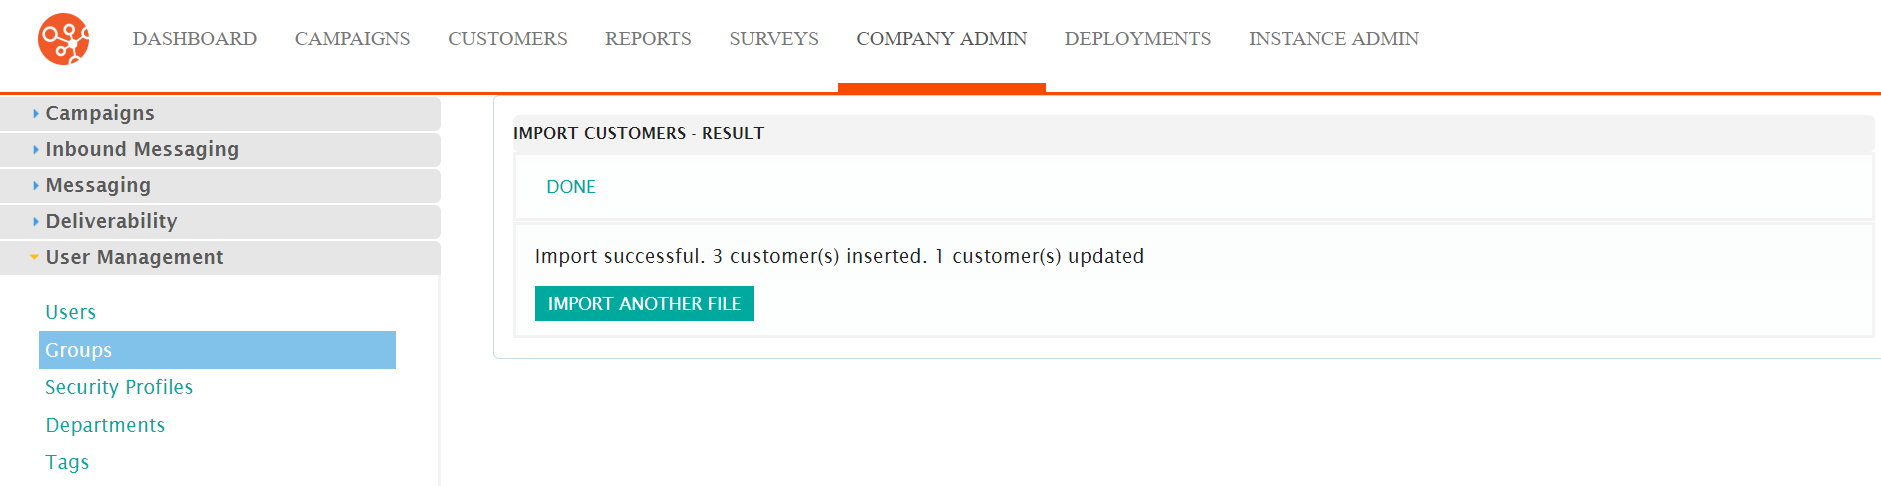
- Click the Done button. The Groups screen appears. The users are uploaded to the group.
