Before Connect is able to be configured to manage multiple languages in delivered messages, languages must be created and configured. Once created with specific character sets, they are able to be configured for use in campaigns.
Creating a Language
To create a new language:
- Navigate to the Company Admin screen.
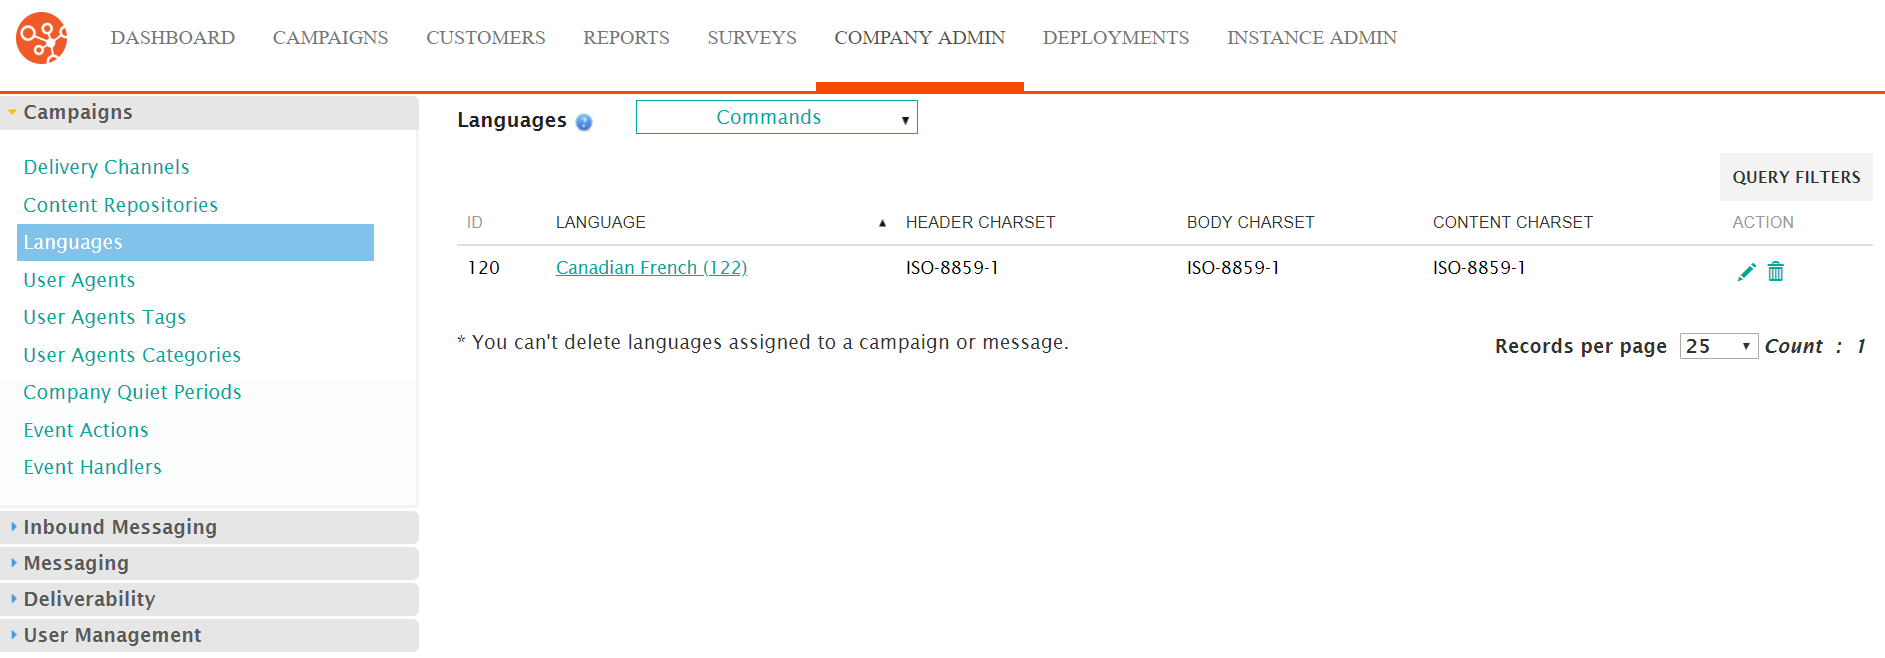
- Under the Campaigns sub-menu in the menu bar on the left, click on
the Languages menu item. The Languages screen
appears.
- From the Commands dropdown, select New Language.
The Edit Language screen appears.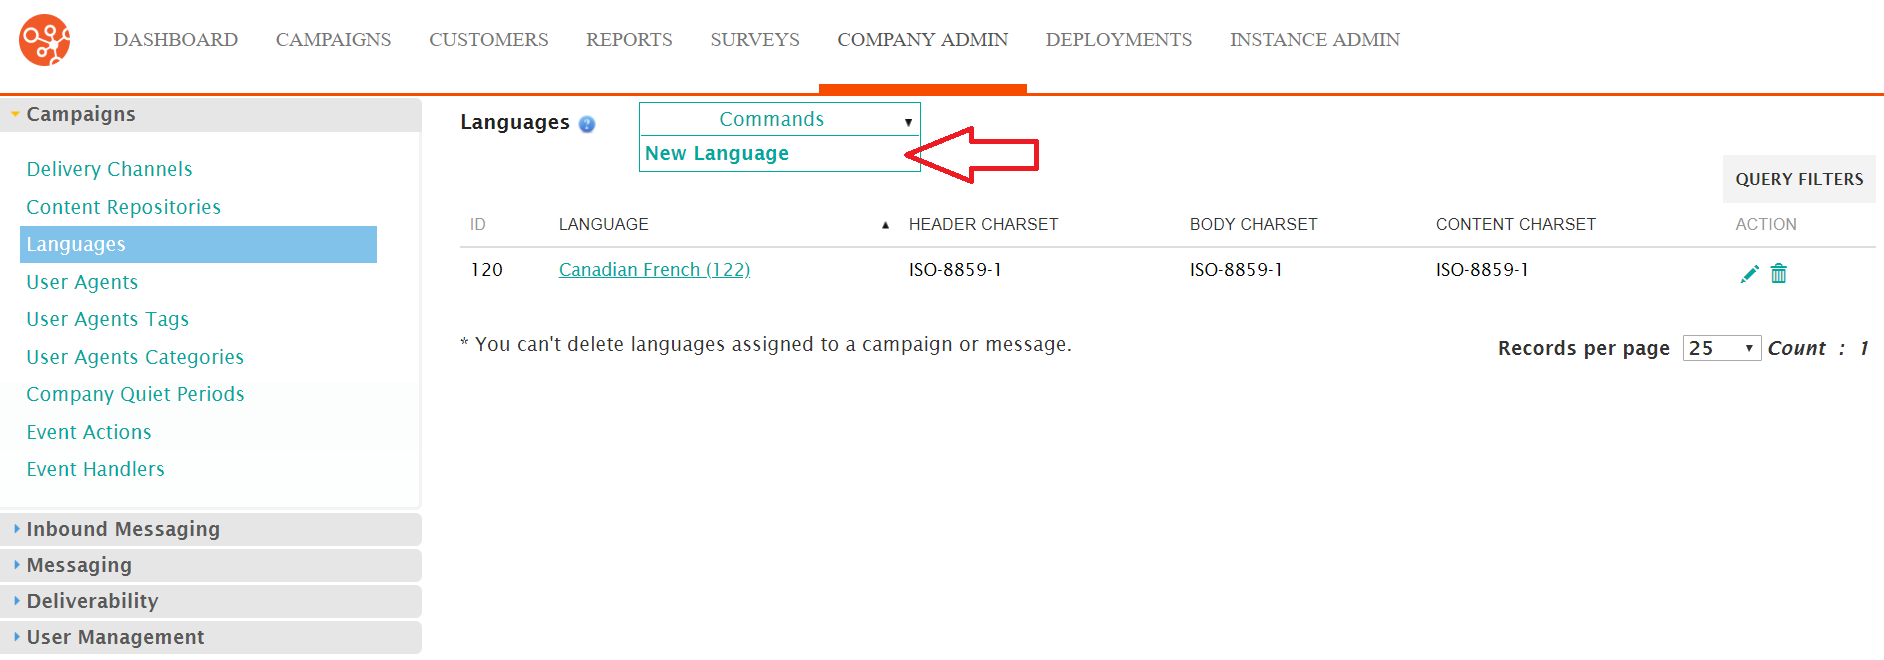
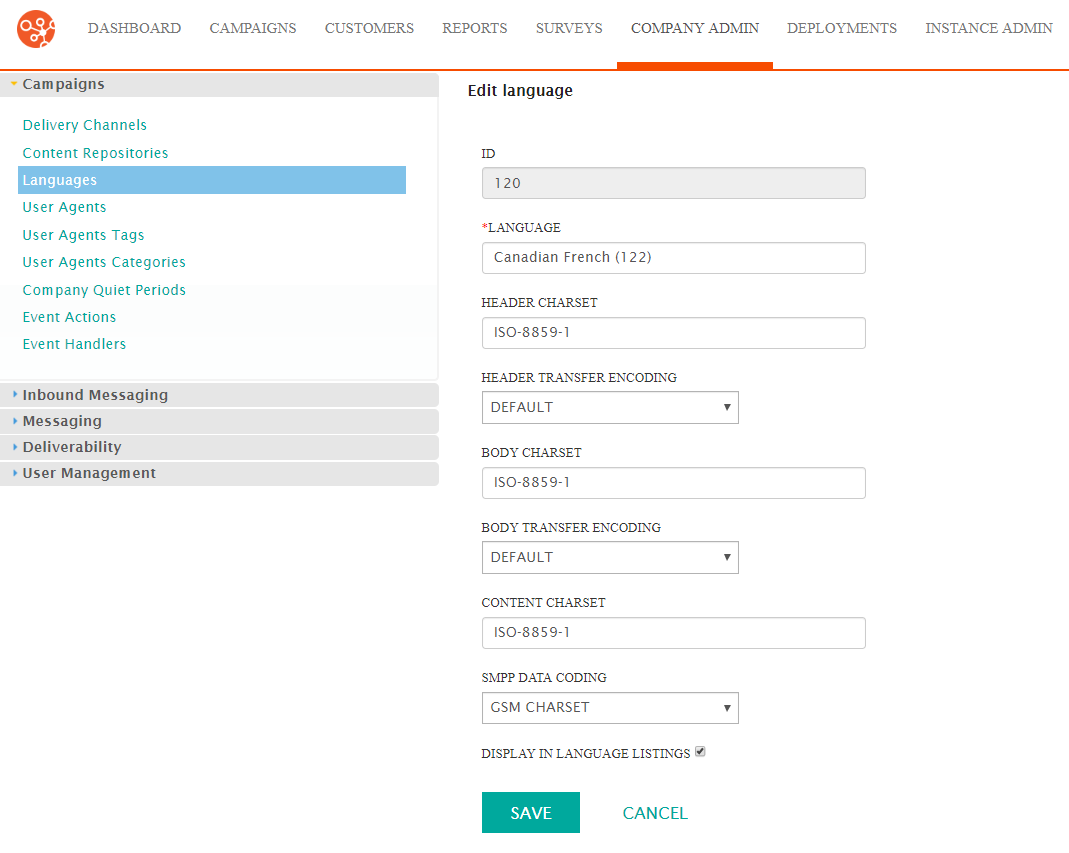
- Enter the language details:
- Language: The name of the language
- Header Charset: The character set for the language when used in headers (e.g. UTF-8, ISO-8859-1)
- Header Transfer Encoding: Encoding used for the language in
headers:
- Default: Use default encoding
- QP: Quoted Printable encoding
- Base64: Binary encoding
- Body Charset: The character set used for the language when used in the body of messages (e.g. UTF-8, ISO-8859-1)
- Body Transfer Encoding: Encoding used for the language in the
body of messages:
- Default: Use default encoding
- QP: Quoted Printable encoding at all times
- Base64: Binary encoding at all times
- QP (if needed): Quoted Printable encoding used when necessary
- Base64 (if needed): Binary encoding used when necessary
- Content Charset: The character set used for message content
- SMPP Data Coding: Data coding used for SMS messages
- Display in Language Listings: If checked, the language will be made available for use throughout Connect
- To cancel without saving the language, click the Cancel button. The Languages screen displays. The language is not saved and not listed in the list of languages.
- Click the Save button. The Languages screen displays with the newly created language displaying in the languages list.
