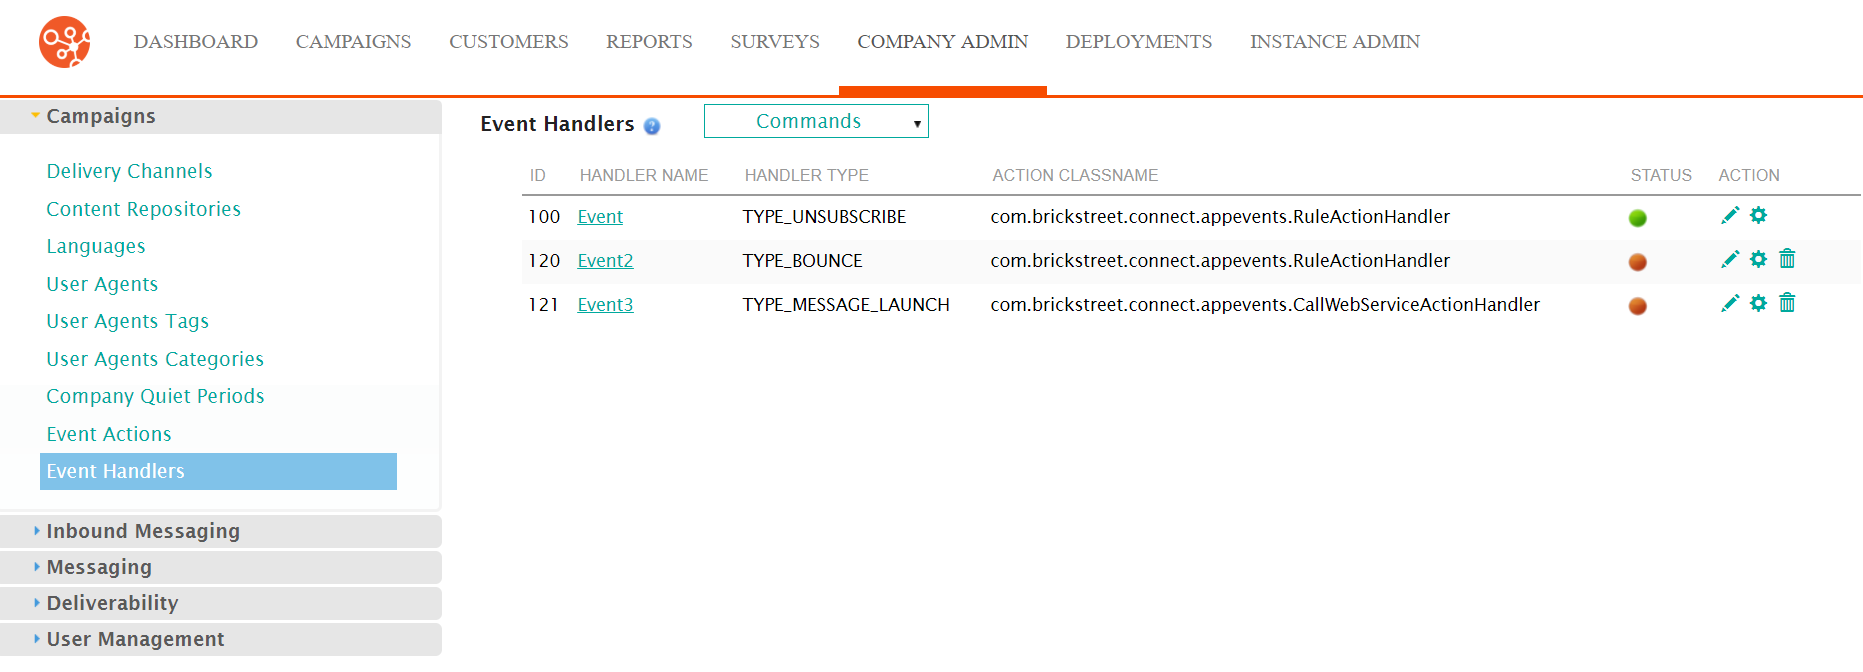
Event handlers are created to respond to completed events. Event handlers are configured to pay attention to particular types of events occurring. Once the event occurs, the event handler executes the action associated to the particular event. Event handlers are configured in the Event Handlers screen.
Creating an Event Handler
To create an event handler:
- Navigate to the Company Admin screen.
- Click on the Event Handlers menu item under the Campaigns side
menu. The Event Handlers screen appears.
- Select the New Event Handler action from the Commands
dropdown.
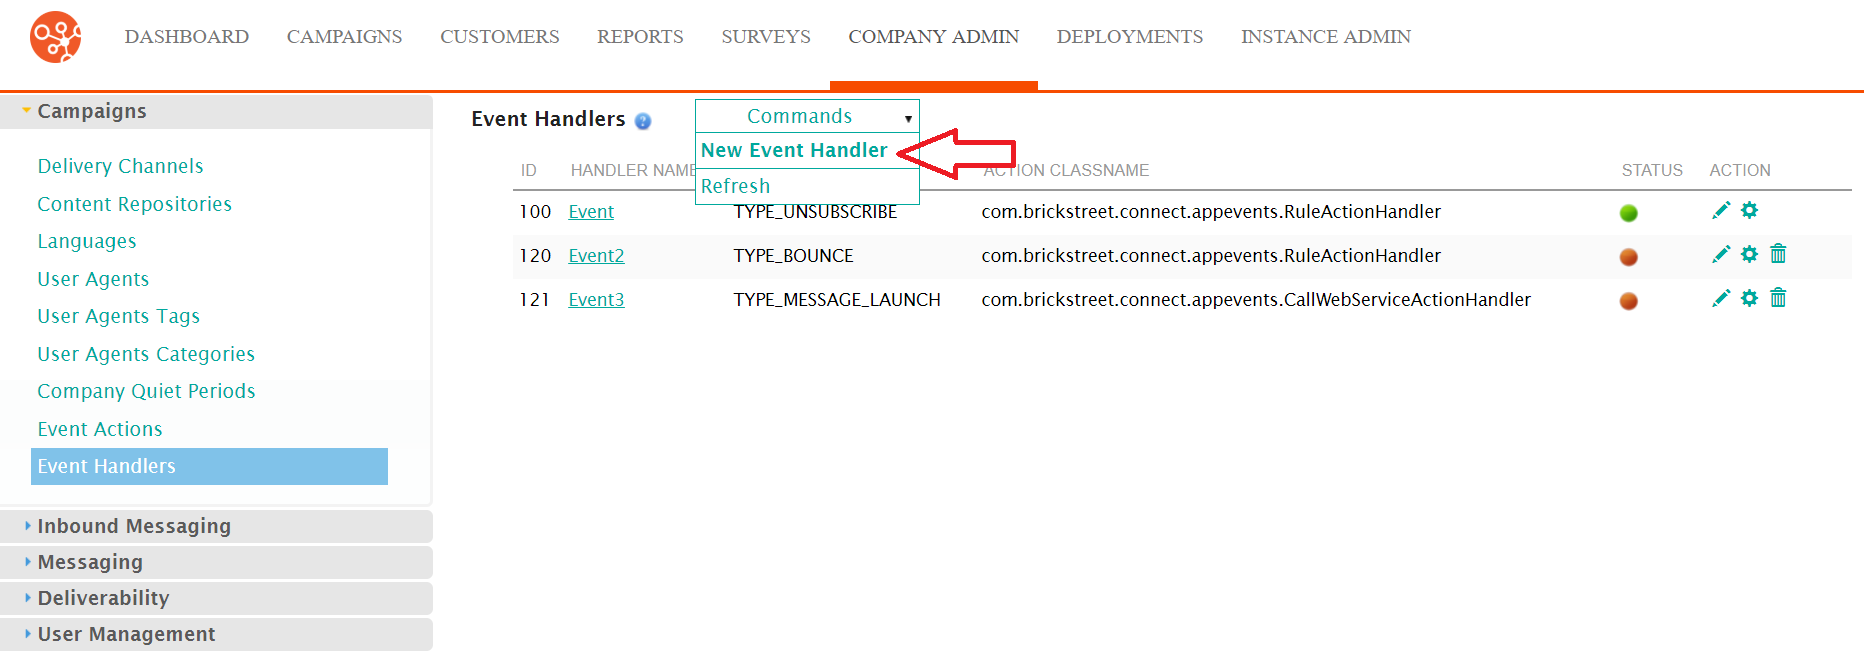
The Enter Event Handler Information screen appears.
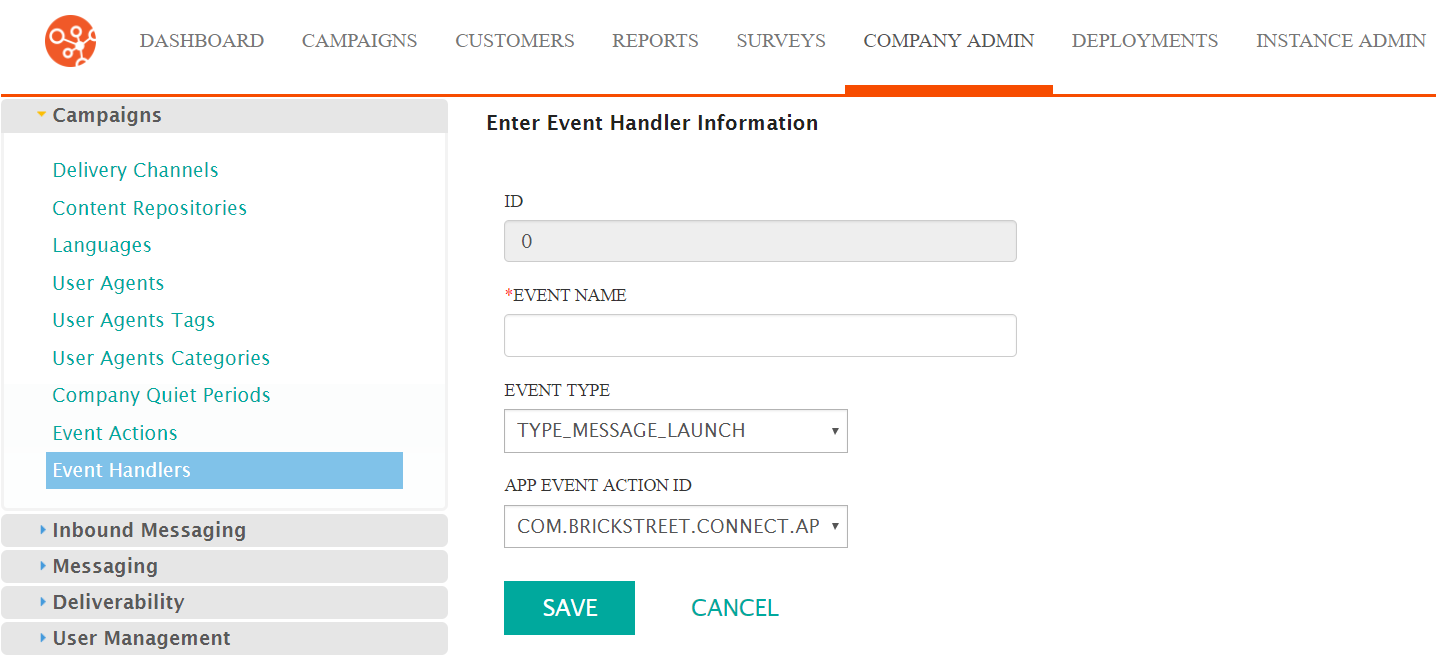
- Enter the event handler information:
- Event Name: The name of the event
- Event Type: The type of event that will be monitored by the
handler:
- TYPE_MESSAGE_LAUNCH: A email/message is launched
- TYPE_NEW_SUBSCRIPTION: A customer subscribes to a conversation
- TYPE_BOUNCE: An email bounces (i.e. customer email address is invalid)
- TYPE_OPEN: The email/message is opened
- TYPE_UNSUBSCRIBE: A customer unsubscribes from a conversation
- TYPE_CLICKED: A customer clicks on a link in an email/message
- TYPE_CONVERSION: A customer performs the desired action/purchase for the message link
- TYPE_SURVEY_SUBMISSION: A customer completes and submits a survey
- TYPE_RECURRING_EXECUTION: The moment each time a recurring campaign launches
- App Event Action ID: The action that is performed once the event occurs. For more information on configuring event actions, please see Event Actions.
- To cancel without saving the event handler, click the Cancel button. You are returned to the Event Handlers screen.
- Click the Save button. You are returned to the Event Handlers screen with the new event handler displayed in the event actions list.
