Once an event action is created, you are able to edit the action classname if it has been created erroneously or has an error in the classname that would not allow it to perform as expected in Connect.
Editing an Event Action Classname
To edit an event action:
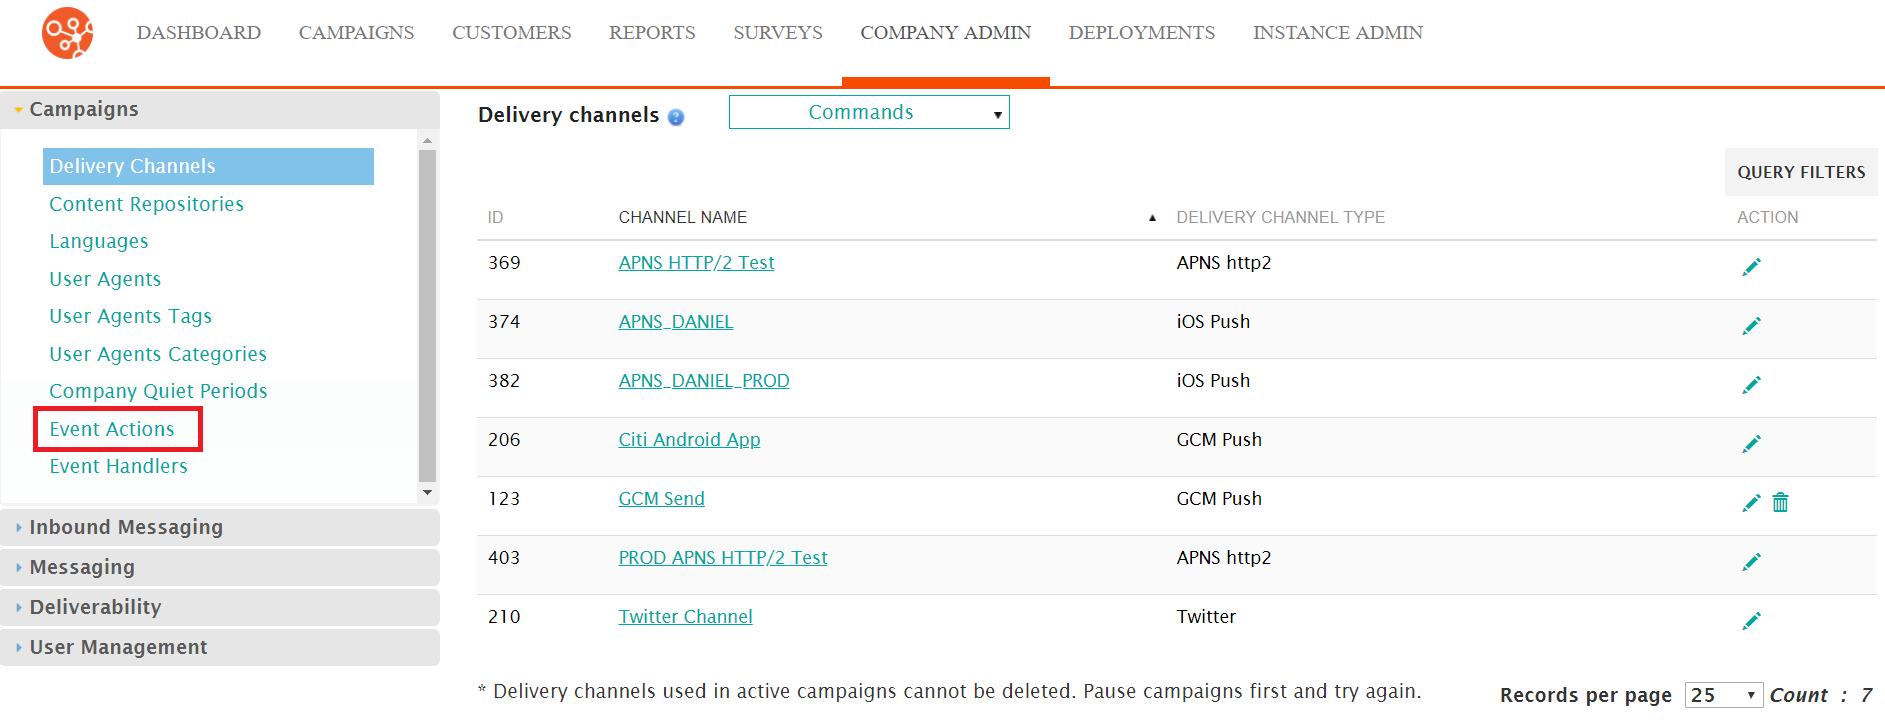
- Navigate to the Company Admin screen.
- Click on the Event Actions menu item under the Campaigns side
menu.
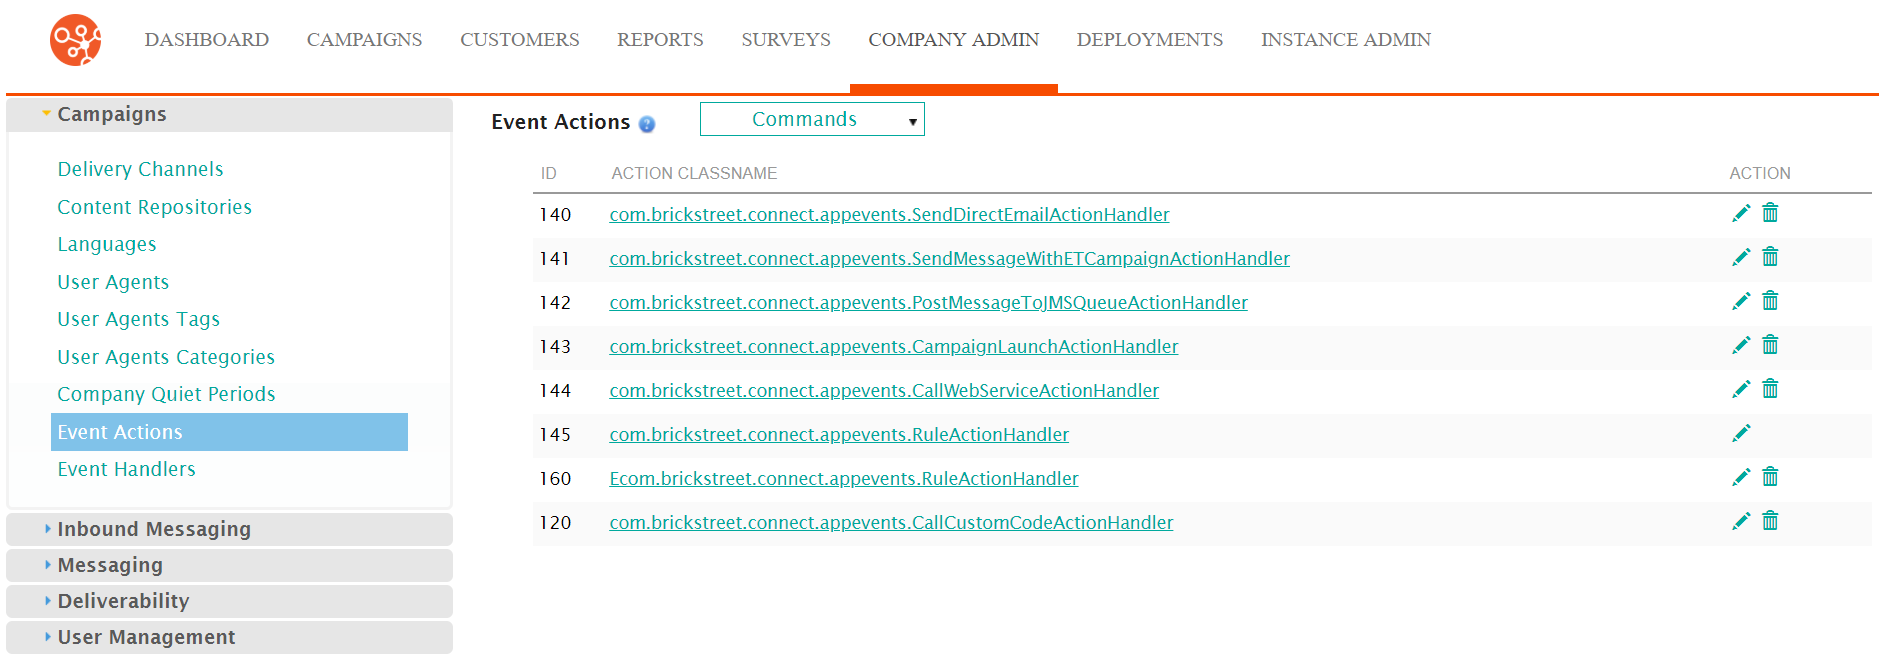
The Event Actions screen appears.
- Select the Edit icon (
 ) beside the desired event action.
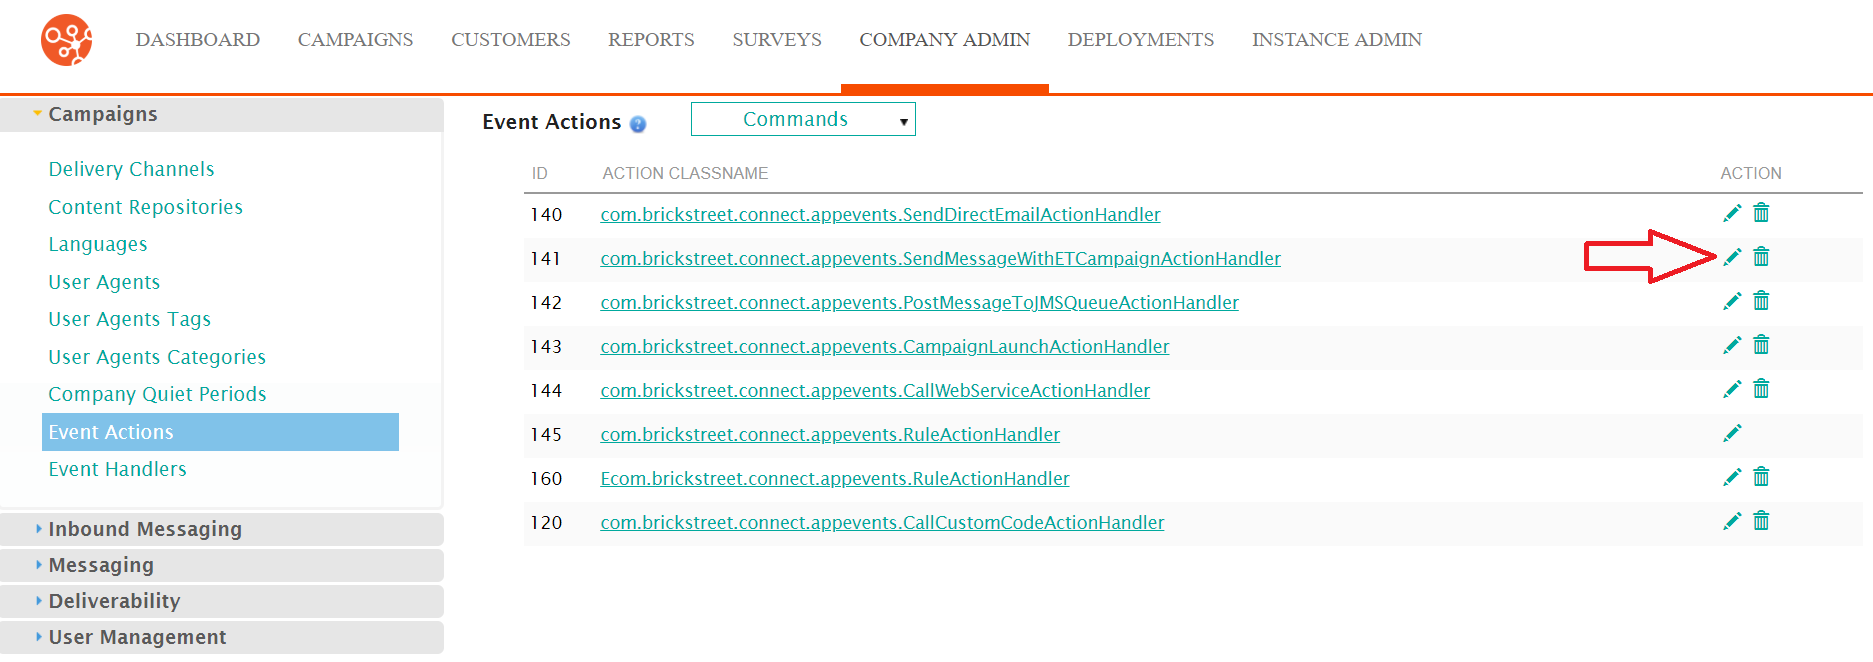
The Enter Event Action Information screen appears with the classname for the event action displayed.
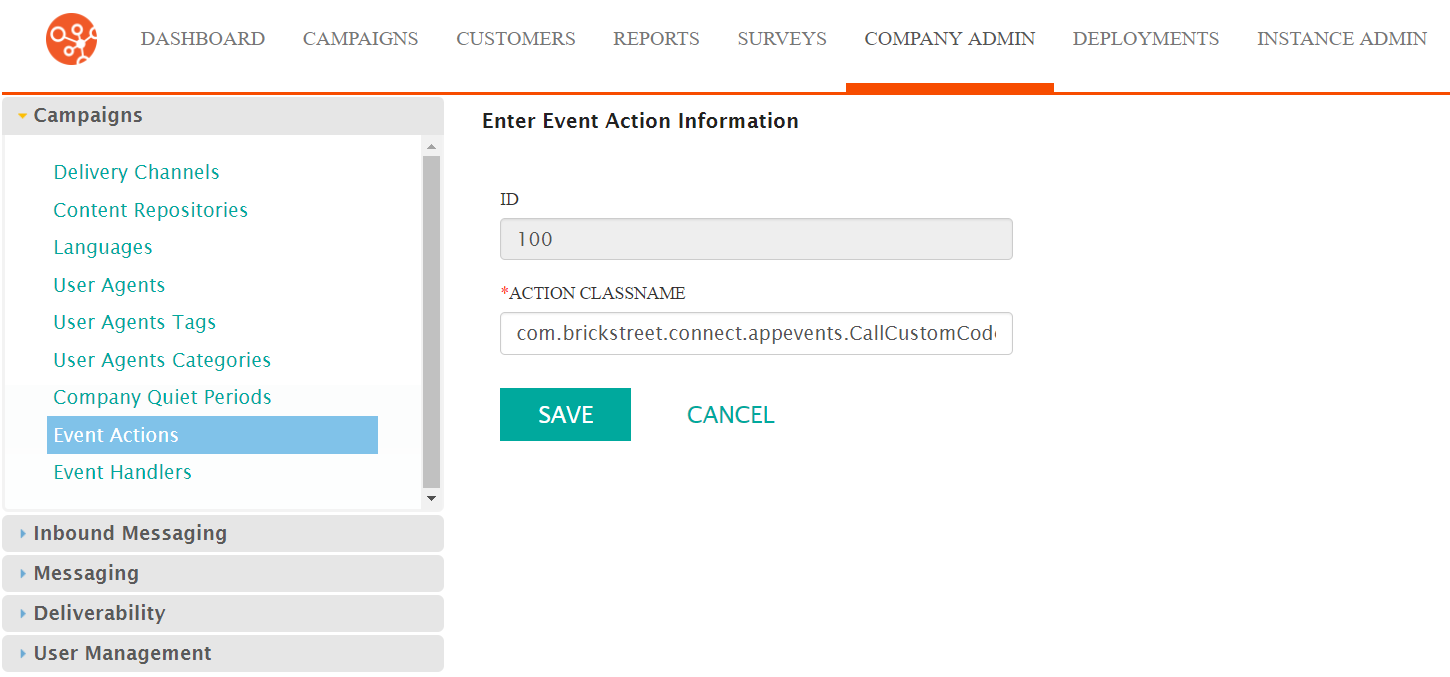
- Edit the action class name into the Action Classname field.
- To cancel without saving the edited event action, click the Cancel button. You are returned to the Event Actions screen.
- Click the Save button. You are returned to the Event Actions screen with the newly edited event action displayed in the event actions list.
