Before Connect is able to send any messages in a campaign, a content repository must be created to store the message content. Once created, message content can be uploaded and stored in the content repository, allowing Connect to access the content and send it as a message to the customer.
Creating a Content Repository
To add a content repository:
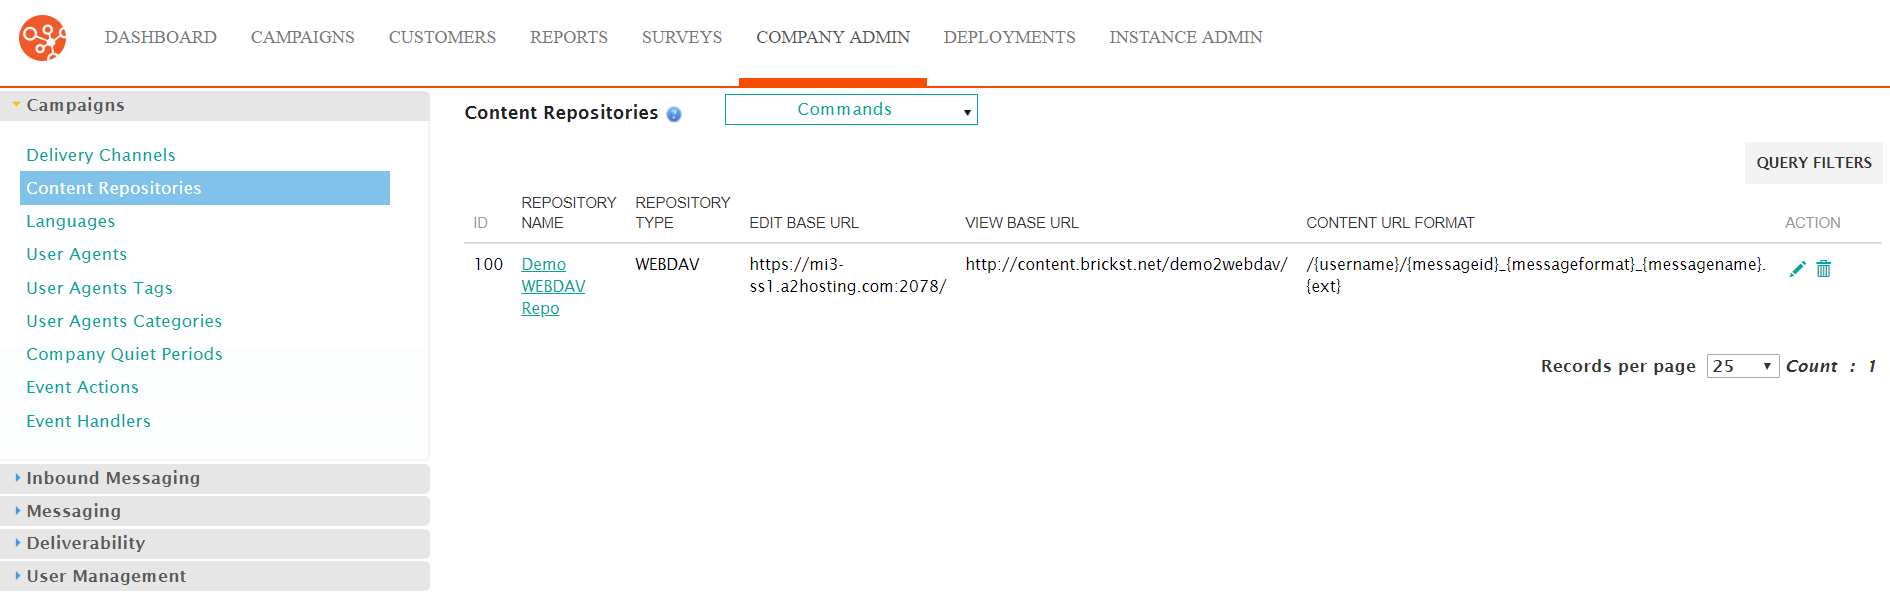
- Navigate to the Company Admin screen.
- Under the Campaigns sub-menu in the menu bar on the left, click on
the Content Repositories menu item. The Content Repositories
screen appears.
- From the Commands dropdown, select New Content Repository.
The Content Repository details screen appears.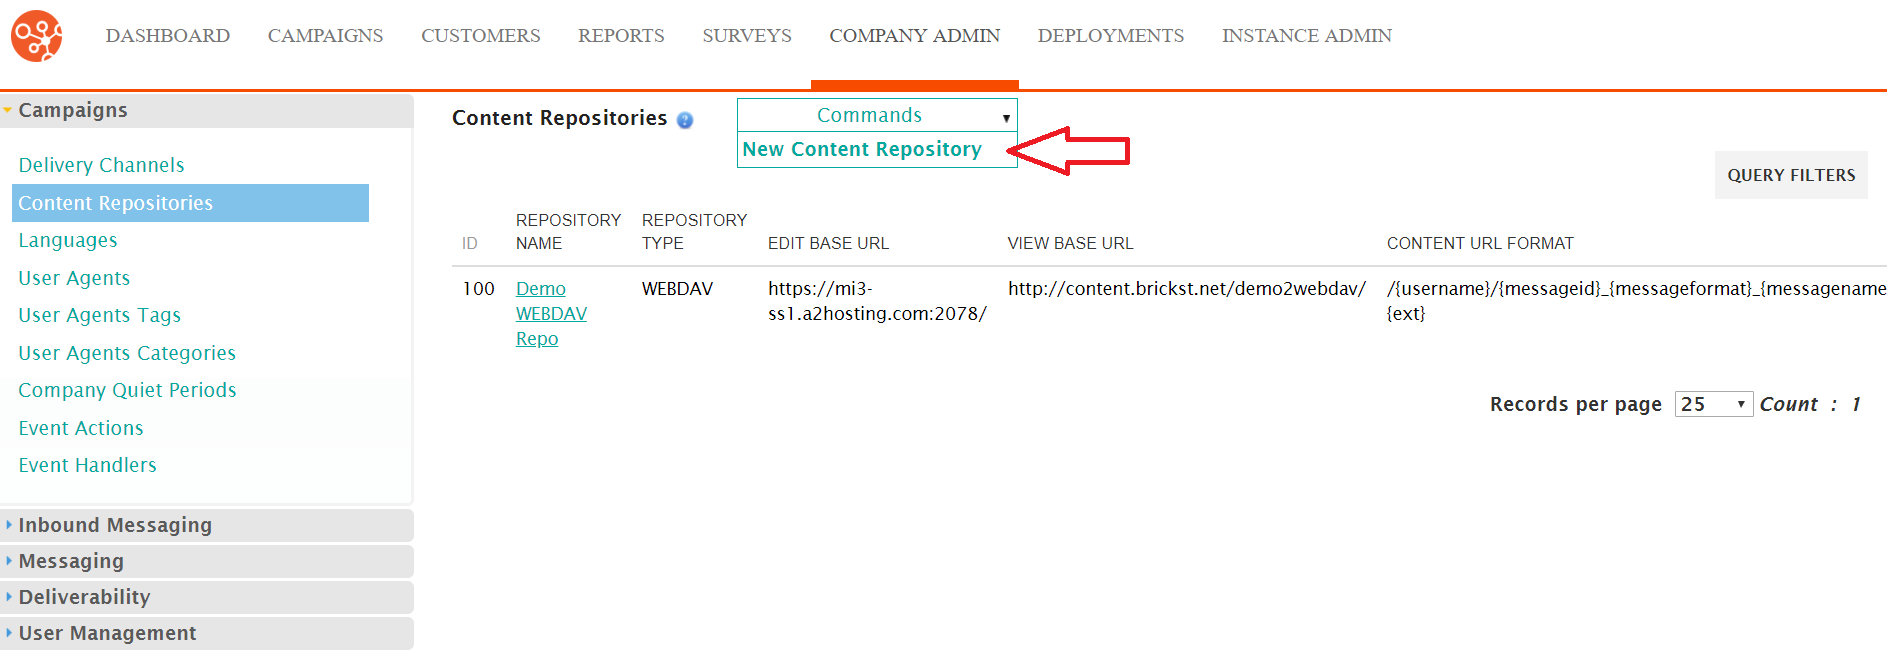
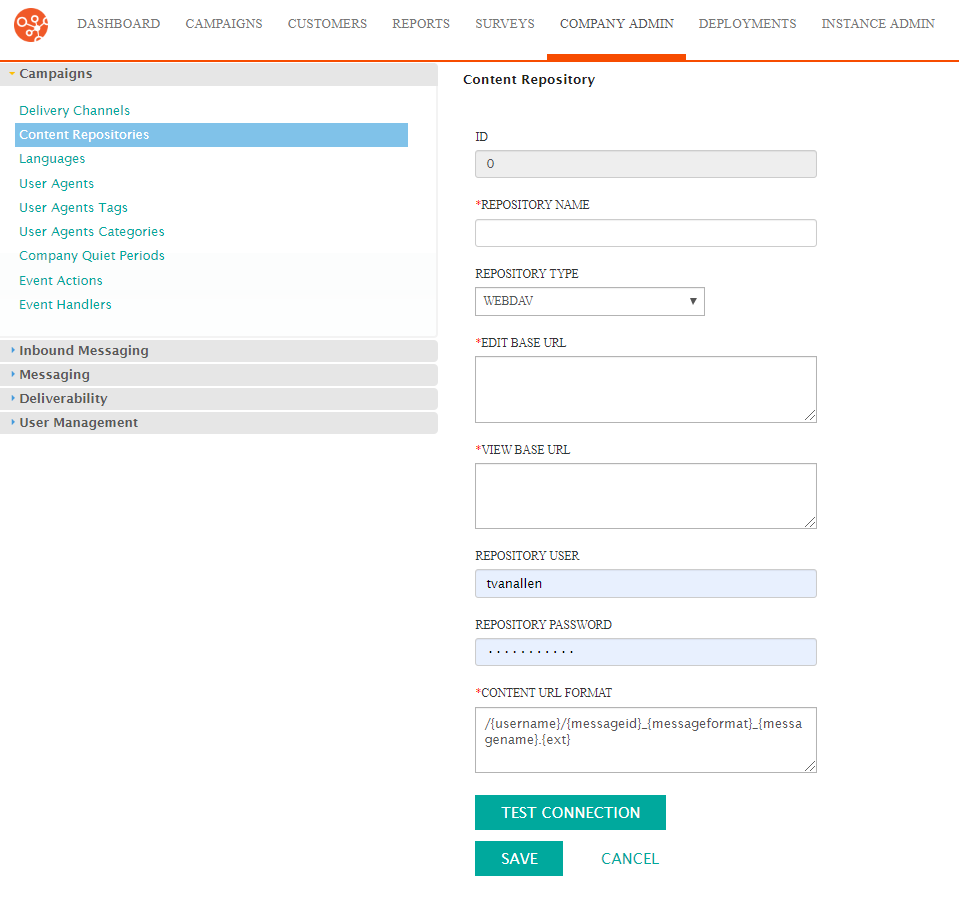
- Enter the details for the content repository:
- Repository Name: Name for the repository used in Connect and displayed when creating campaign content
- Repository Type: The type of repository:
- WEBDAV: Web Distributed Authoring and Versioning
- FTP: File Transfer Protocol
- SFTP: SSH File Transfer Protocol
- Edit Base URL: Base URL used for editing files
- View Base URL: Base URL used for viewing files
- Repository User: User ID used by Connect to access the repository
- Repository Password: The password used by Connect to access the repository
- Content URL Format: The format of the URL Connect will use to access content (e.g. '/{username}/{messageid}_{messageformat}_{messagename}.{ext}')
- To test the connection to the repository, click the Test Connection button. A message will display indicating whether the connection test was successful or not.
- To cancel without saving the content repository, click the Cancel button. The Content Repository screen displays. The content repository is not saved or displayed.
- Click the Save button. The Content Repository screen displays showing the newly created content repository in the list of available content repositories.
