Note: SFTP services must be installed on all cluster nodes. Perform these steps on each
node that will be used in a Connect cluster. If you choose to use SFTP services, it is
not necessary to install Windows FTP Services, and vice versa.
Installing CopSSH SFTP Software
- Download the latest binary installer release from http://sourceforge.net/projects/sereds/files/Copssh. Once downloaded, run the installer.
- The installer will create a service account named SvcCOPSSH. In the Service Account screen, set the password for this account to a known value.
Create Windows user account for the SFTP Service
You must create a Windows user account that will be used to run the Connect software. Perform the following steps to create this account.
Note: In the screenshots below, the Connect user account is named nabih. [NOTE:
REDO WITH BRICKST ACCOUNT]
- Run Computer Management (under Start -> Administrative Tools -> Computer
Management), and create a new user account named nabih.
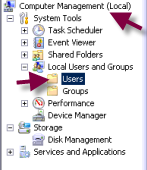
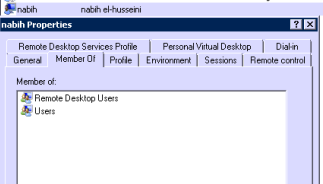
- Add the user to the following groups: Users and Remote Desktop Users.
- Open the Local Security Settings program (under Start -> Administrative Tools ->
Local Security Policy). Navigate to Local Policies -> User Rights Assignment ->
Allow log on locally. Add the user to this right.

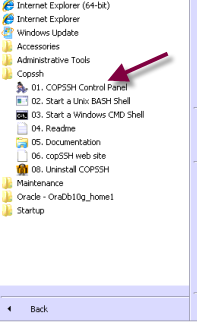
Activate SFTP Access for the Connect User Account
- Open the COPSSH Control Panel from the Start Menu.
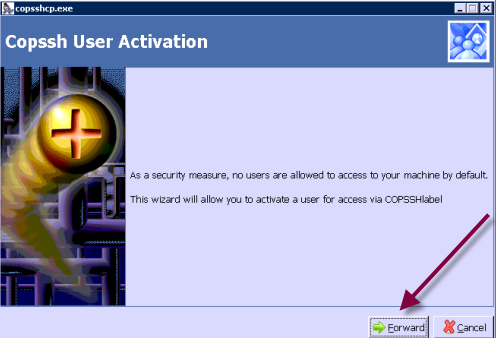
- Click Users -> Add.

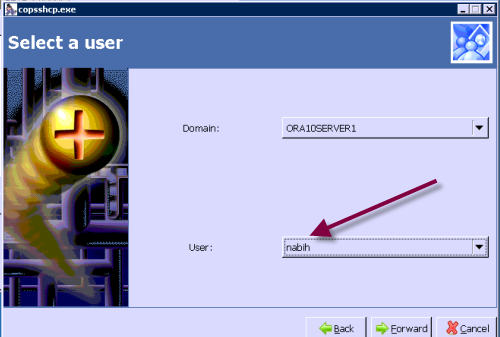
- Click Forward.
- Select the Connect user account.
- Select sftp access type.
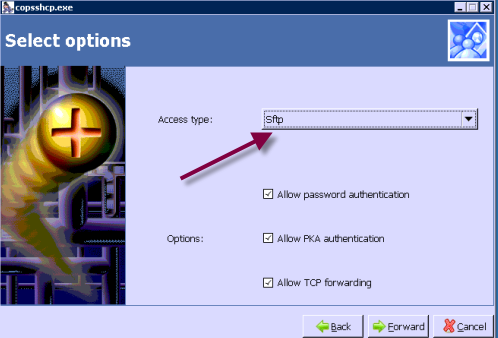
- Apply changes.

Set SFTP Permissions for the Connect User Account
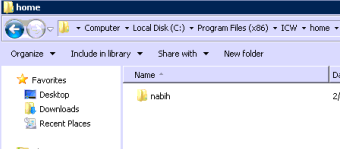
When the user account is enabled in SFTP, the COPSSH software creates a home directory in the COPSSH install folder. We must edit the file permissions for this directory.
- Navigate to the Connect user's SFTP home directory. This will be a folder under
C:\Program Files (x86)\ICW\home. Right-click the Connect user's folder and
select Properties.
- Click Edit.
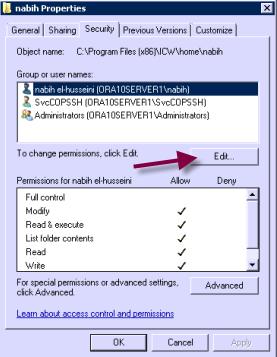
- Click the "Full control" box. Then click Apply and Ok to ensure that the user
account has full control of the folder and all subdirectories.

Add COPSSH to System Path
Perform the following steps to add COPSSH to the system path.
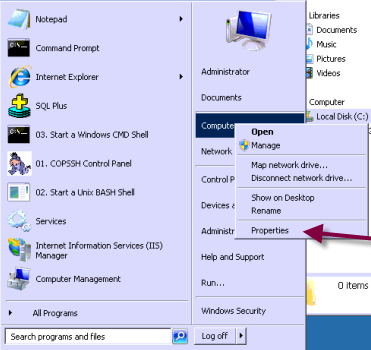
- Right-click on Start -> Computer and click Properties.
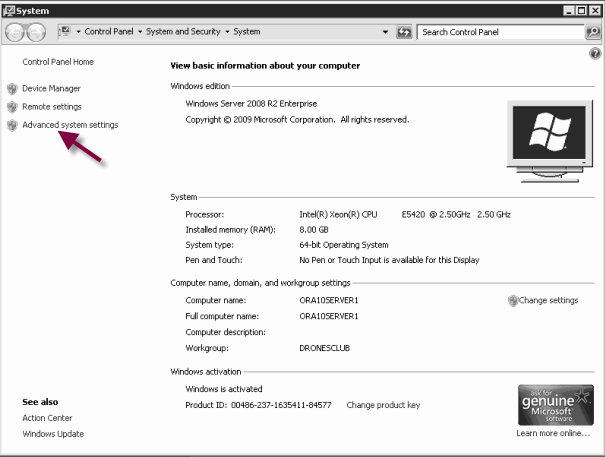
- Click Advanced system settings.
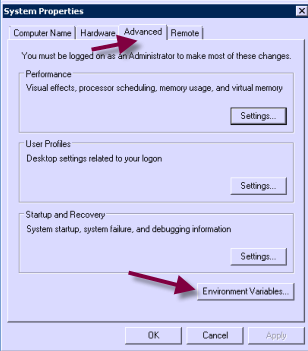
- Click Advanced -> Environment Variables.
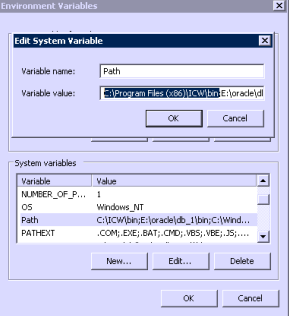
- Add C:\Program Files(x86)\ICW\bin to Path and click OK to accept changes.
Test SFTP Access
Log in with the Connect user account and start a cmd.exe shell. Run the following
command: sftp <user>@<server>. Accept the key and type the password.

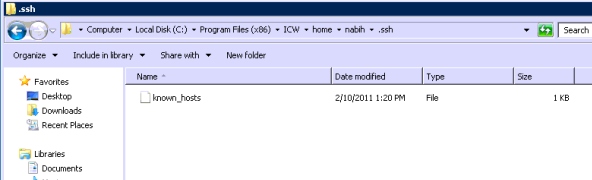
Verify that a known_hosts file has been created in the sftp home directory.
Note: Repeat these steps on each node.