When you click Commands > New Campaign in the Campaign List, the Create New Campaign window appears where you choose the type of campaign to create.
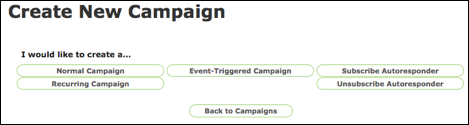
Create Normal Campaign
- From the campaign list window, click the Commands > Create a New Campaign. The Create New Campaign window appears.
- Click the Normal Campaign button. The Normal Campaign, Basic Info window appears.
- In the Name field, type a unique name for the campaign.
- In the Description field, type a short description for the campaign in 240 characters or less. This description explains why a customer received an e-mail from this campaign.
- From the Department drop-down list, select the department for the campaign.
- In the Quiet Period section, select a quiet period type. Options include:
- Define campaign quiet period - Define a quiet period specific to the campaign. If you choose this option, the screen expands to display a Create Quiet Period button. See Define Campaign Quiet Period below.
- Use company-wide quiet period - A quiet period is defined for the entire company and you can choose to use that quiet period.
- Use system-wide quiet period - A quiet period is defined for the entire system and you can choose to use that quiet period.
- In the Other Settings section, Expiration Date field, click
the Not Set link to define a campaign expiration date. The screen
expands. The default setting is Does Not Expire. Follow these
directions to set an expiration date.
- Click the Does Not Expire check box to remove the check mark. The Date & Time field appears.
- Click inside the Date & Time field. A calendar and time sliders appear.
- From the calendar, select the month and date the campaign expires.
- Use the Hour, Minute and Second sliders to select time.
- Click the Save button. The expanded section closes and the expiration date appears in the Expiration Date field.
- In the Other Settings section, Language drop-down list, select a different language if needed.
- Click the Save button. The Targeting, Content and Messages tabs appear in addition to the Info tab.
Define Quiet Period
- Click the Create Quiet Period button. The screen expands to display the definition fields.
- In the Start fields, select the time to start the quiet period.
- In the End fields, select the time to end the quiet period.
- From the Day drop-down list, select a day.
- Click the Save button. A table appears with the quiet period information.
If you select a Recurring Campaign
If you clicked the Recurring Campaign button, new fields appear below the Department drop-down list on the Configure Basic Info window,

- All at the same time - Upon launch, all target customers are sent messages at the same time.
- Based on intervals specified in the message - Customers receive e-mails based on the last time they received a message from this campaign. This is considered a recurring polling campaign. According to a recurrence schedule you define on the Rollout Schedule page, the campaign polls the customer database for each of the customers in your target audience and sends a message to a customer only if the number of days since the last message sent from this campaign was equal or greater to the number you defined on the rollout schedule.
For example, with an audience of three customers, Marc, Amy, and Josefa, you created a recurring campaign to send messages detailing their purchasing activity. Messages go out every seven days based on the date of first purchase. Marc made his first purchase on Monday, Amy on Wednesday, and Josefa on Thursday.
- Monday - Marc has not received a message in seven days. Connect sends a message.
- Tuesday - There is no one with at least seven days since the last activity. No messages are sent.
- Wednesday - Amy has not received a message in seven days. Connect sends a message.
- Thursday - Josefa has not received a message in seven days. Connect sends a message.
- Friday, Saturday, and Sunday - There is no one with at least seven days since the last activity. No messages are sent.
If you take the above example and plug in an audience of 300,000 customers, you can see that staggering the days that the statements are sent can have a positive effect on system performance by distributing the work over a seven-day period rather than all on one day. Sending all messages on one day when you have a large audience can negatively impact system performance.
If you select an Event-Triggered Campaign
Event-triggered campaigns react to an event that requires an immediate response. If you clicked the Event-Triggered Campaign button, two new sections appear on the Configure Basic Info window where you define the triggering event. The two sections are Describe the Triggering Event and Events may include arbitrary XML data and/or event parameters.
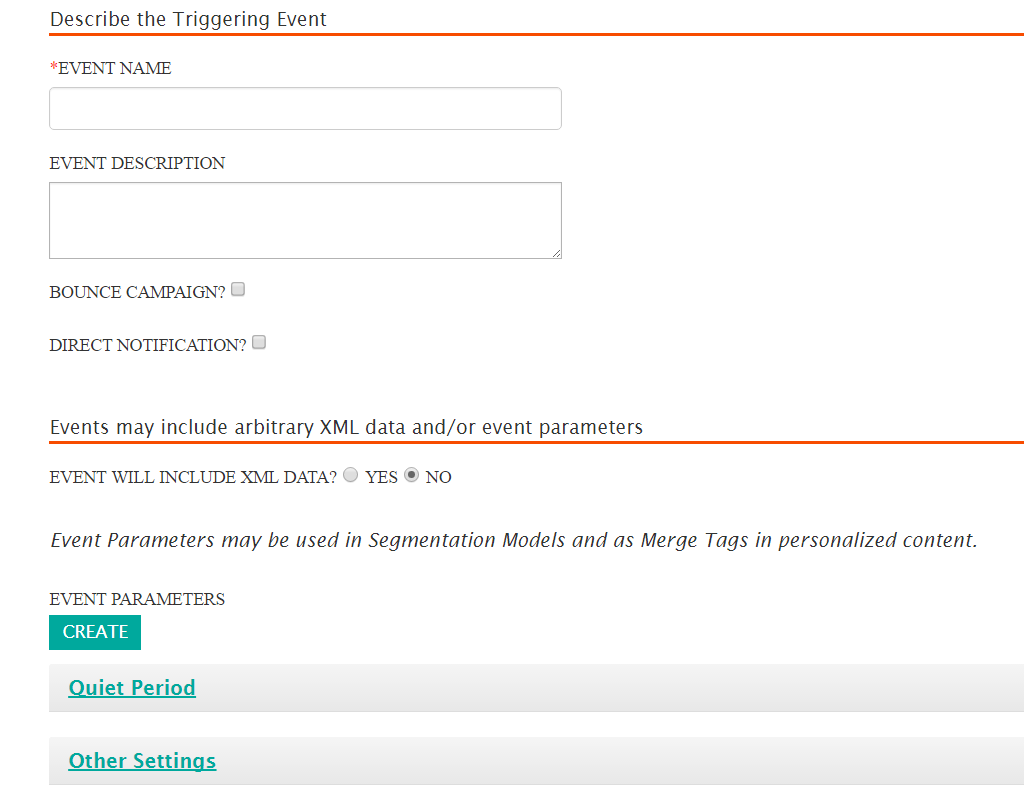
- In the Event Name field, type a unique name for the event.
- Type a description for the event in the Description field. Provide as much detail as needed.
- In the Bounce Campaign? field, click the check box if it is a bounce campaign.
- In the Event will include XML data? field, click the appropriate
radio button to indicate whether to use external XML data for the event.
No is the default.
External XML is a bundle of event-related XML data sent from outside of the Connect system. Connect's Event Listener component receives the XML package and passes it as event information to the database, which in turn sends a command to the Mail Composer to generate one or more e-mails as needed. Only event-driven campaigns use external XML.
- To add parameters, click the Create button beside the Event
Parameters field. The screen expands to display the fields where you
define one or more parameters.
- In the Parameter Name field, type a name for the parameter.
- From the Parameter Type drop-down list, select the appropriate data type. Data types include Date, Number, String or Single Character.
- Click the Save button. A table appears with the new parameter.